TRINKET POUCH: A BEGINNER-FRIENDLY SEWING PROJECT YOU’LL LOVE
If you're looking for a quick, satisfying sewing project that's both practical and beautiful, I have just the thing for you! Designed with beginners in mind, this Trinket Pouch is perfect for storing all those little essentials that tend to disappear into the bottom of your bag. Use it as a makeup pouch, a place to keep jewelry or sewing notions, or simply as a handy organizer for everyday trinkets like lip balm, earbuds, chargers, or keys.
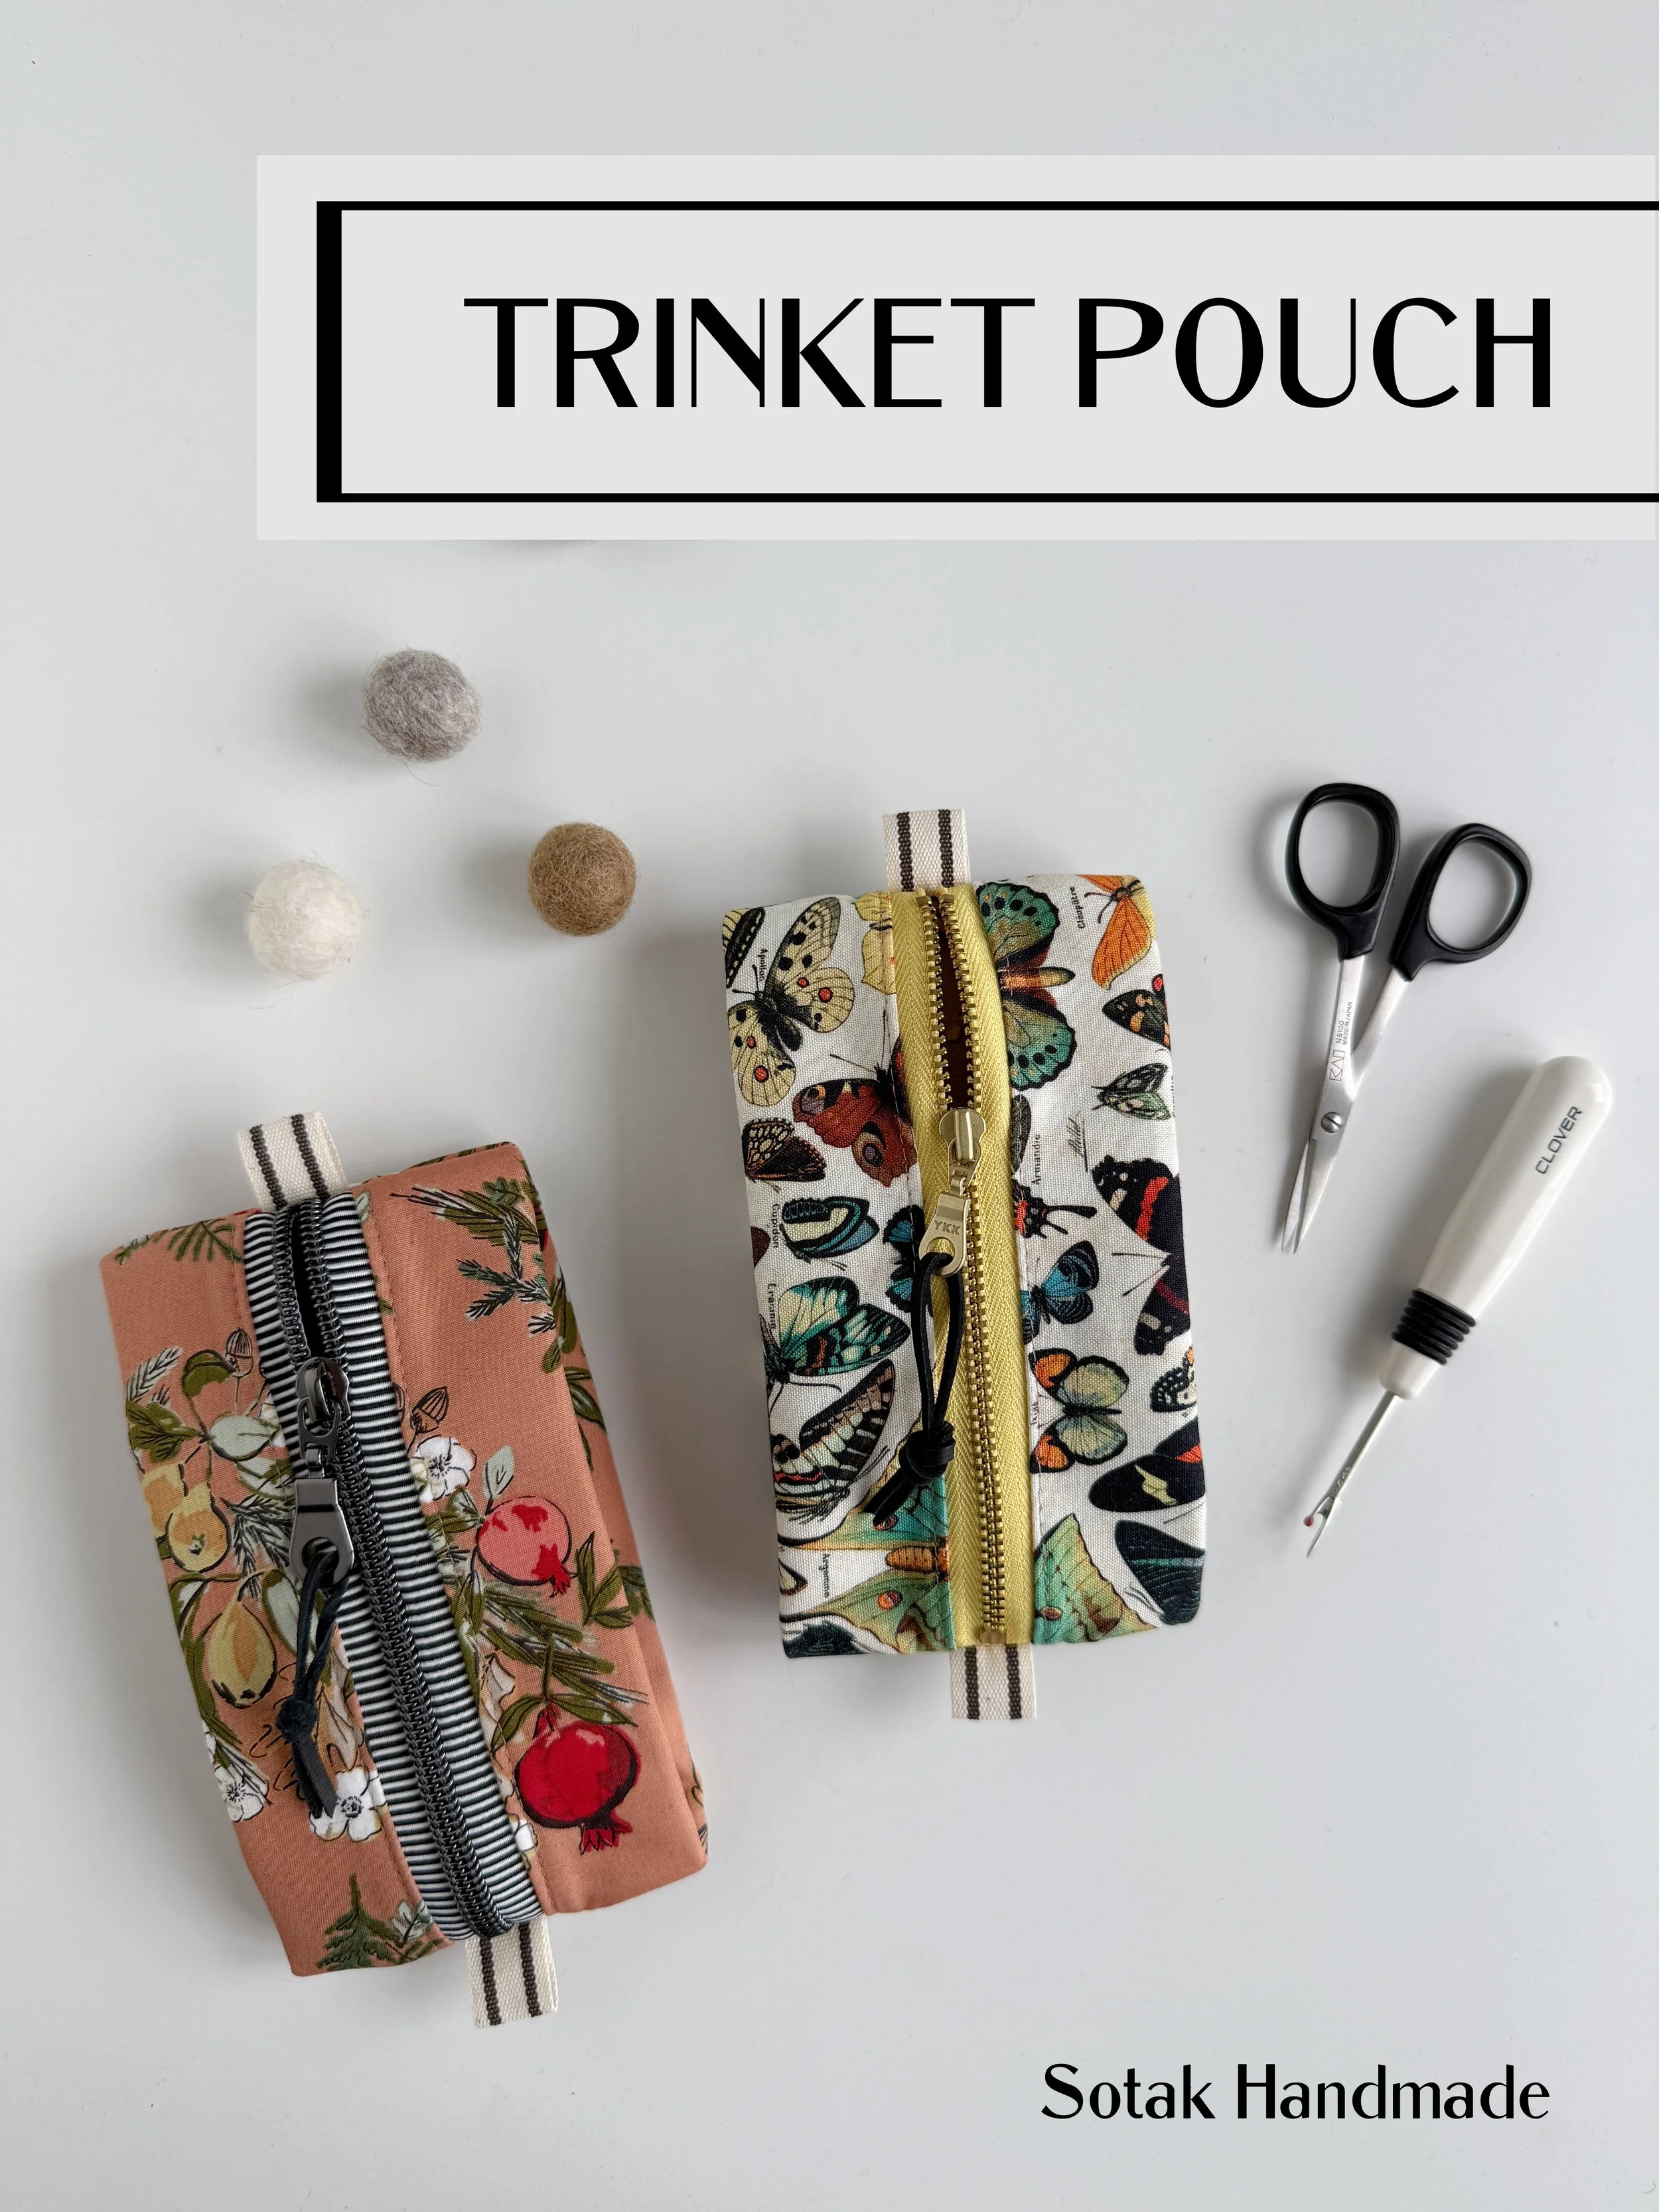
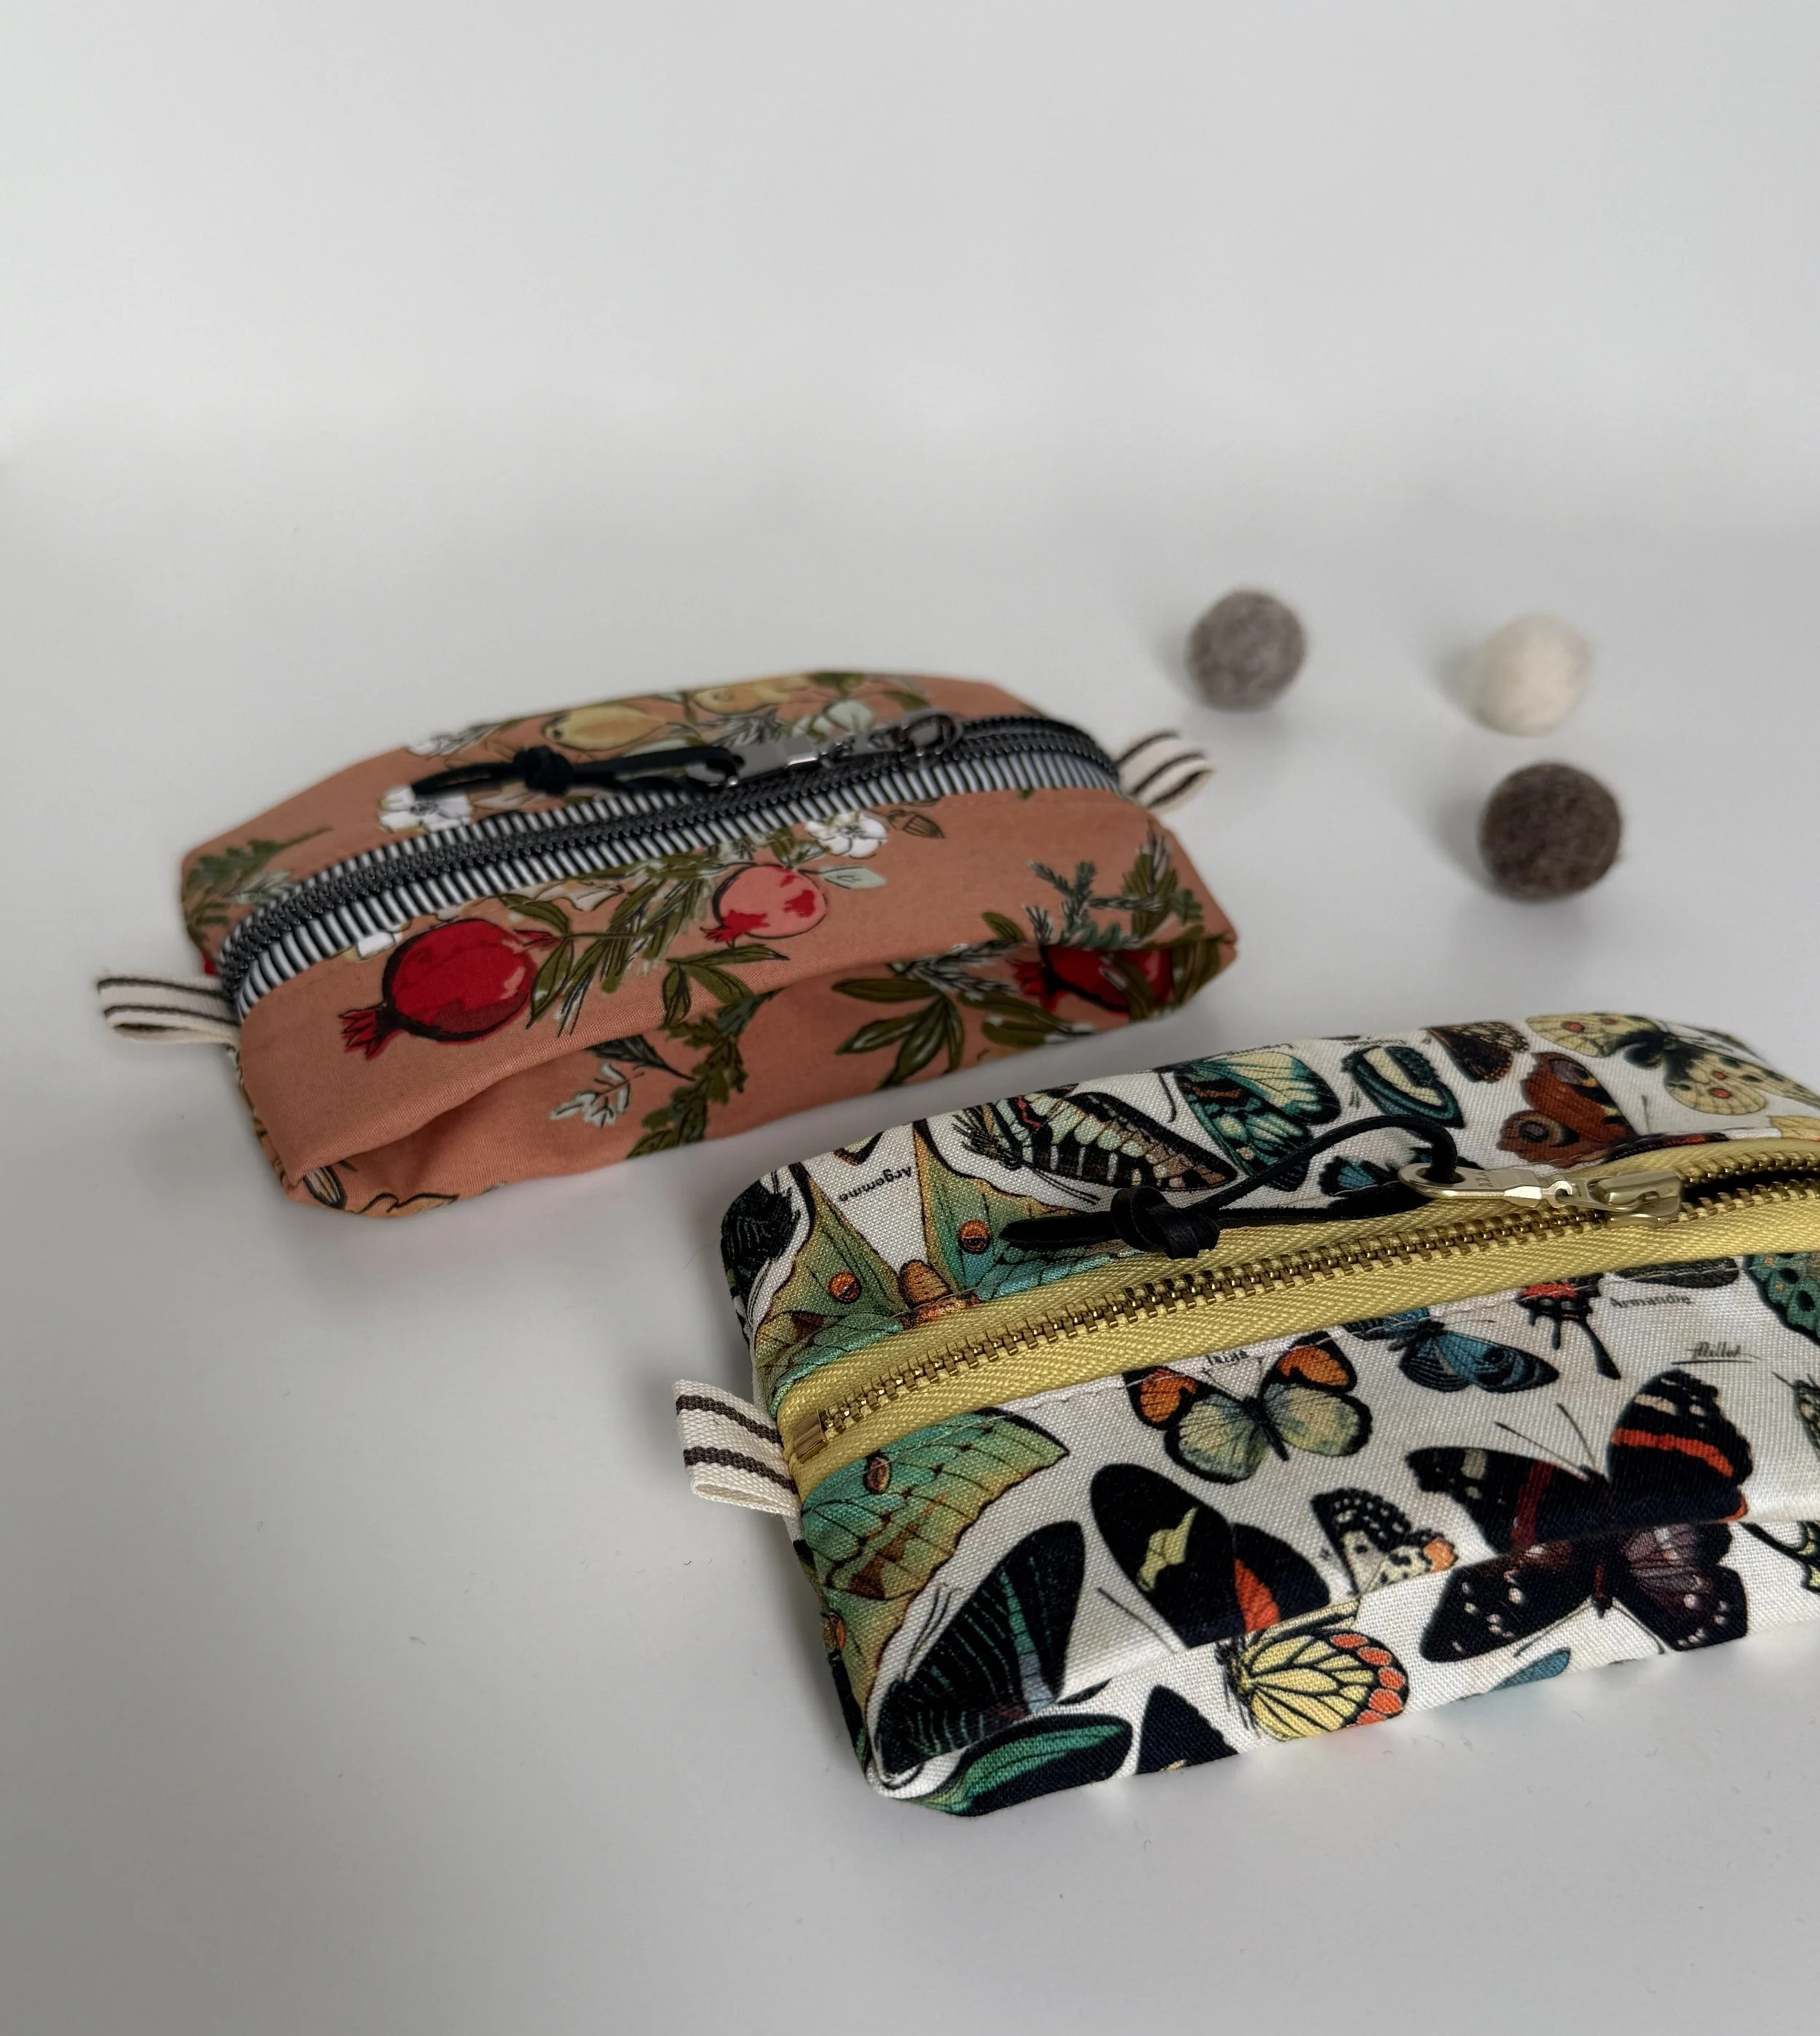
What makes this pouch extra special is its unique construction. Instead of traditional finishing methods, the inner binding neatly encloses all the raw edges, creating a clean, professional-looking finish. The binding also adds extra structure and stability, helping it hold its shape while standing up to everyday use.
I’ve also recorded a step-by-step video tutorial to help guide you through the process. It walks you through everything from beginning to end, so you can follow along and see exactly what to do at each stage. If you’d like some extra guidance, be sure to check it out. You’ll find the link at the bottom of this post.
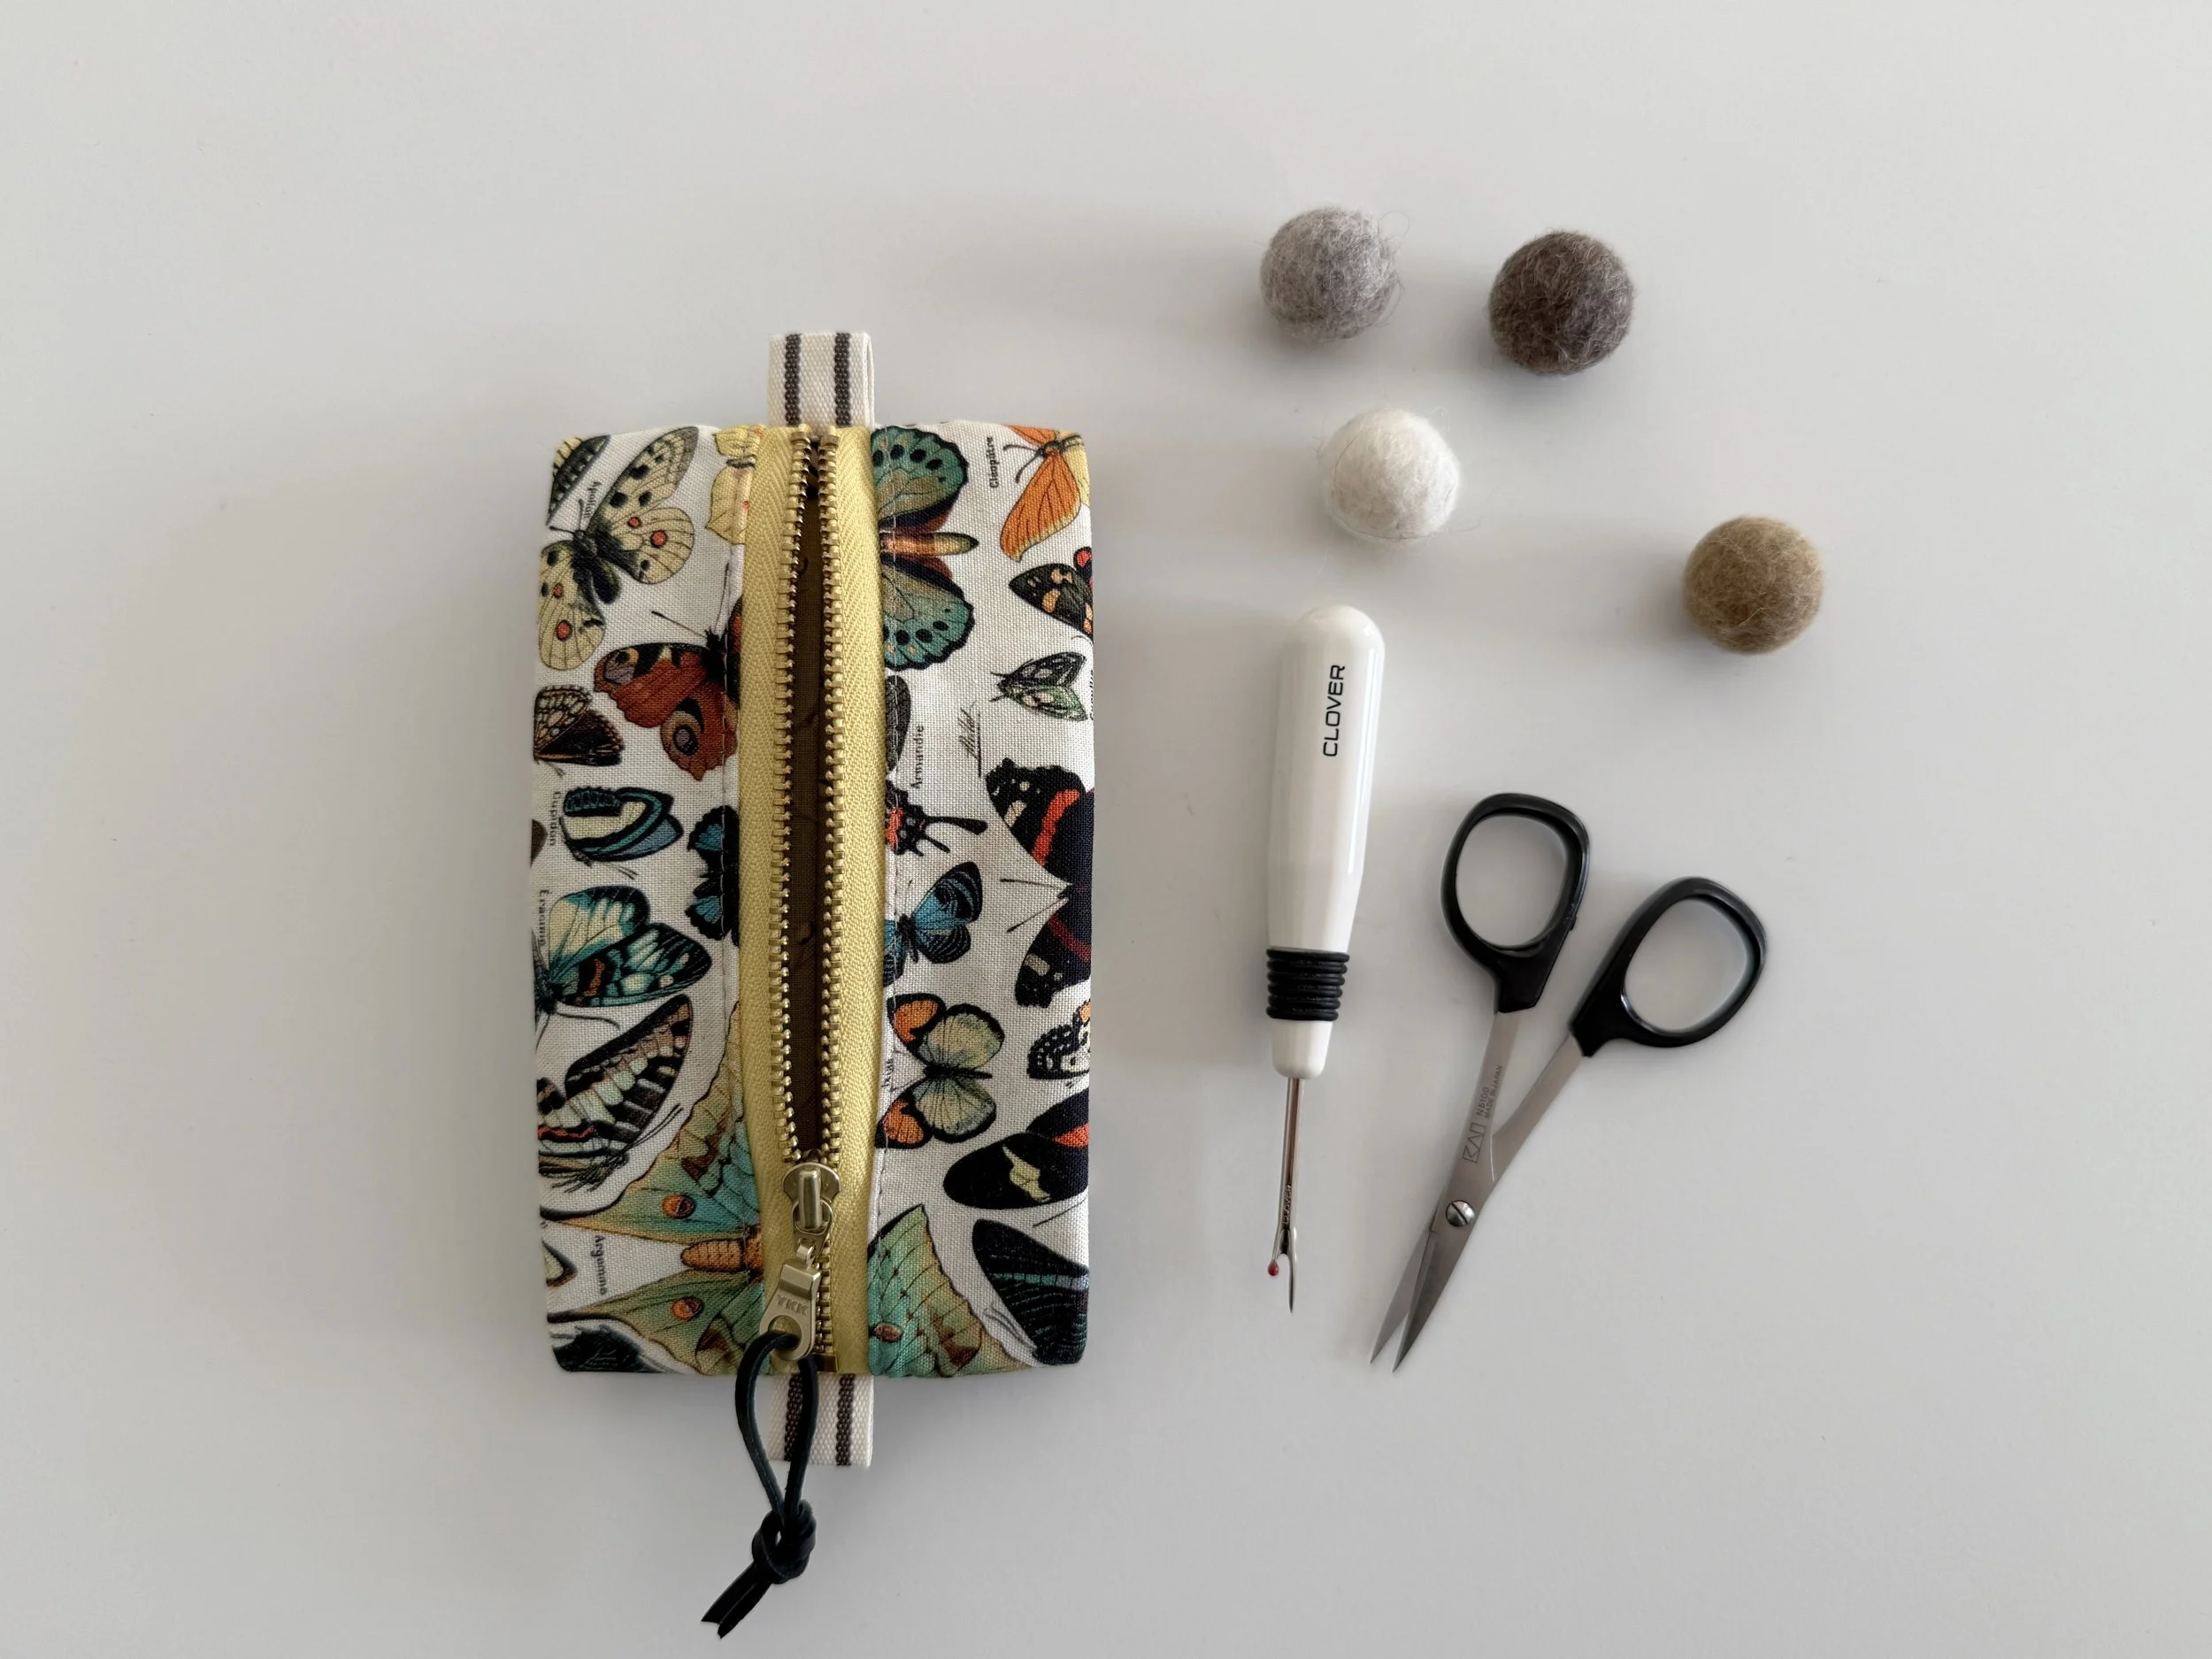
Finished Size: approx 6’’ tall x 3 1/4’’ wide
To sew this pouch, you will need:
(2) - 5'' wide x 7'' tall quilting cotton Exterior Panels
(2) - 5'' wide x 7'' tall quilting cotton Lining Panels
(2) - 5'' wide x 7'' tall medium weight Interfacing Panels
(2) - 1 1/2'' x 4 1/4'' strips of quilting cotton for Bindings
(1) - 6'' long closed-end metal or nylon Zipper OR 7’’ long nylon Zipper by the Foot
(2) - 1 3/4 '' long ribbons
Step 1: Adhere interfacing to the wrong side of the Exterior Panels.
Step 2: Center the zipper right side down along one side edge of the exterior panel, then add one lining panel right side down on top. Use sewing clips to hold the panels together and sew along the clipped edge using scant 1/4’’ SA, backstitching at the beginning and end. Press the panels away from the zipper. Topstitch along the zipper edge using 1/8’’ SA.
Step 3: Attach the second exterior and lining panels to the second zipper tape following the same directions. Trim the zipper tape flush with the panels.
Step 4: Fold the ribbons in half and add them to the top and bottom edges of the zipper.
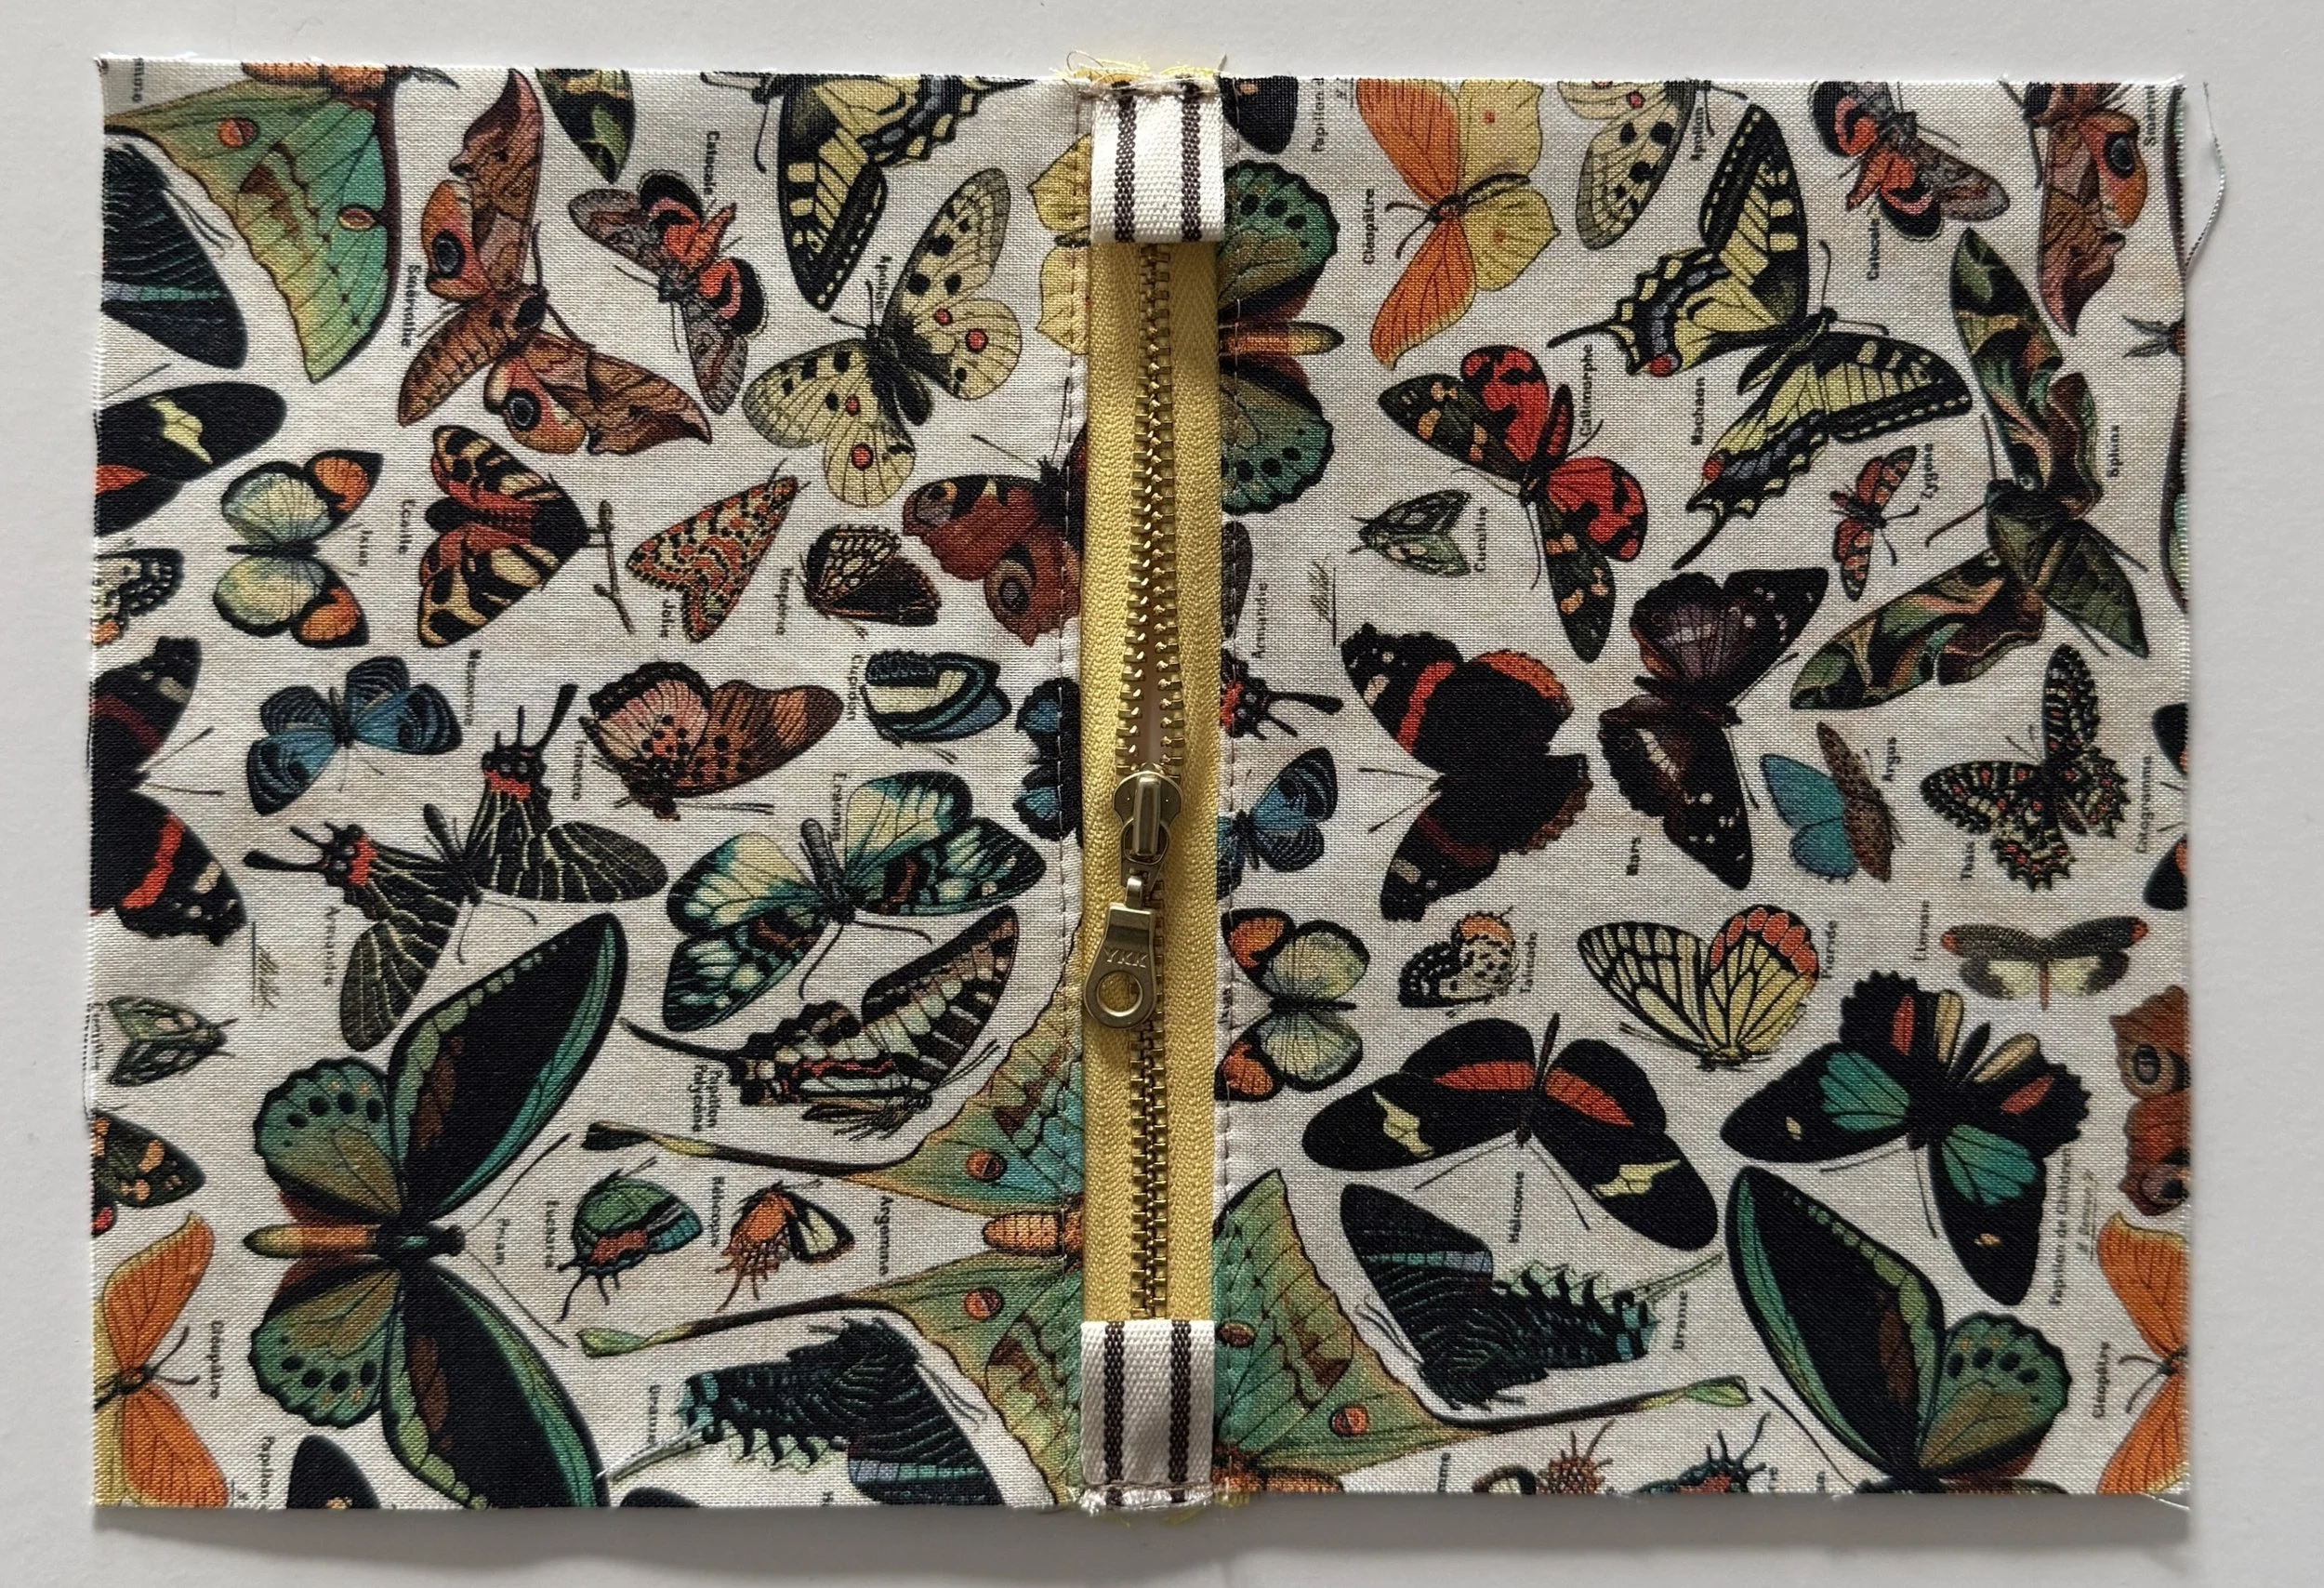
Step 5: Open the zipper about halfway. Bring the exterior panels’ right sides together and the lining panels’ right sides together. Use sewing clips to hold the side edges together. Sew along the clipped edges using 1/4’’ SA, backstitching at the beginning and end.
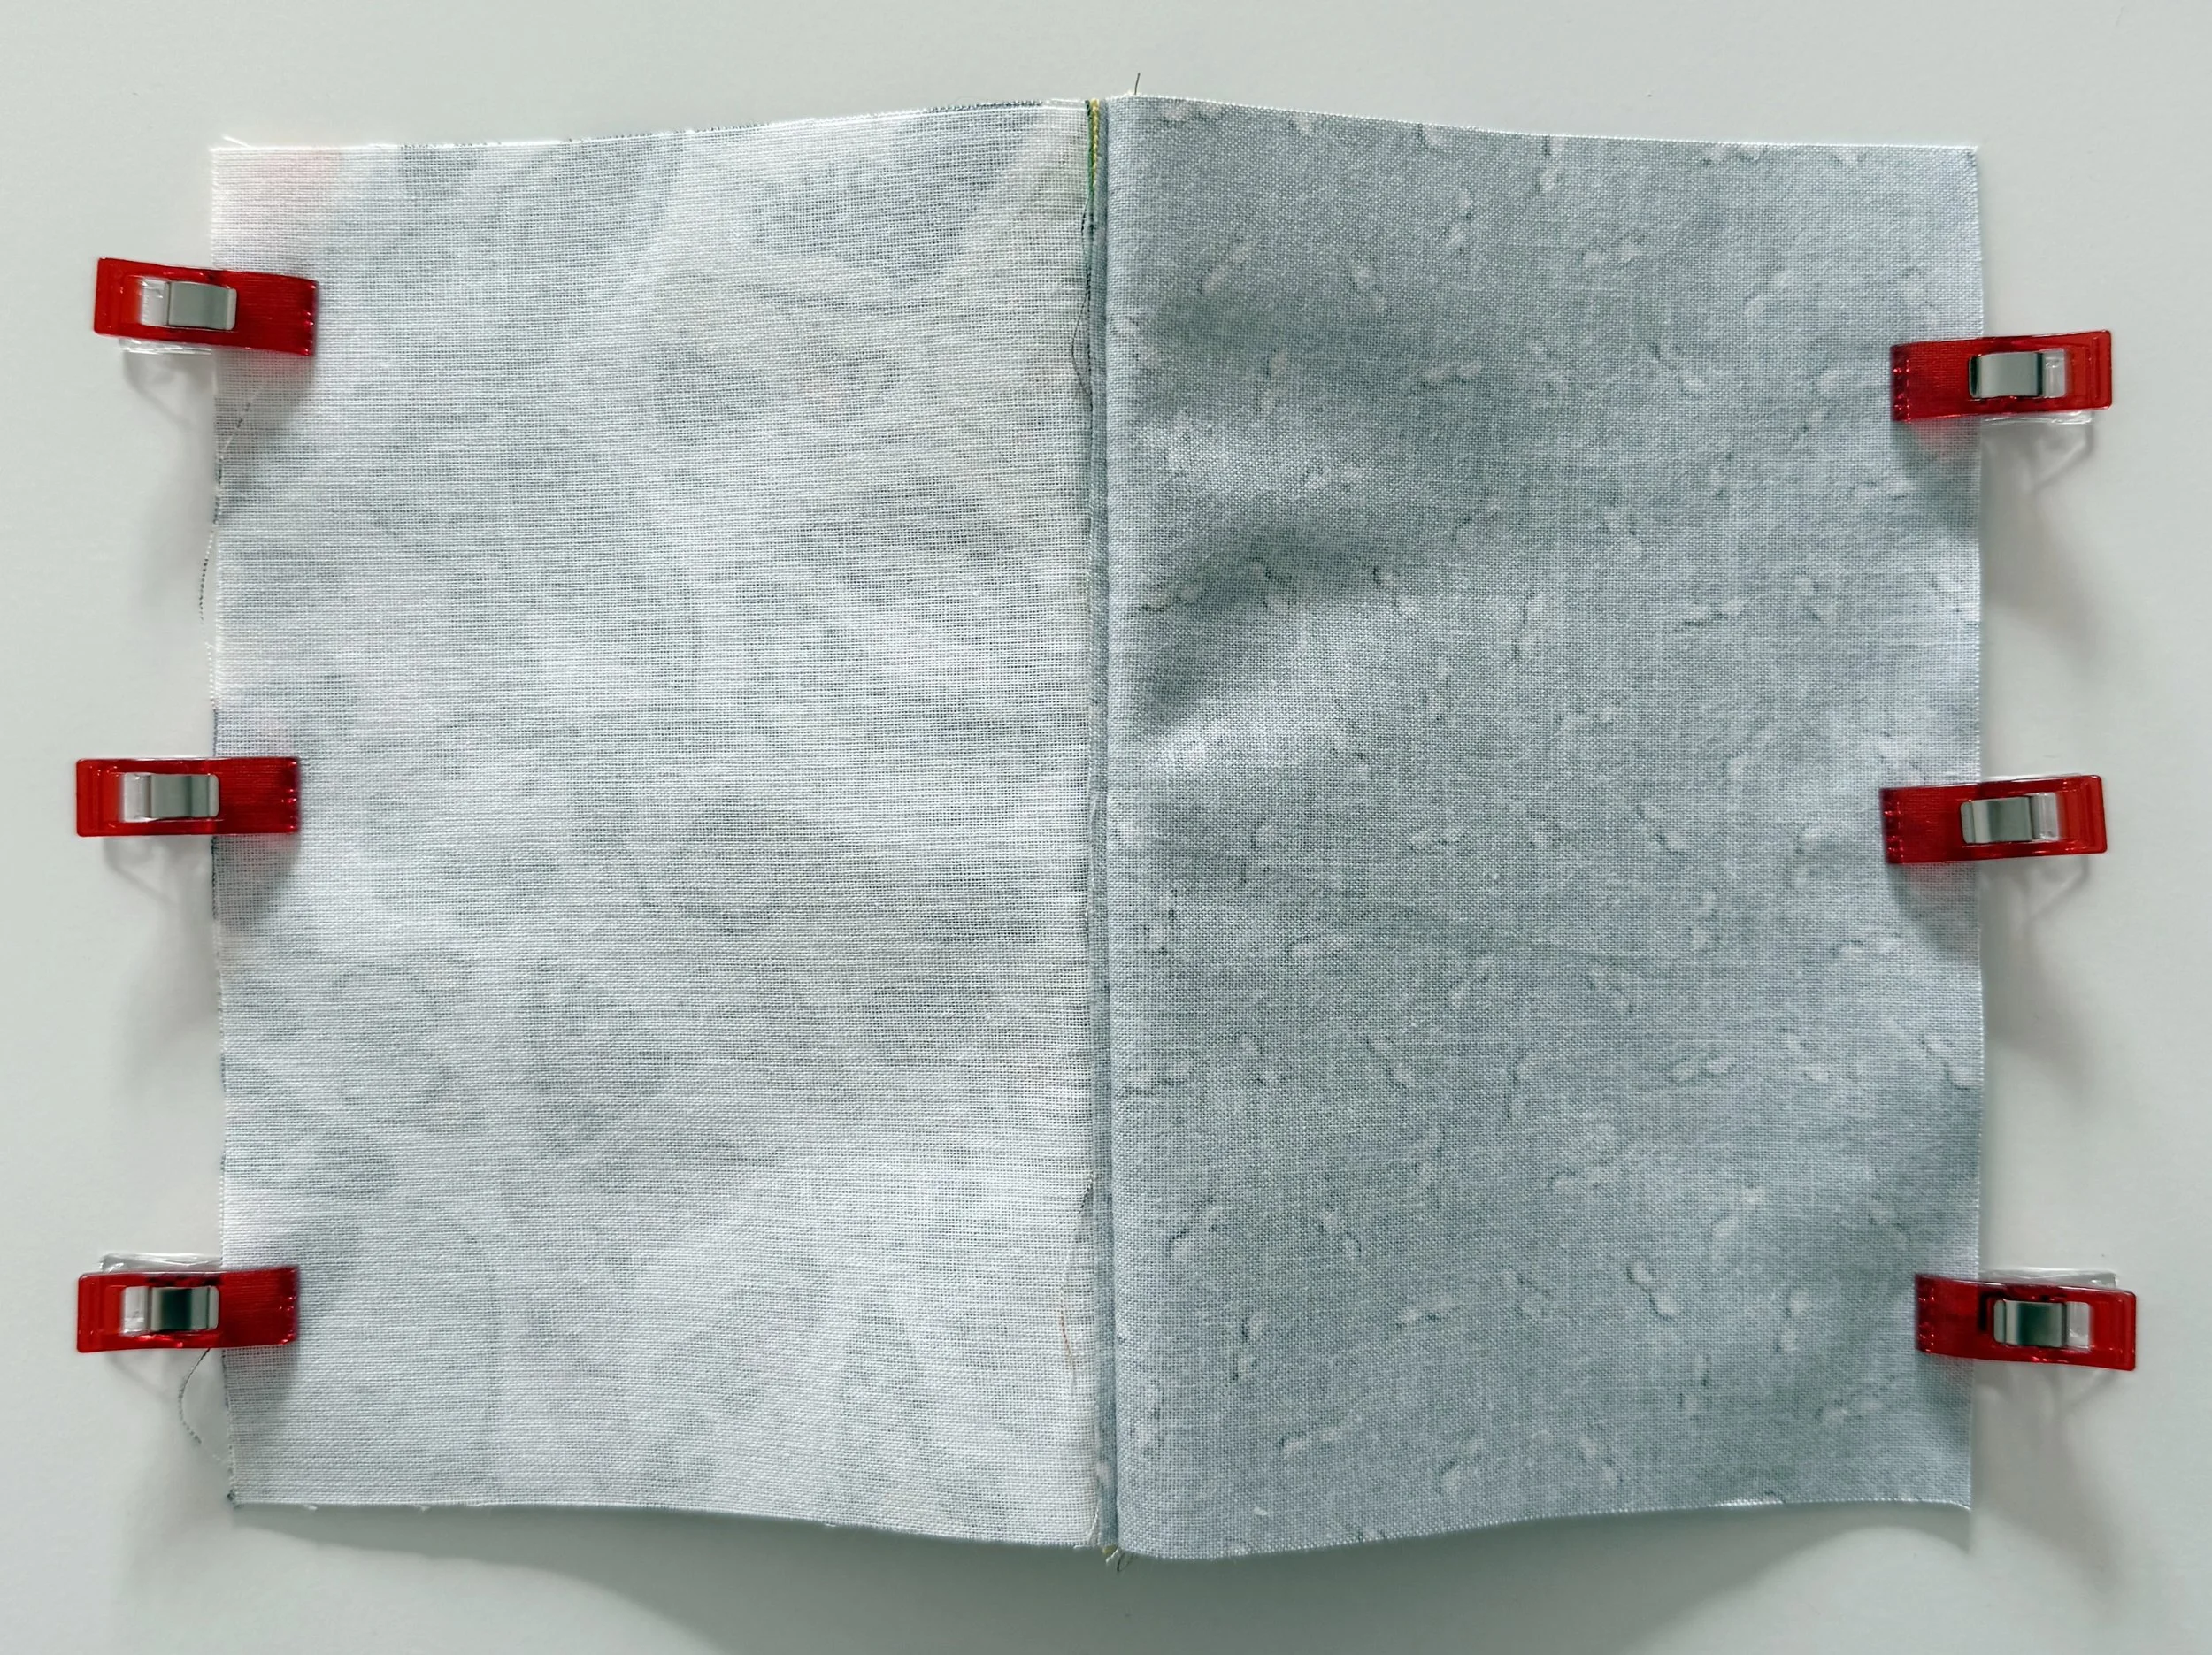
Step 6: Press the seams open and turn the pouch lining side up. Align the zipper with the exterior and lining seams from the previous step (the pouch is folded in half, zipper is centered). Use 1/8’’ SA to sew along the clipped edges.
Step 7: Make 4 marks 3/4’’ away from each side edge. Use the marks to fold both long side seams over. Use clips to secure the folds and sew them in place using 1/8’’ SA.
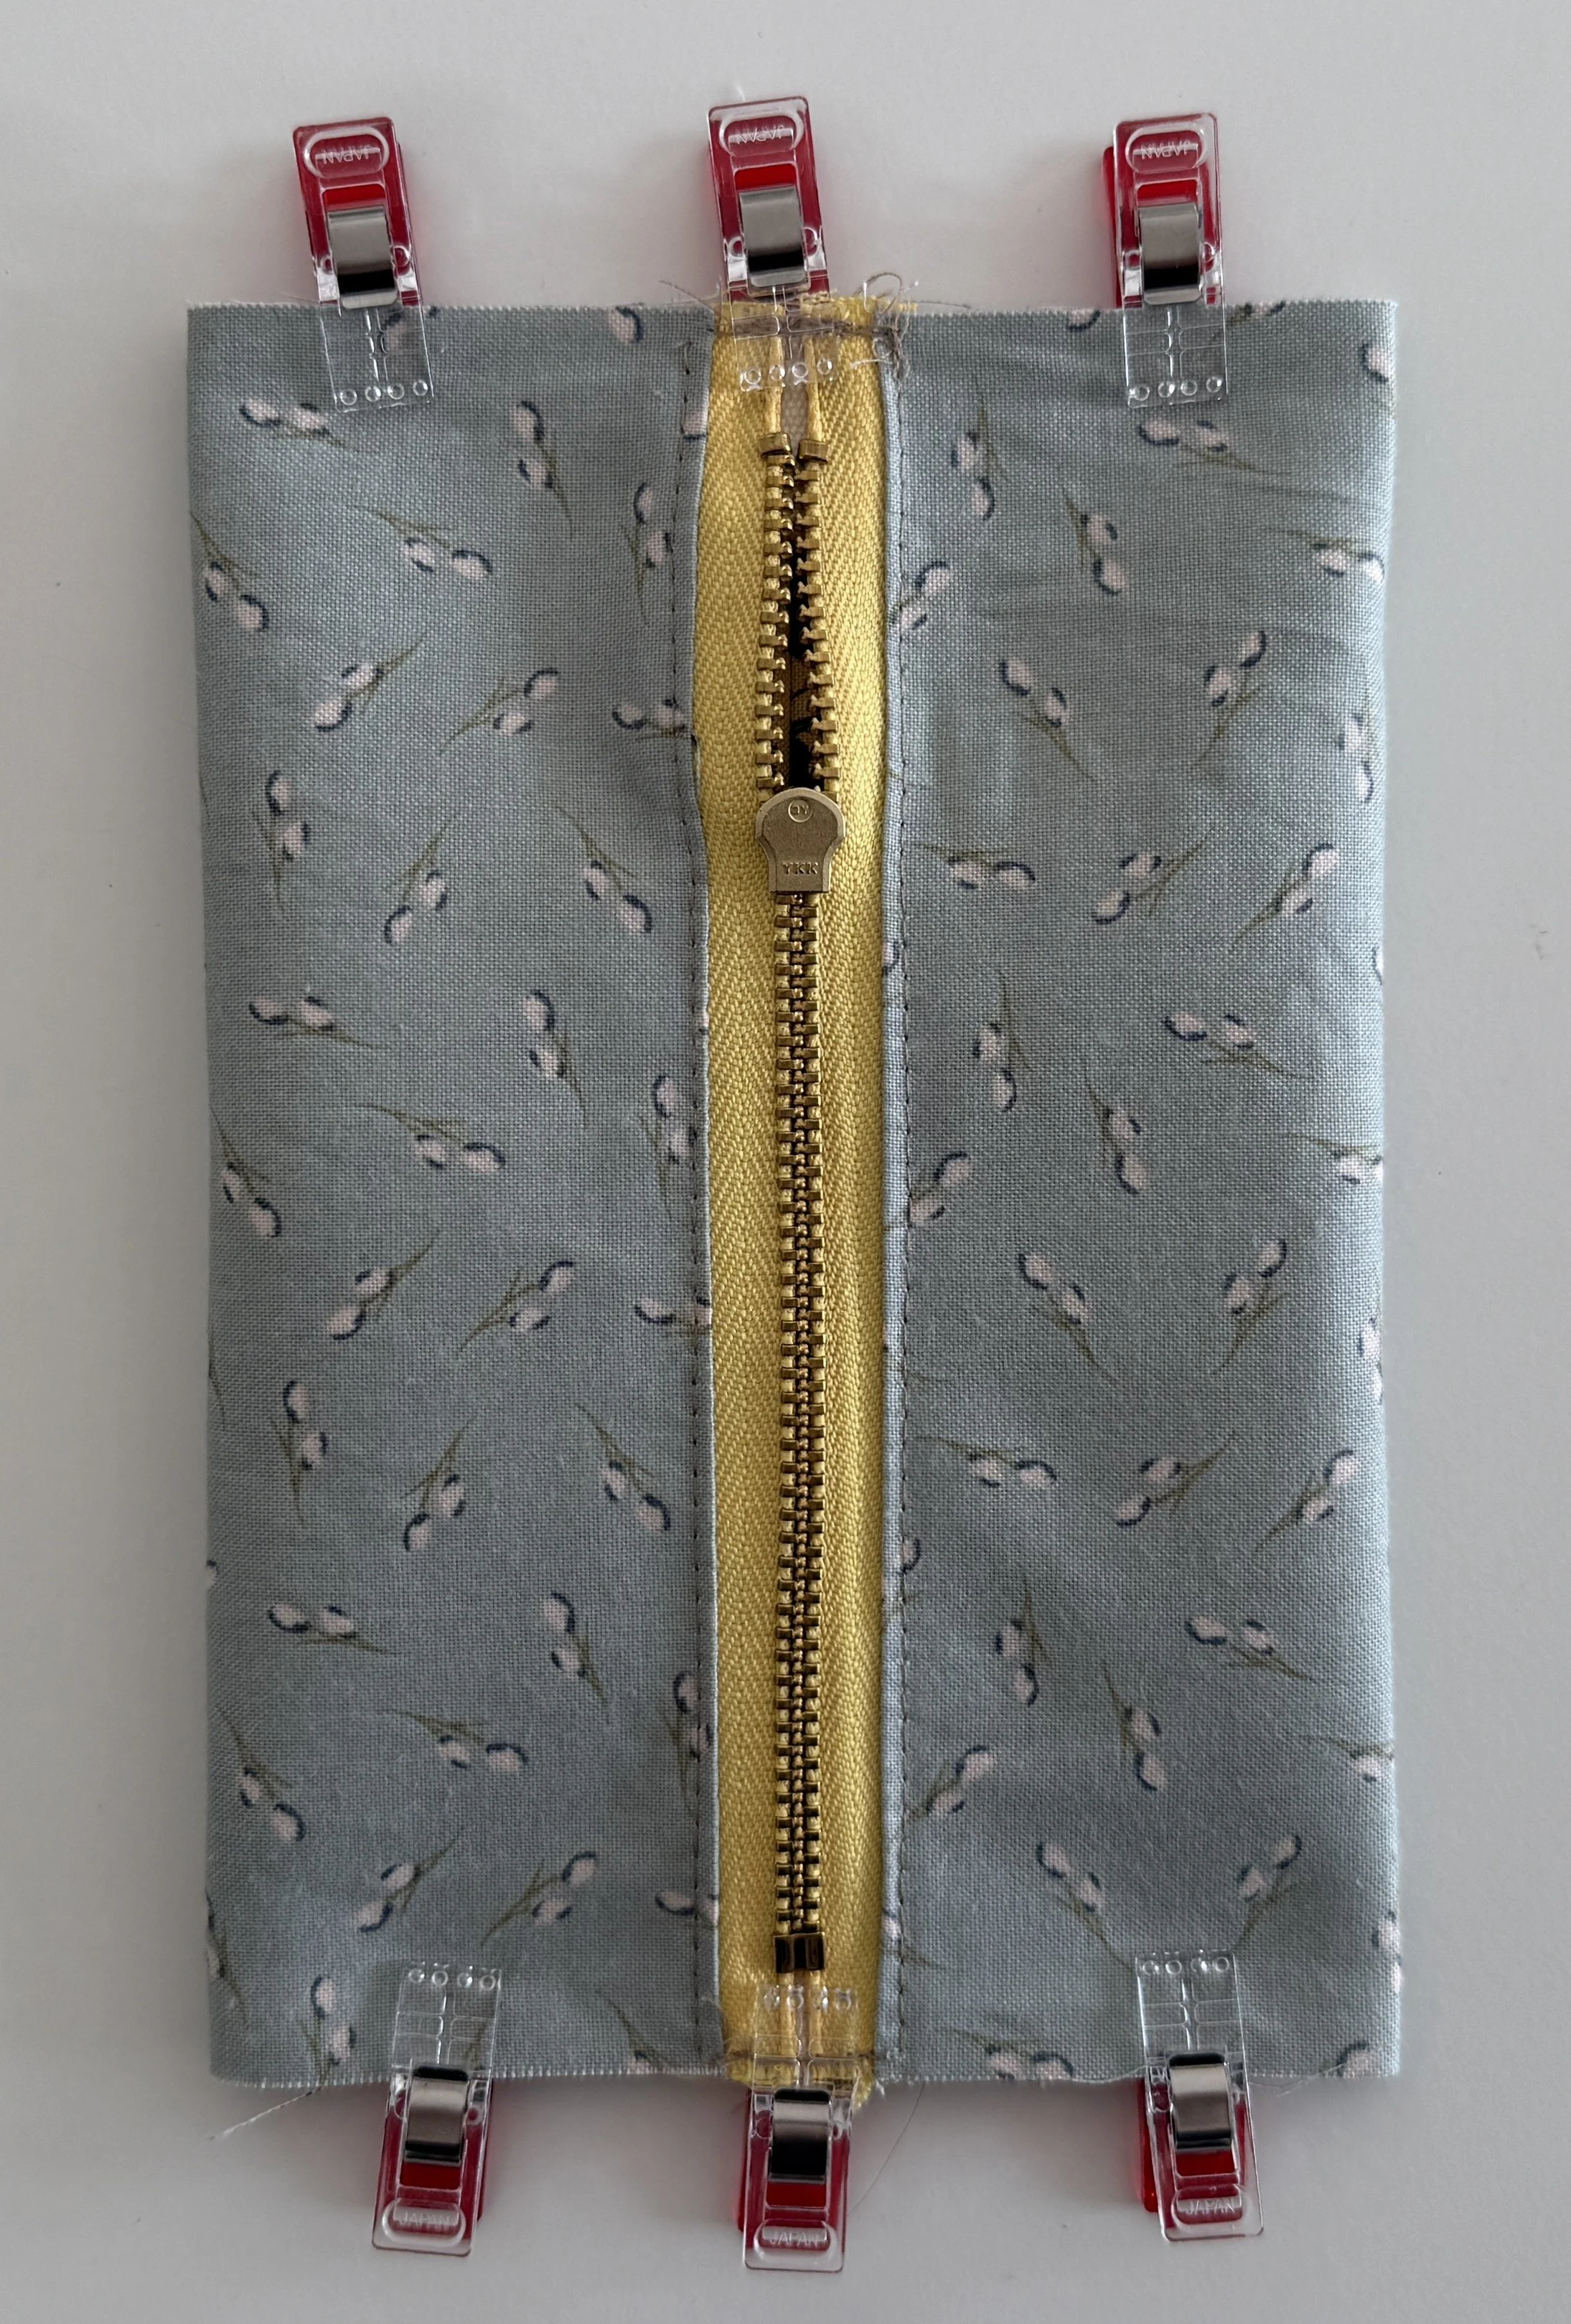
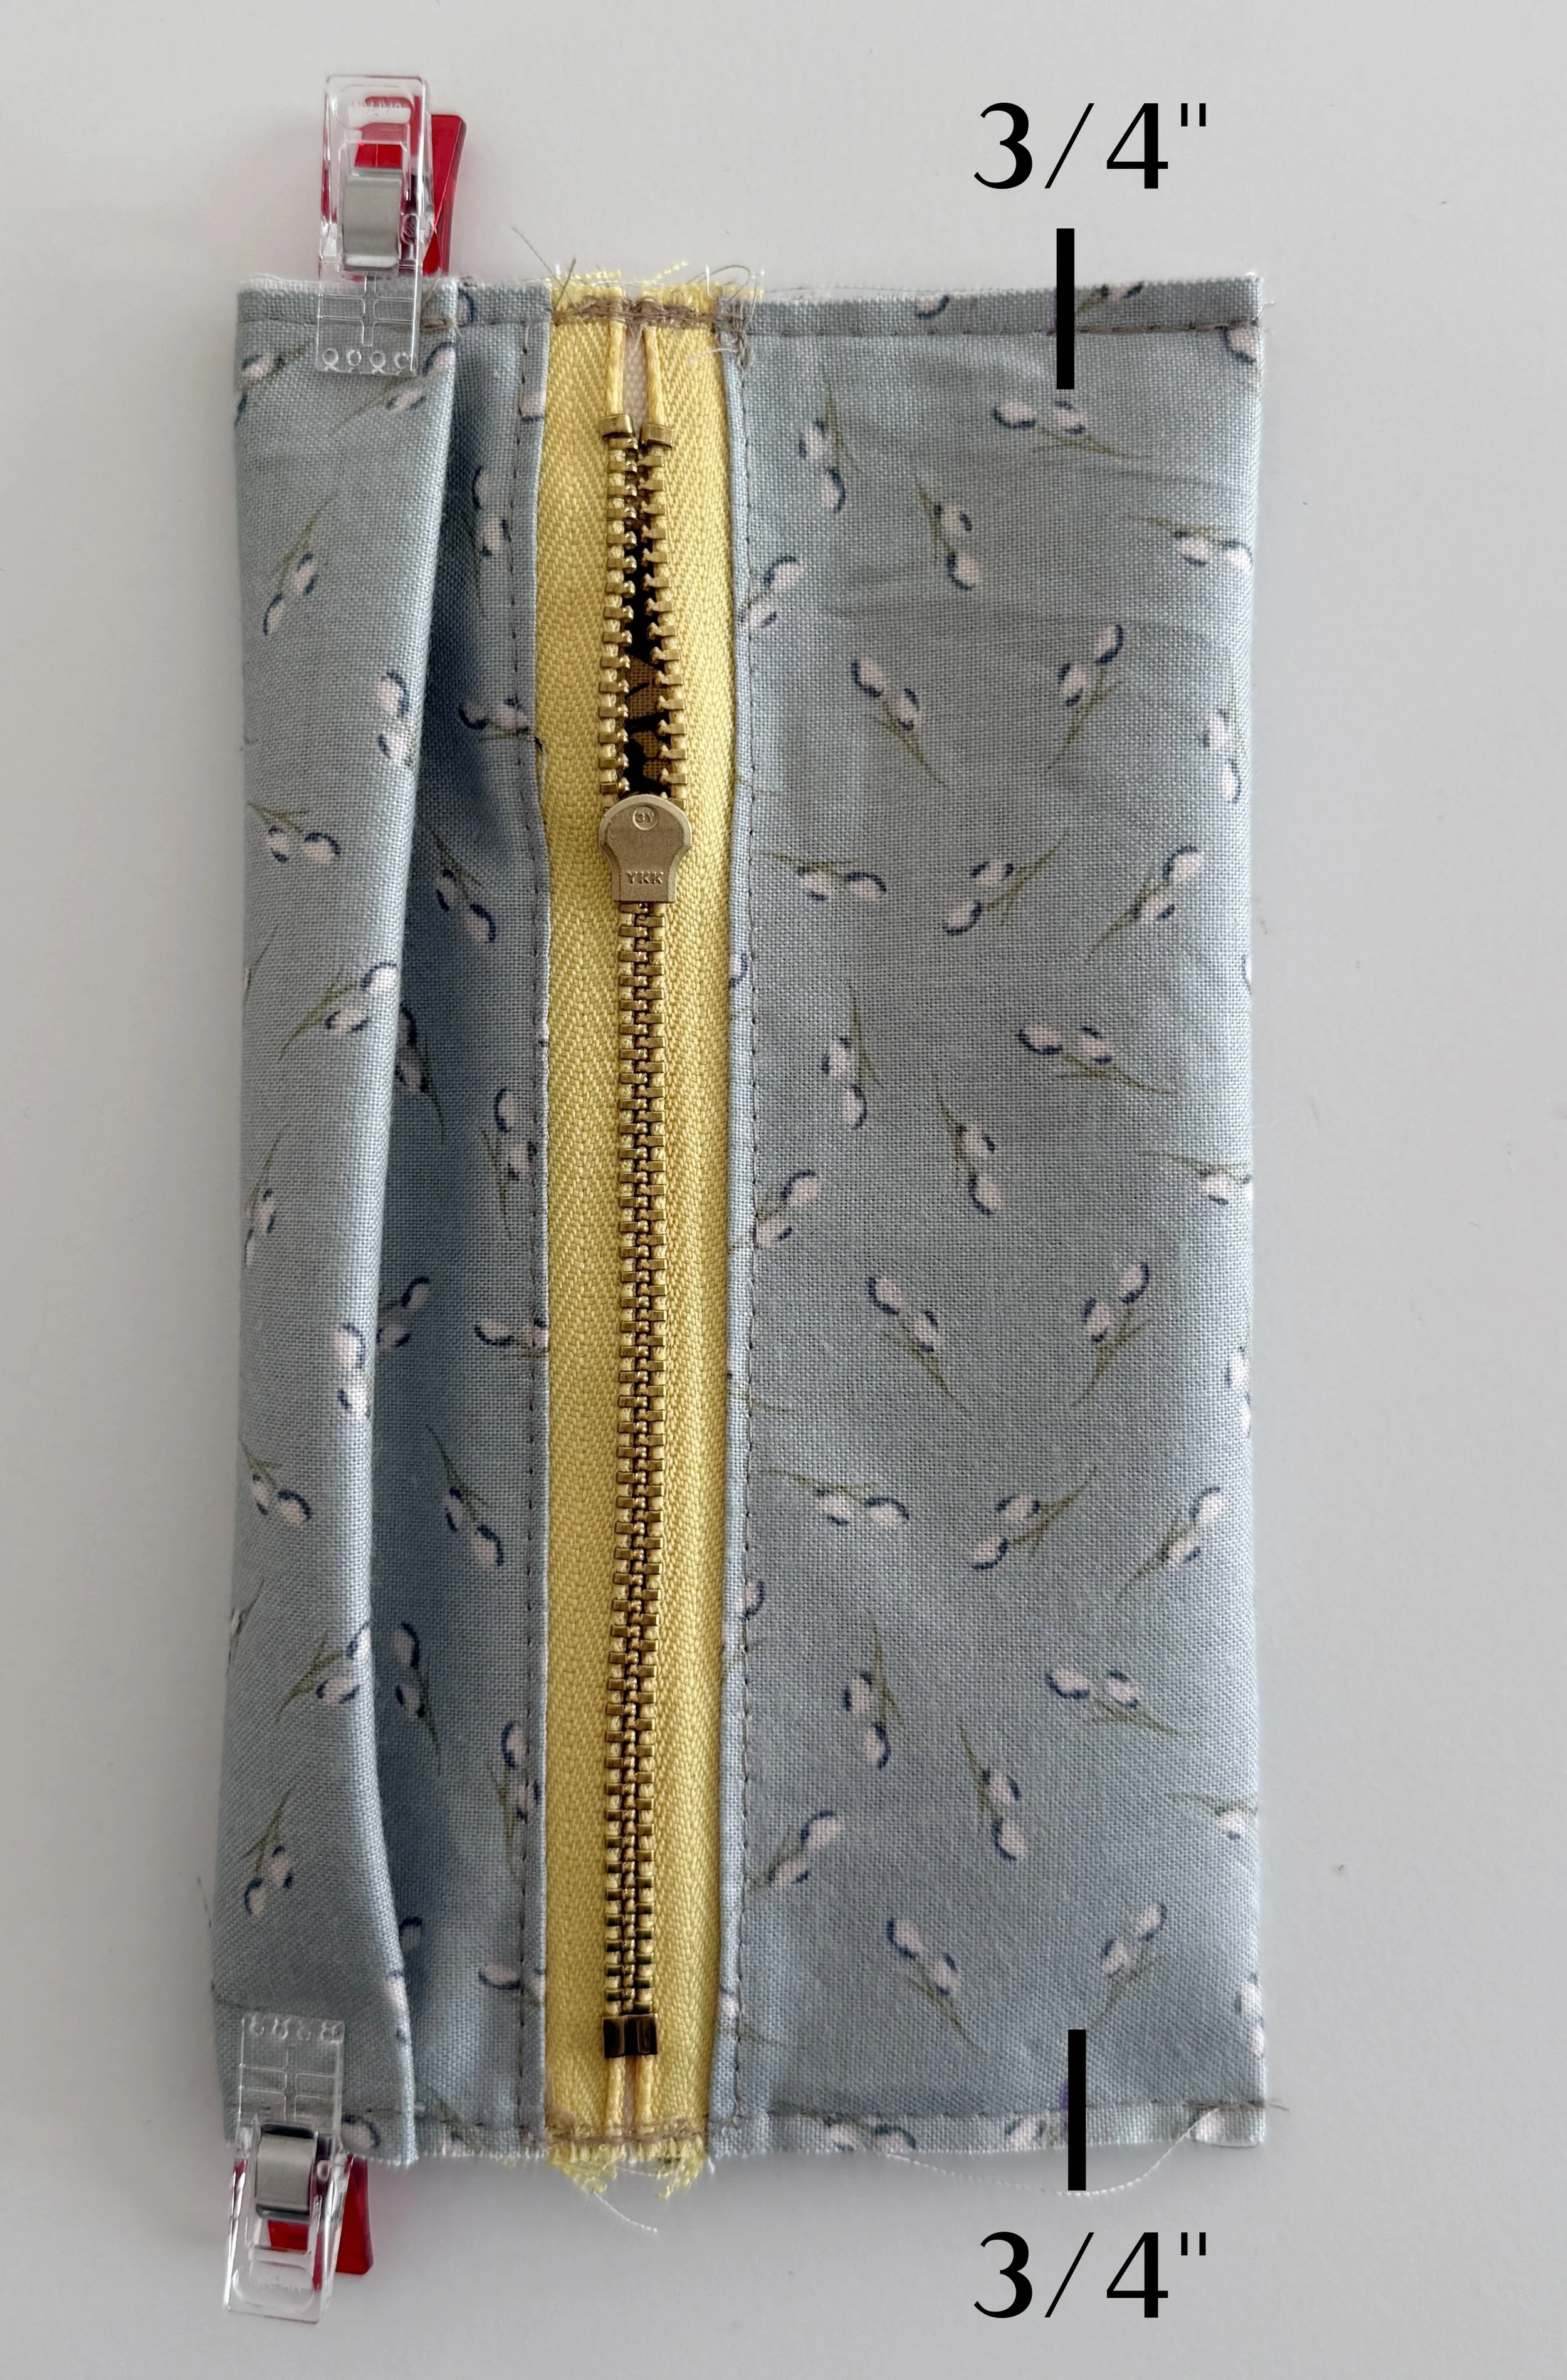
Step 8: Place one binding right sides together with the back side of the pouch (there will be about 1/2’’ of binding extending on both sides). Use 1/4’’ SA to attach the binding to the pouch. Flip the pouch over, wrap the binding around the pouch’s edges (watch a quick video tutorial on how to do it HERE). Use 1/8’’ SA to attach the binding in place, backstitching at the beginning and end.
Step 9: Add the second binding to cover the remaining raw edge.
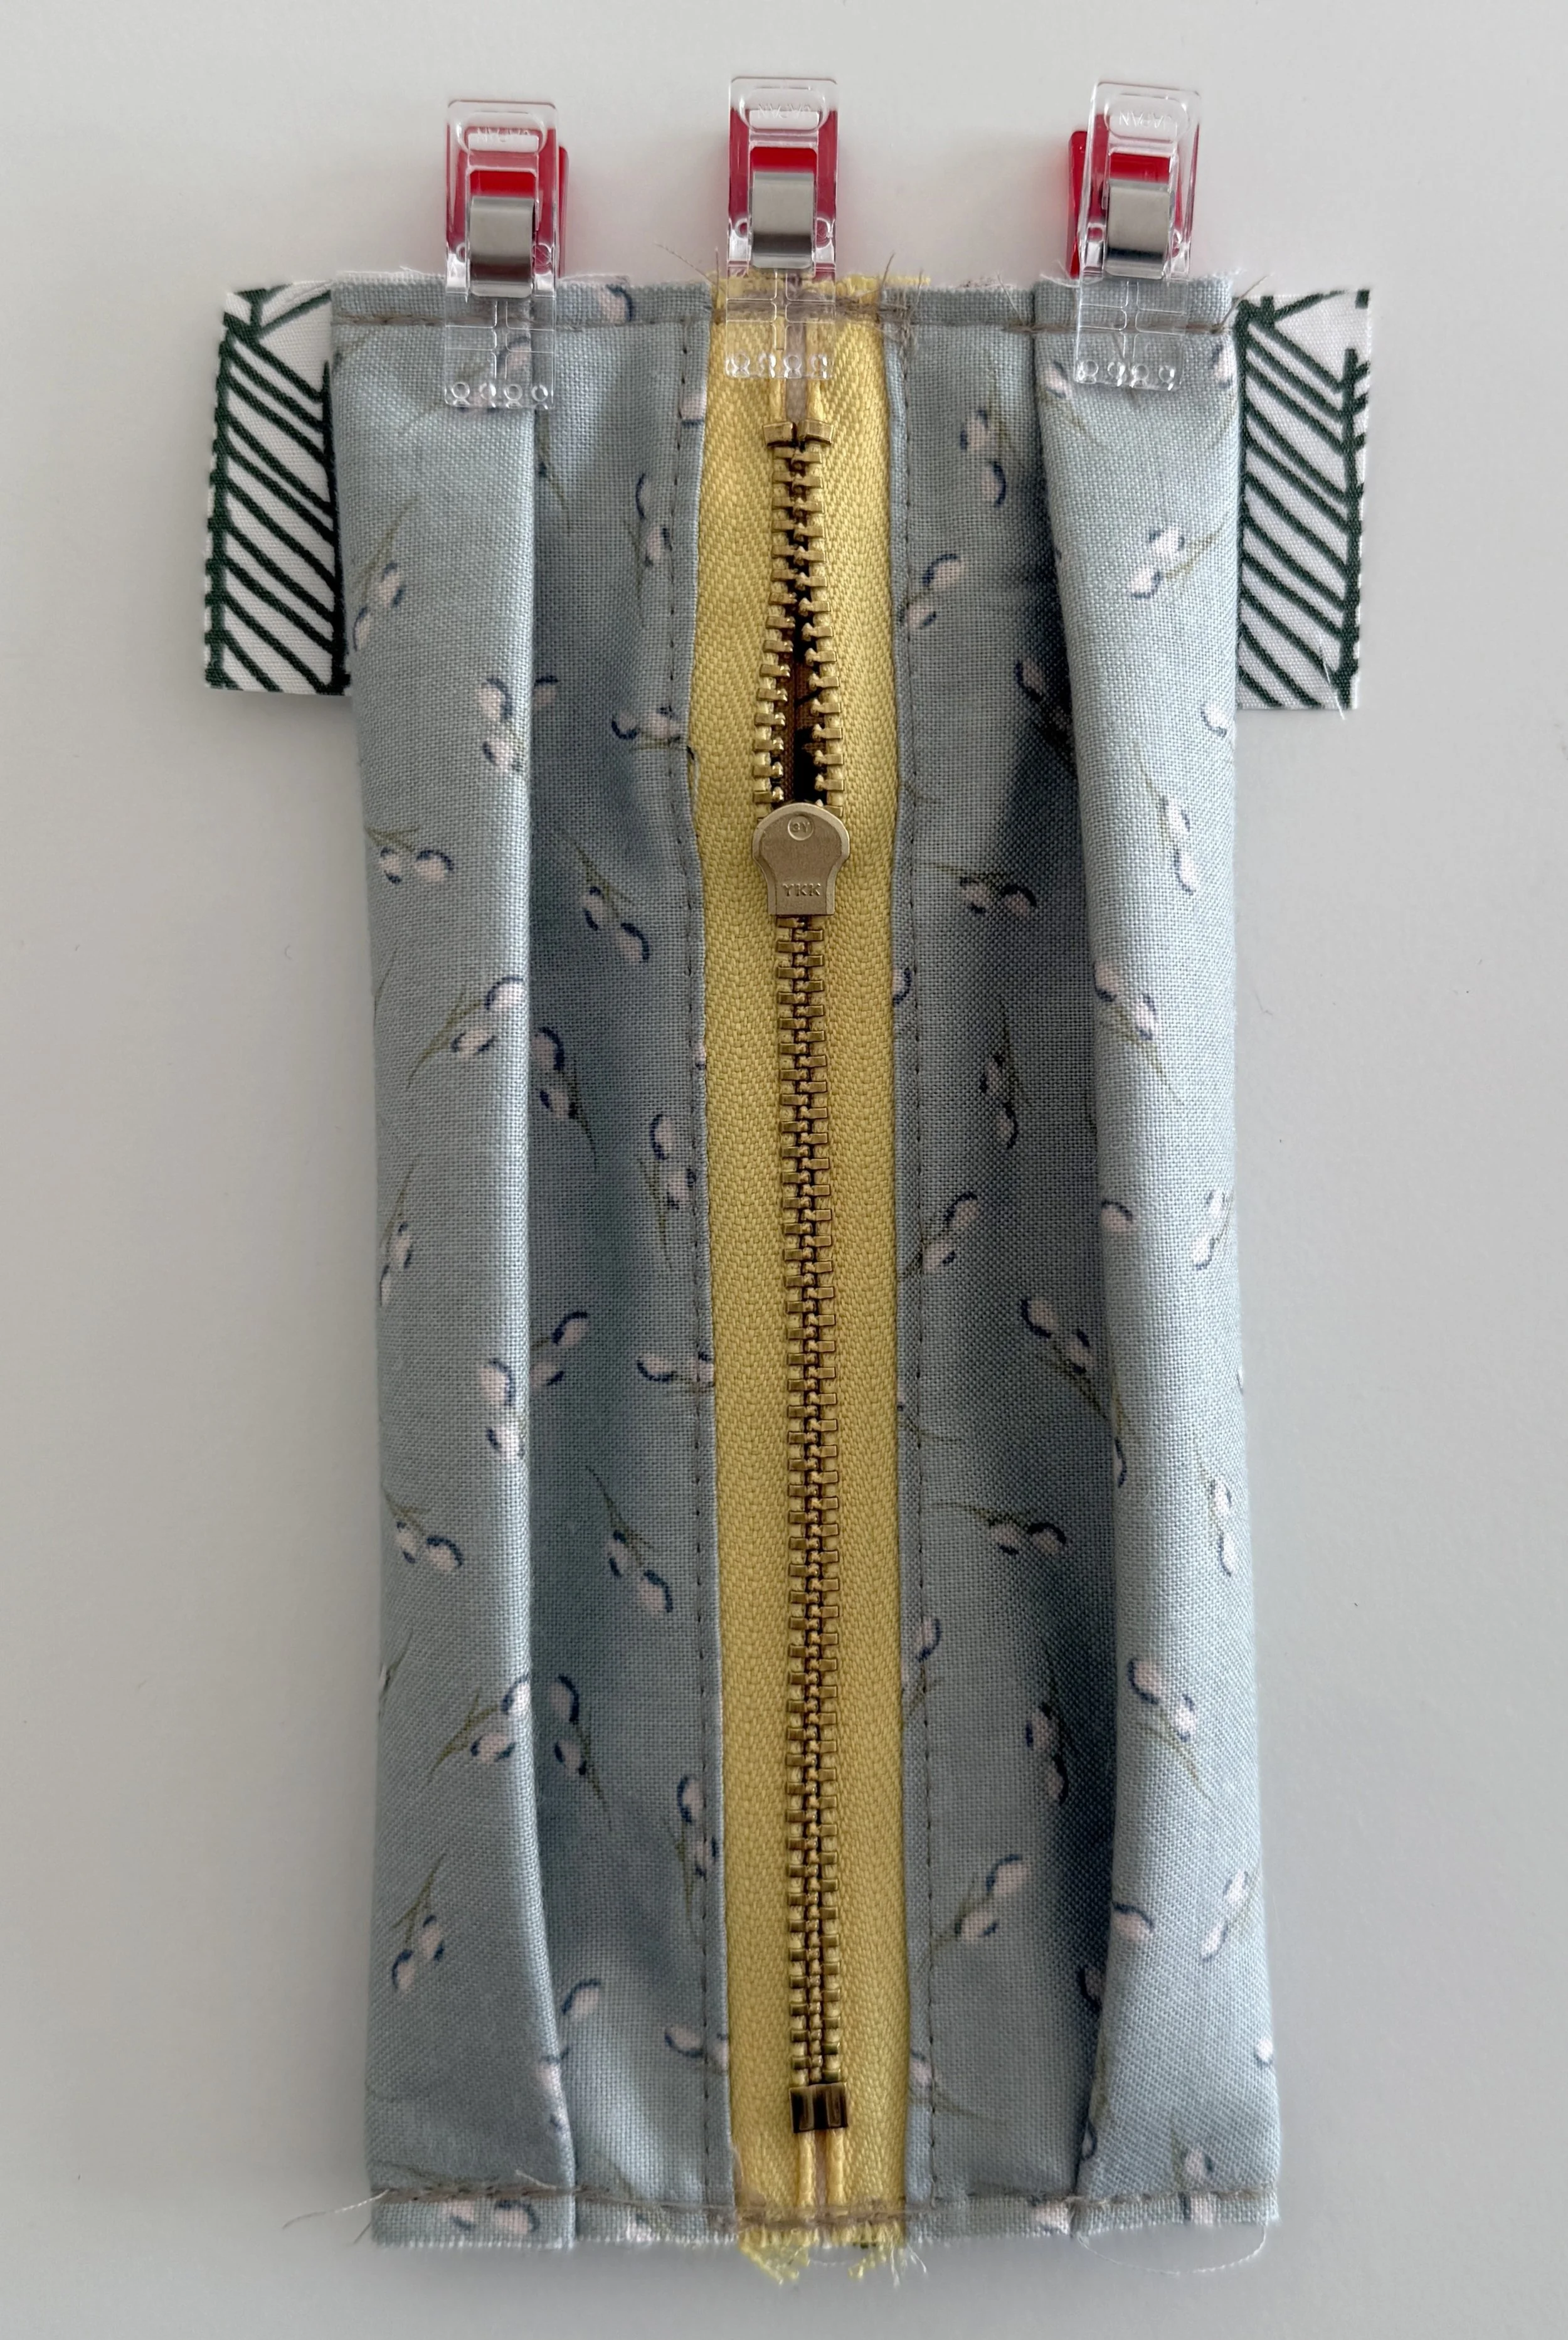
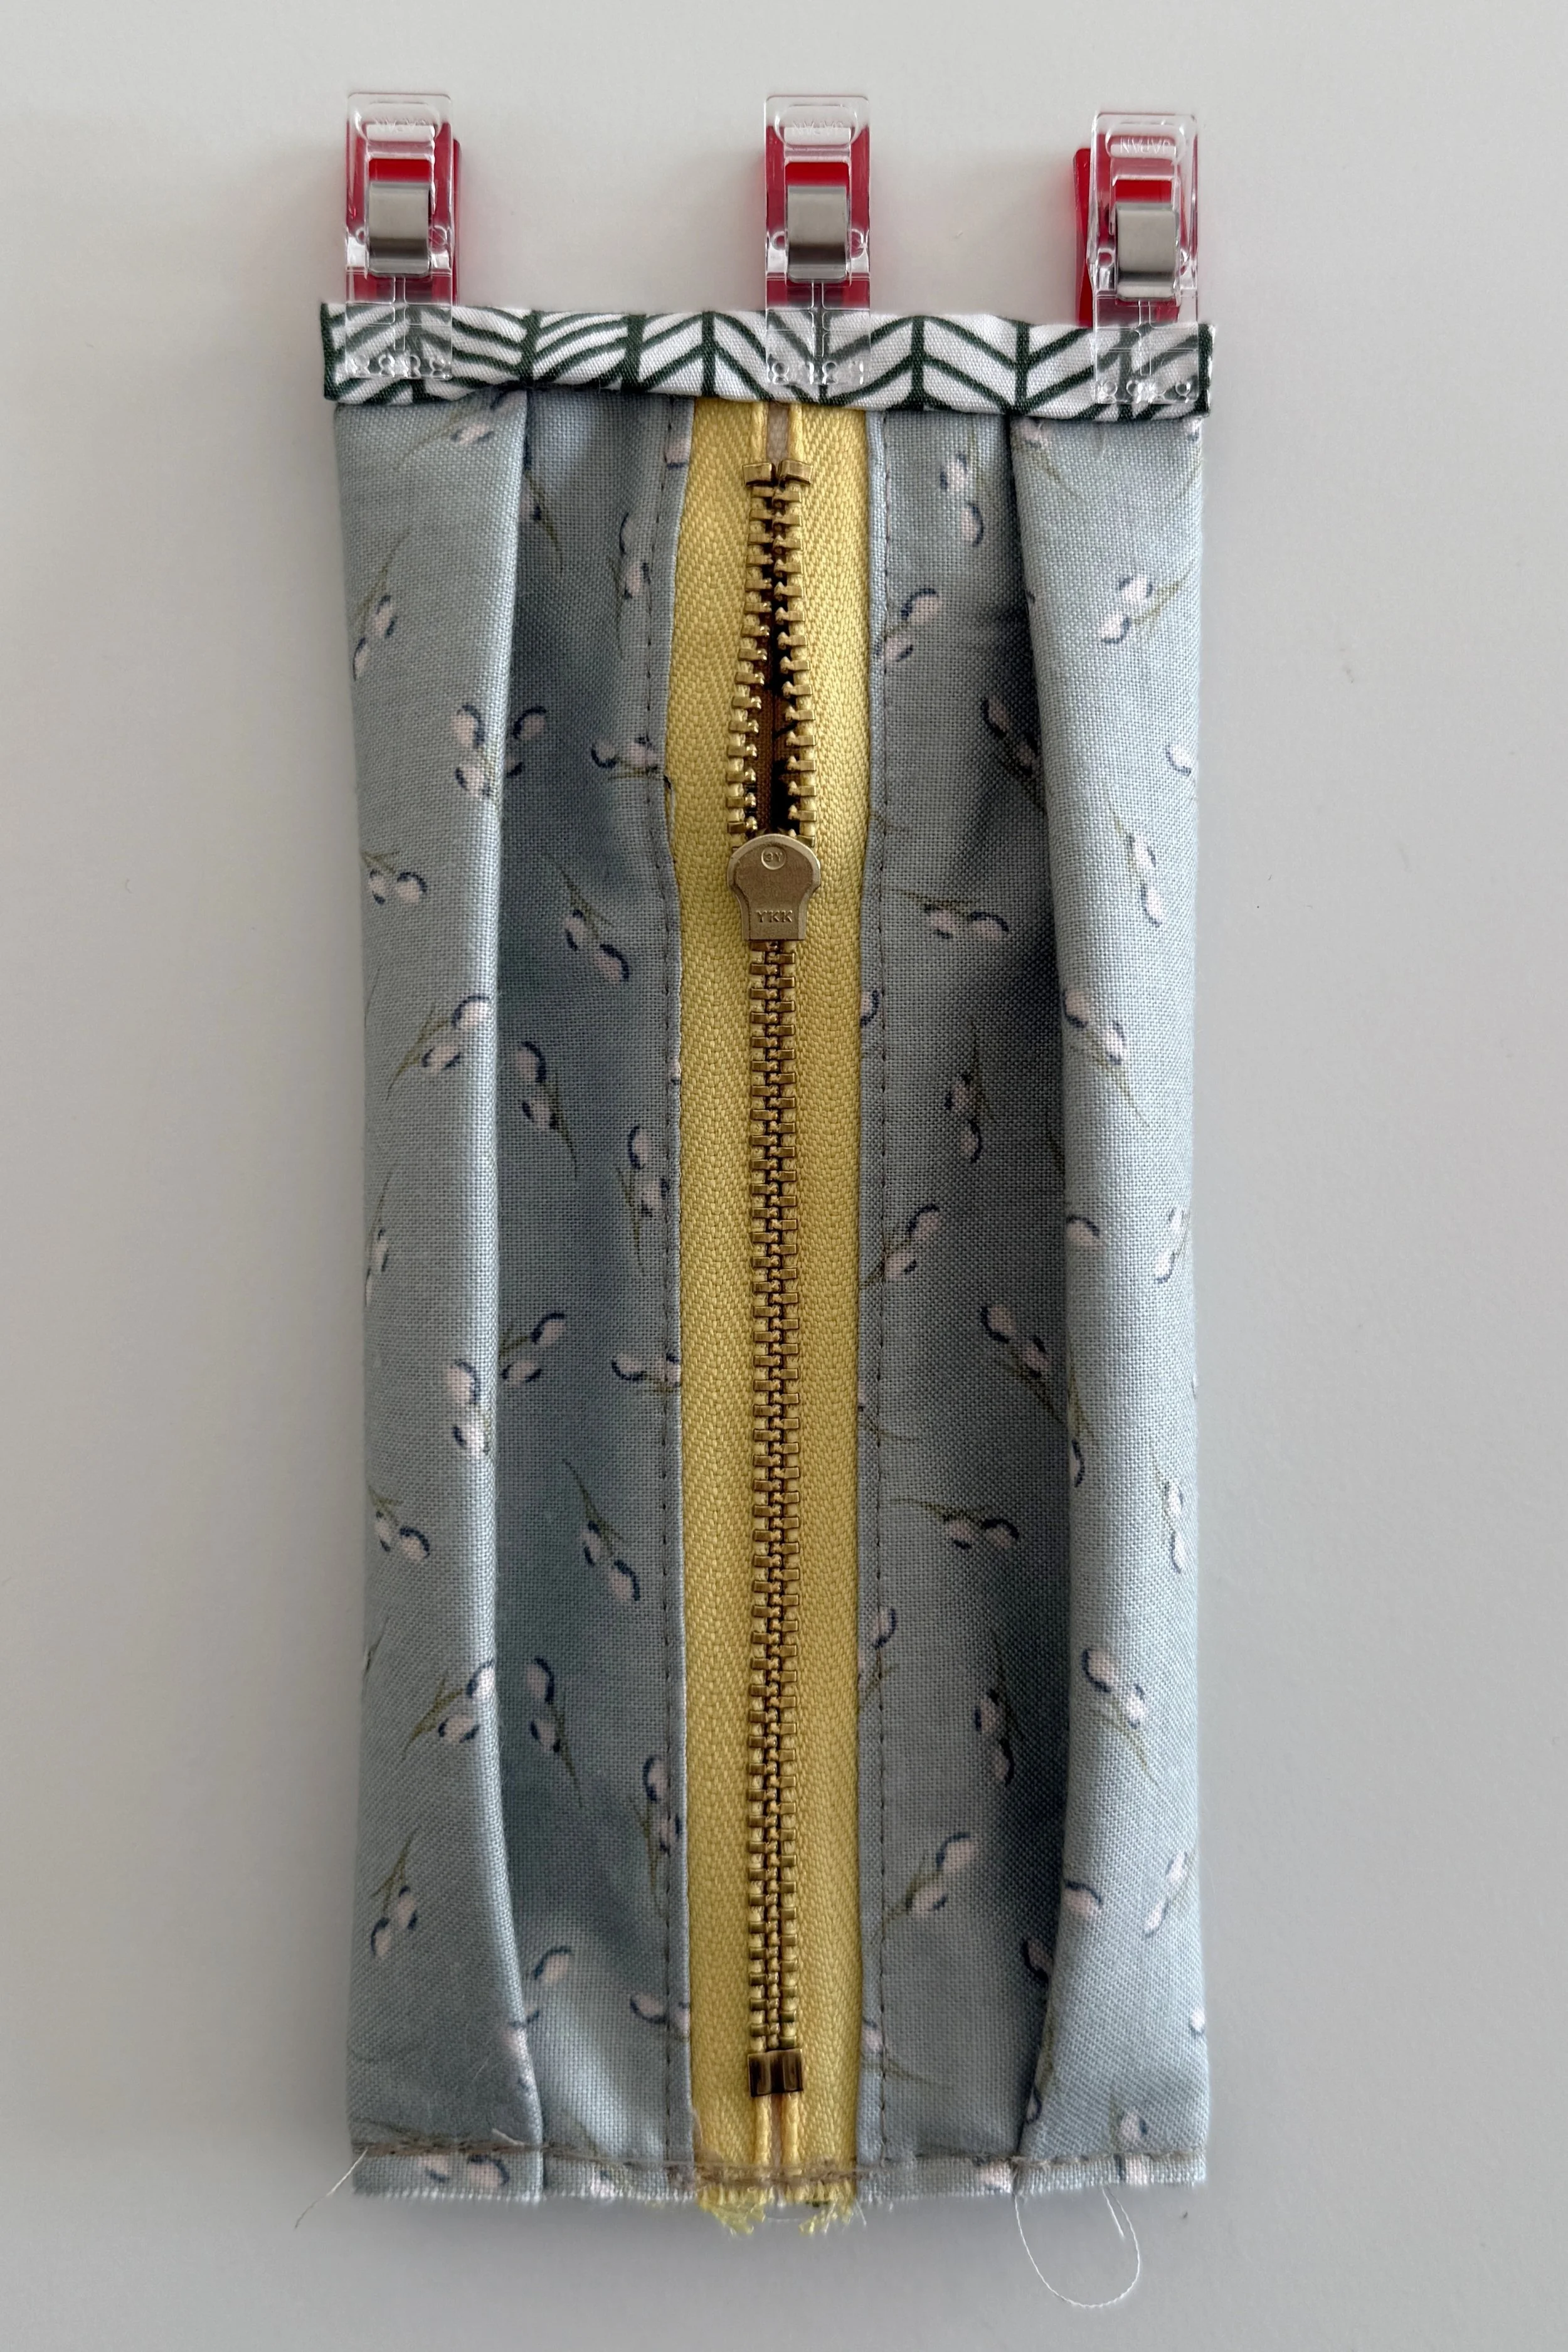
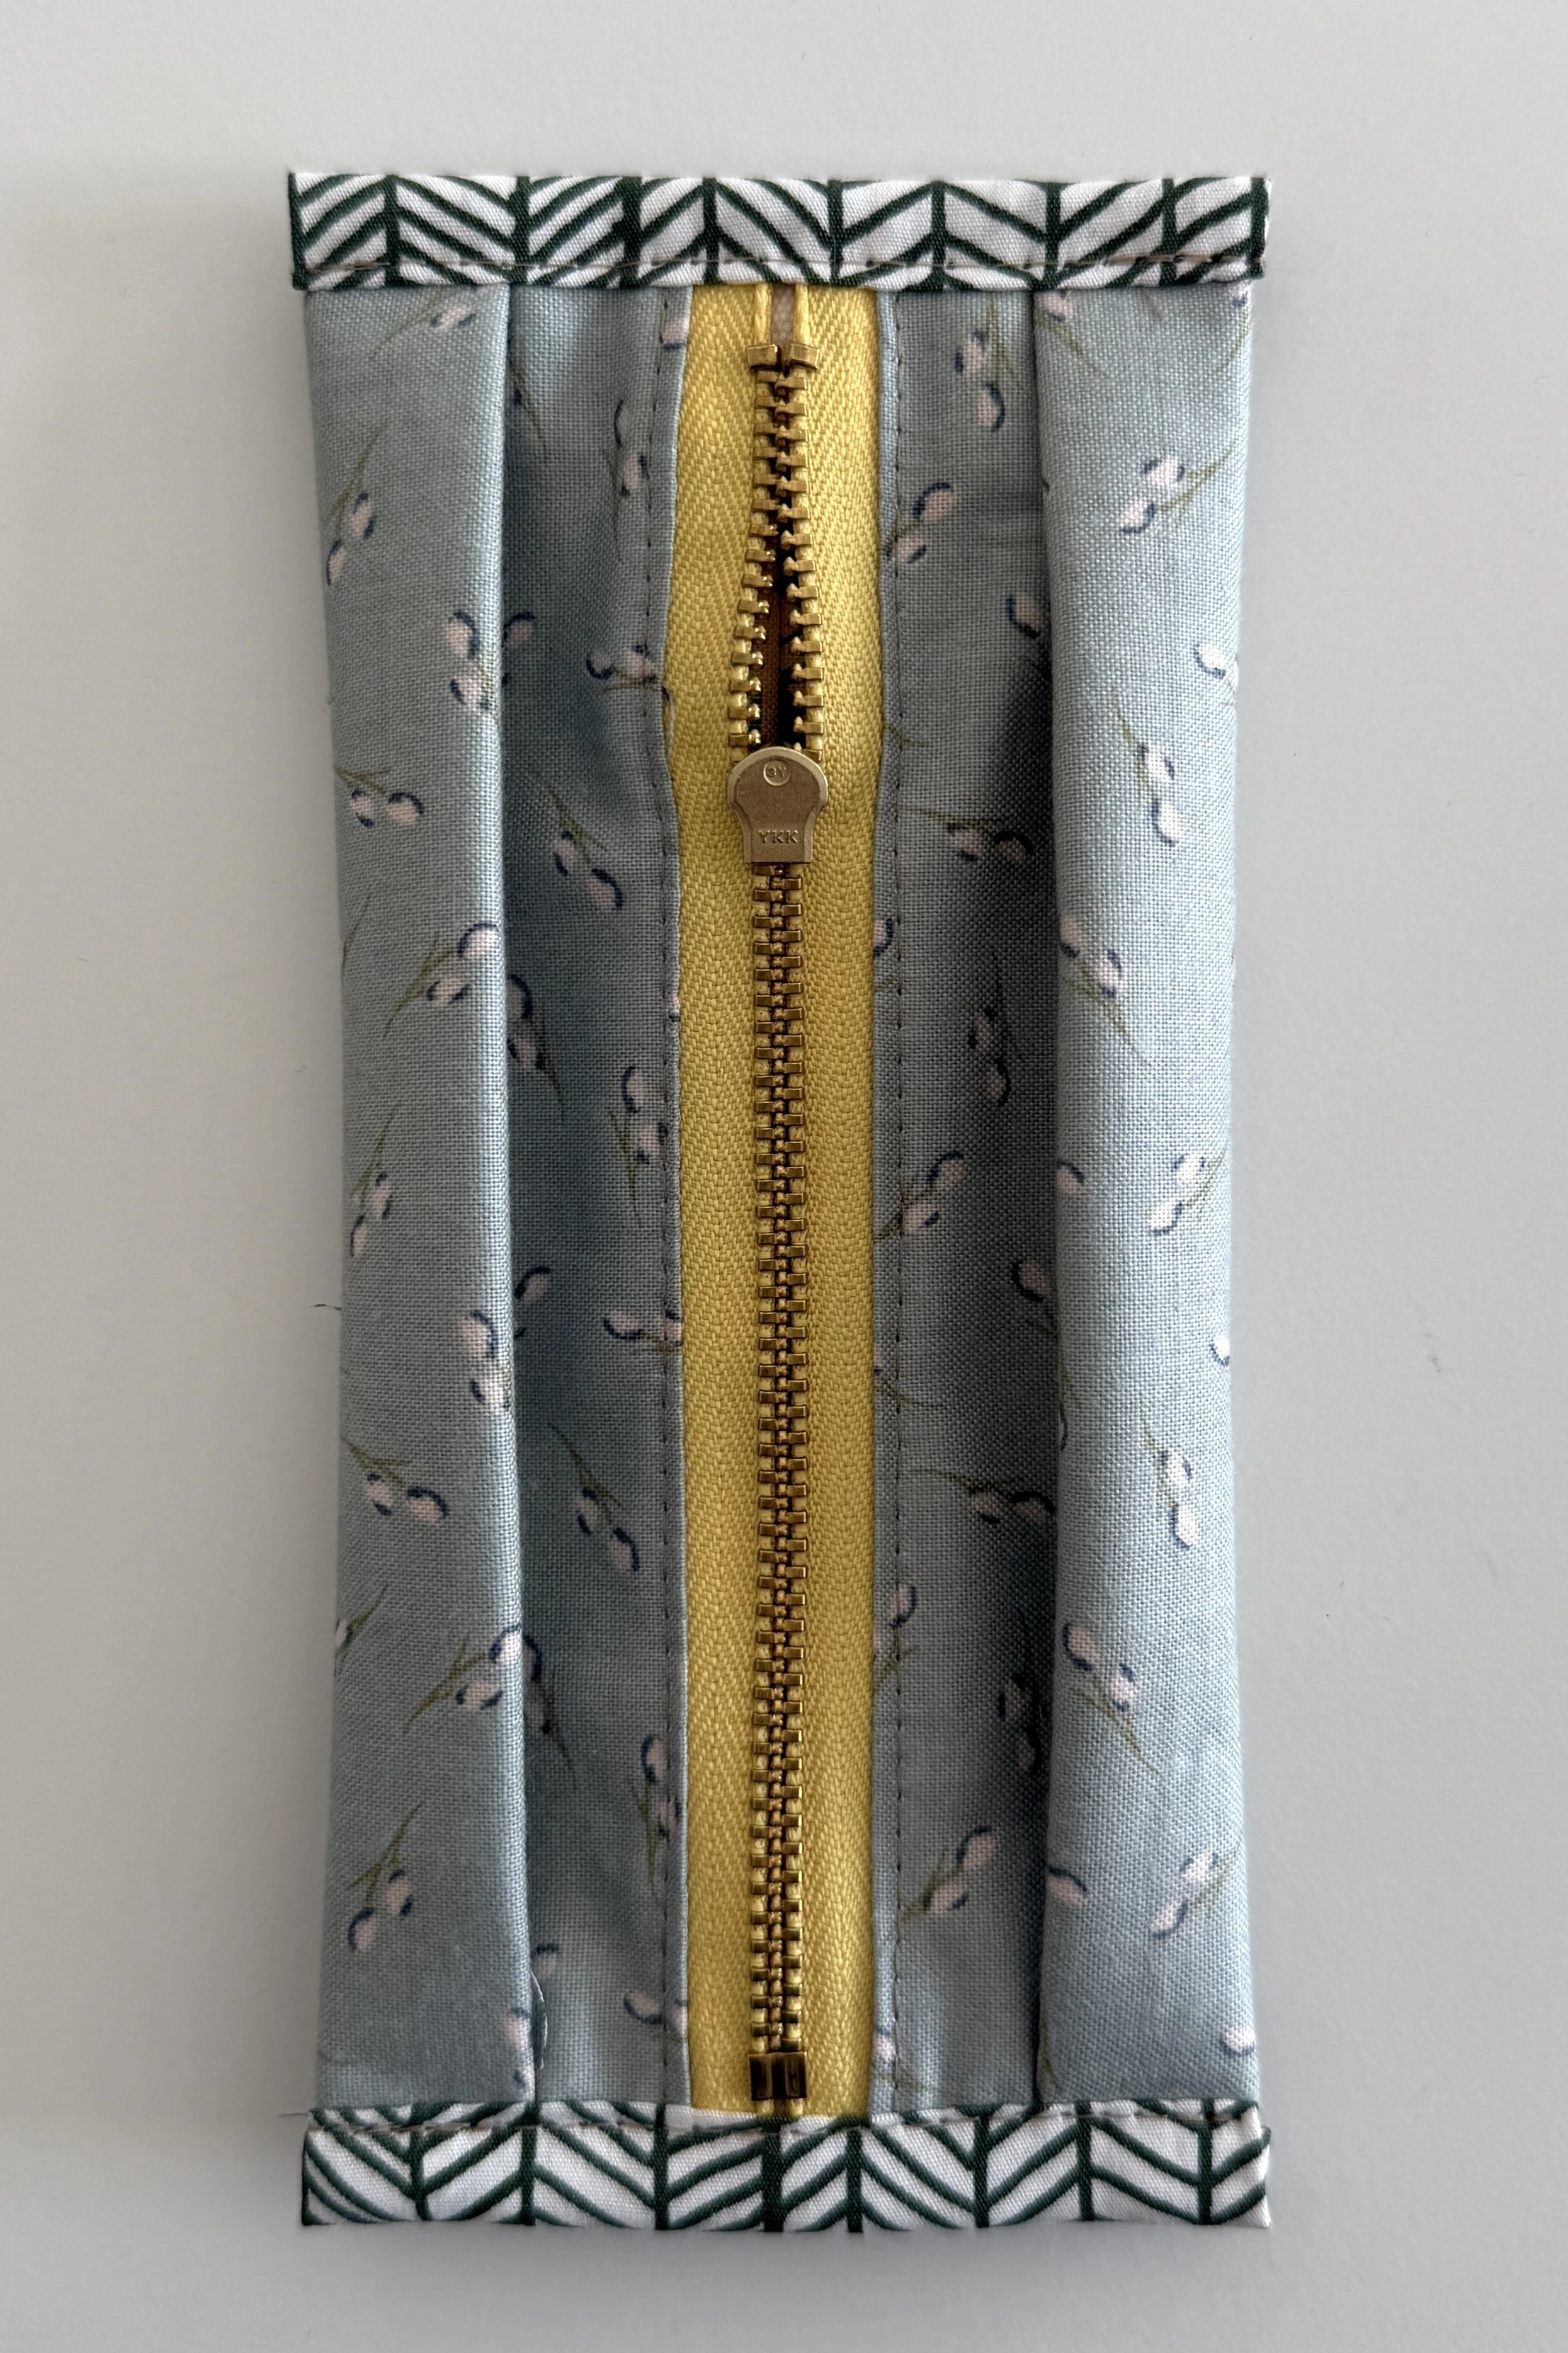
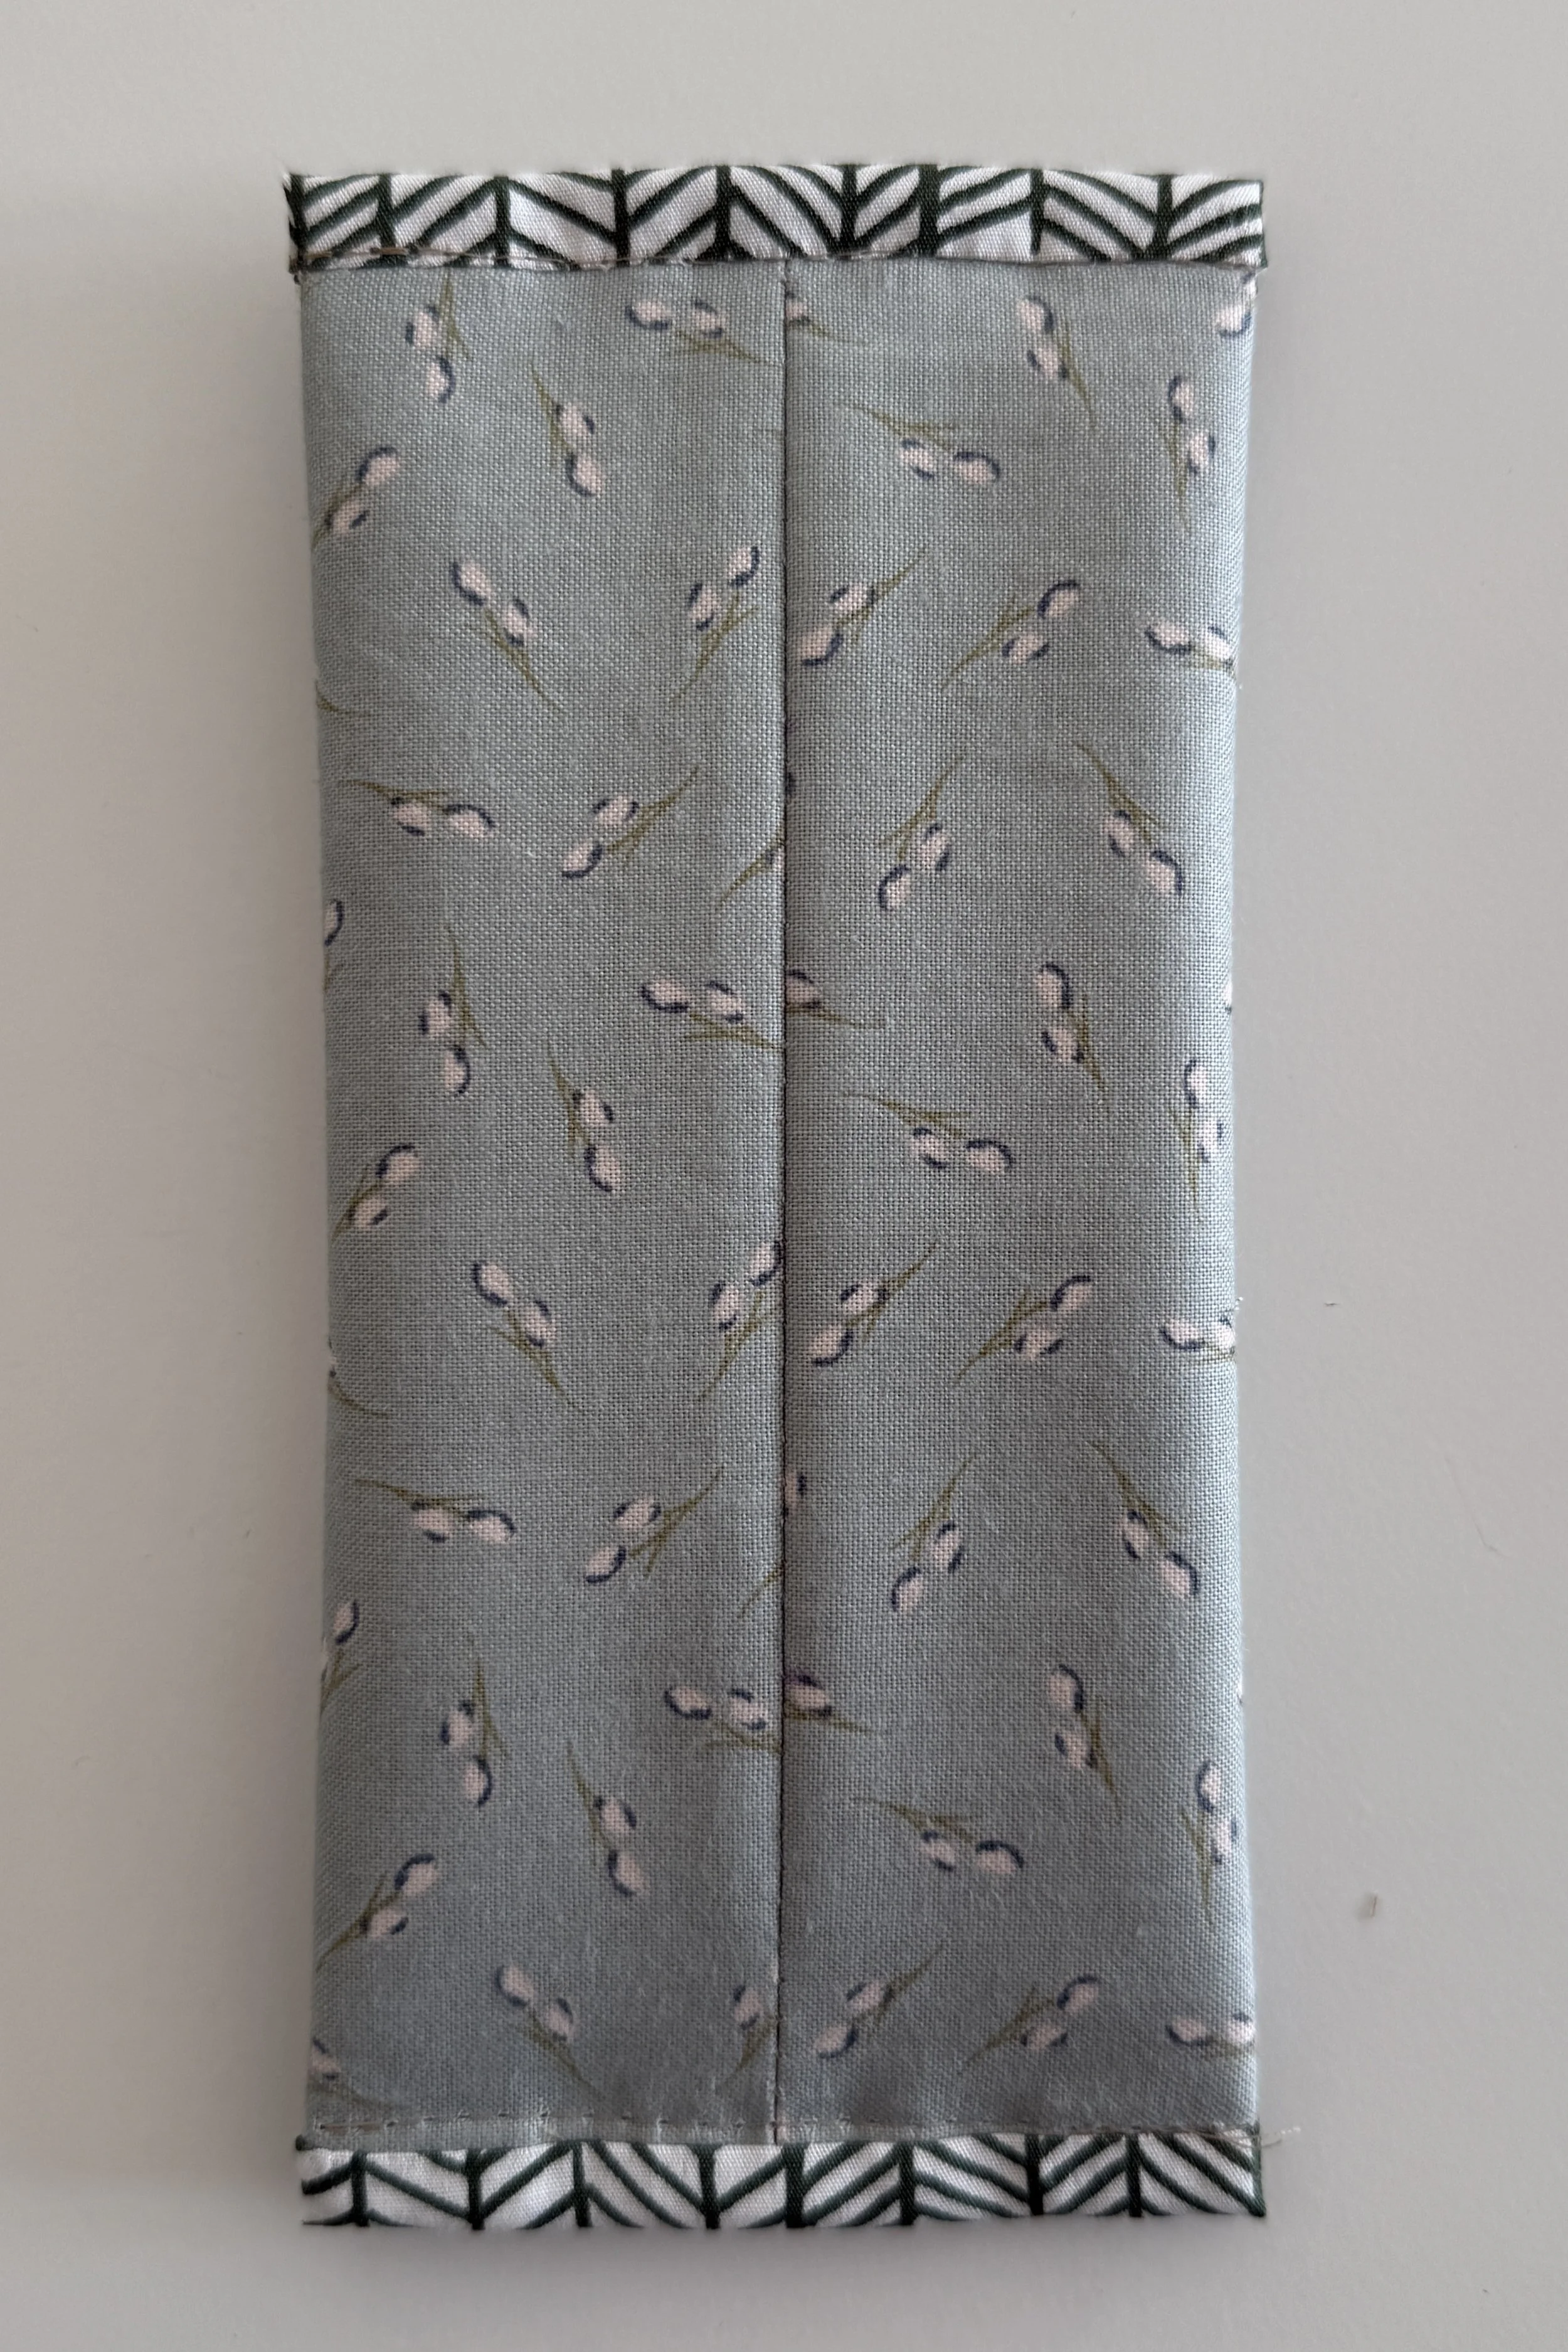
Step 10: Turn the pouch right side out. Push the corners out to make them neat. Give your pouch a good press using a hot iron and lots of steam, add a zipper pull if using one, and you’re all finished. Congratulations!
I hope you give this adorable little pouch a try. I can’t wait to see all your gorgeous creations.
Happy sewing, friends!