PATCHWORK DRAWSTRING BAG FROM MY SCRAP STASH
I’ve had a little pile of fabric scraps left over from previous projects hanging around the studio for quite some time now, just waiting for their moment to shine. So, when I found myself with a bit of free time and nothing pressing on my schedule the other day, I decided it was time to turn them into something pretty and useful :)
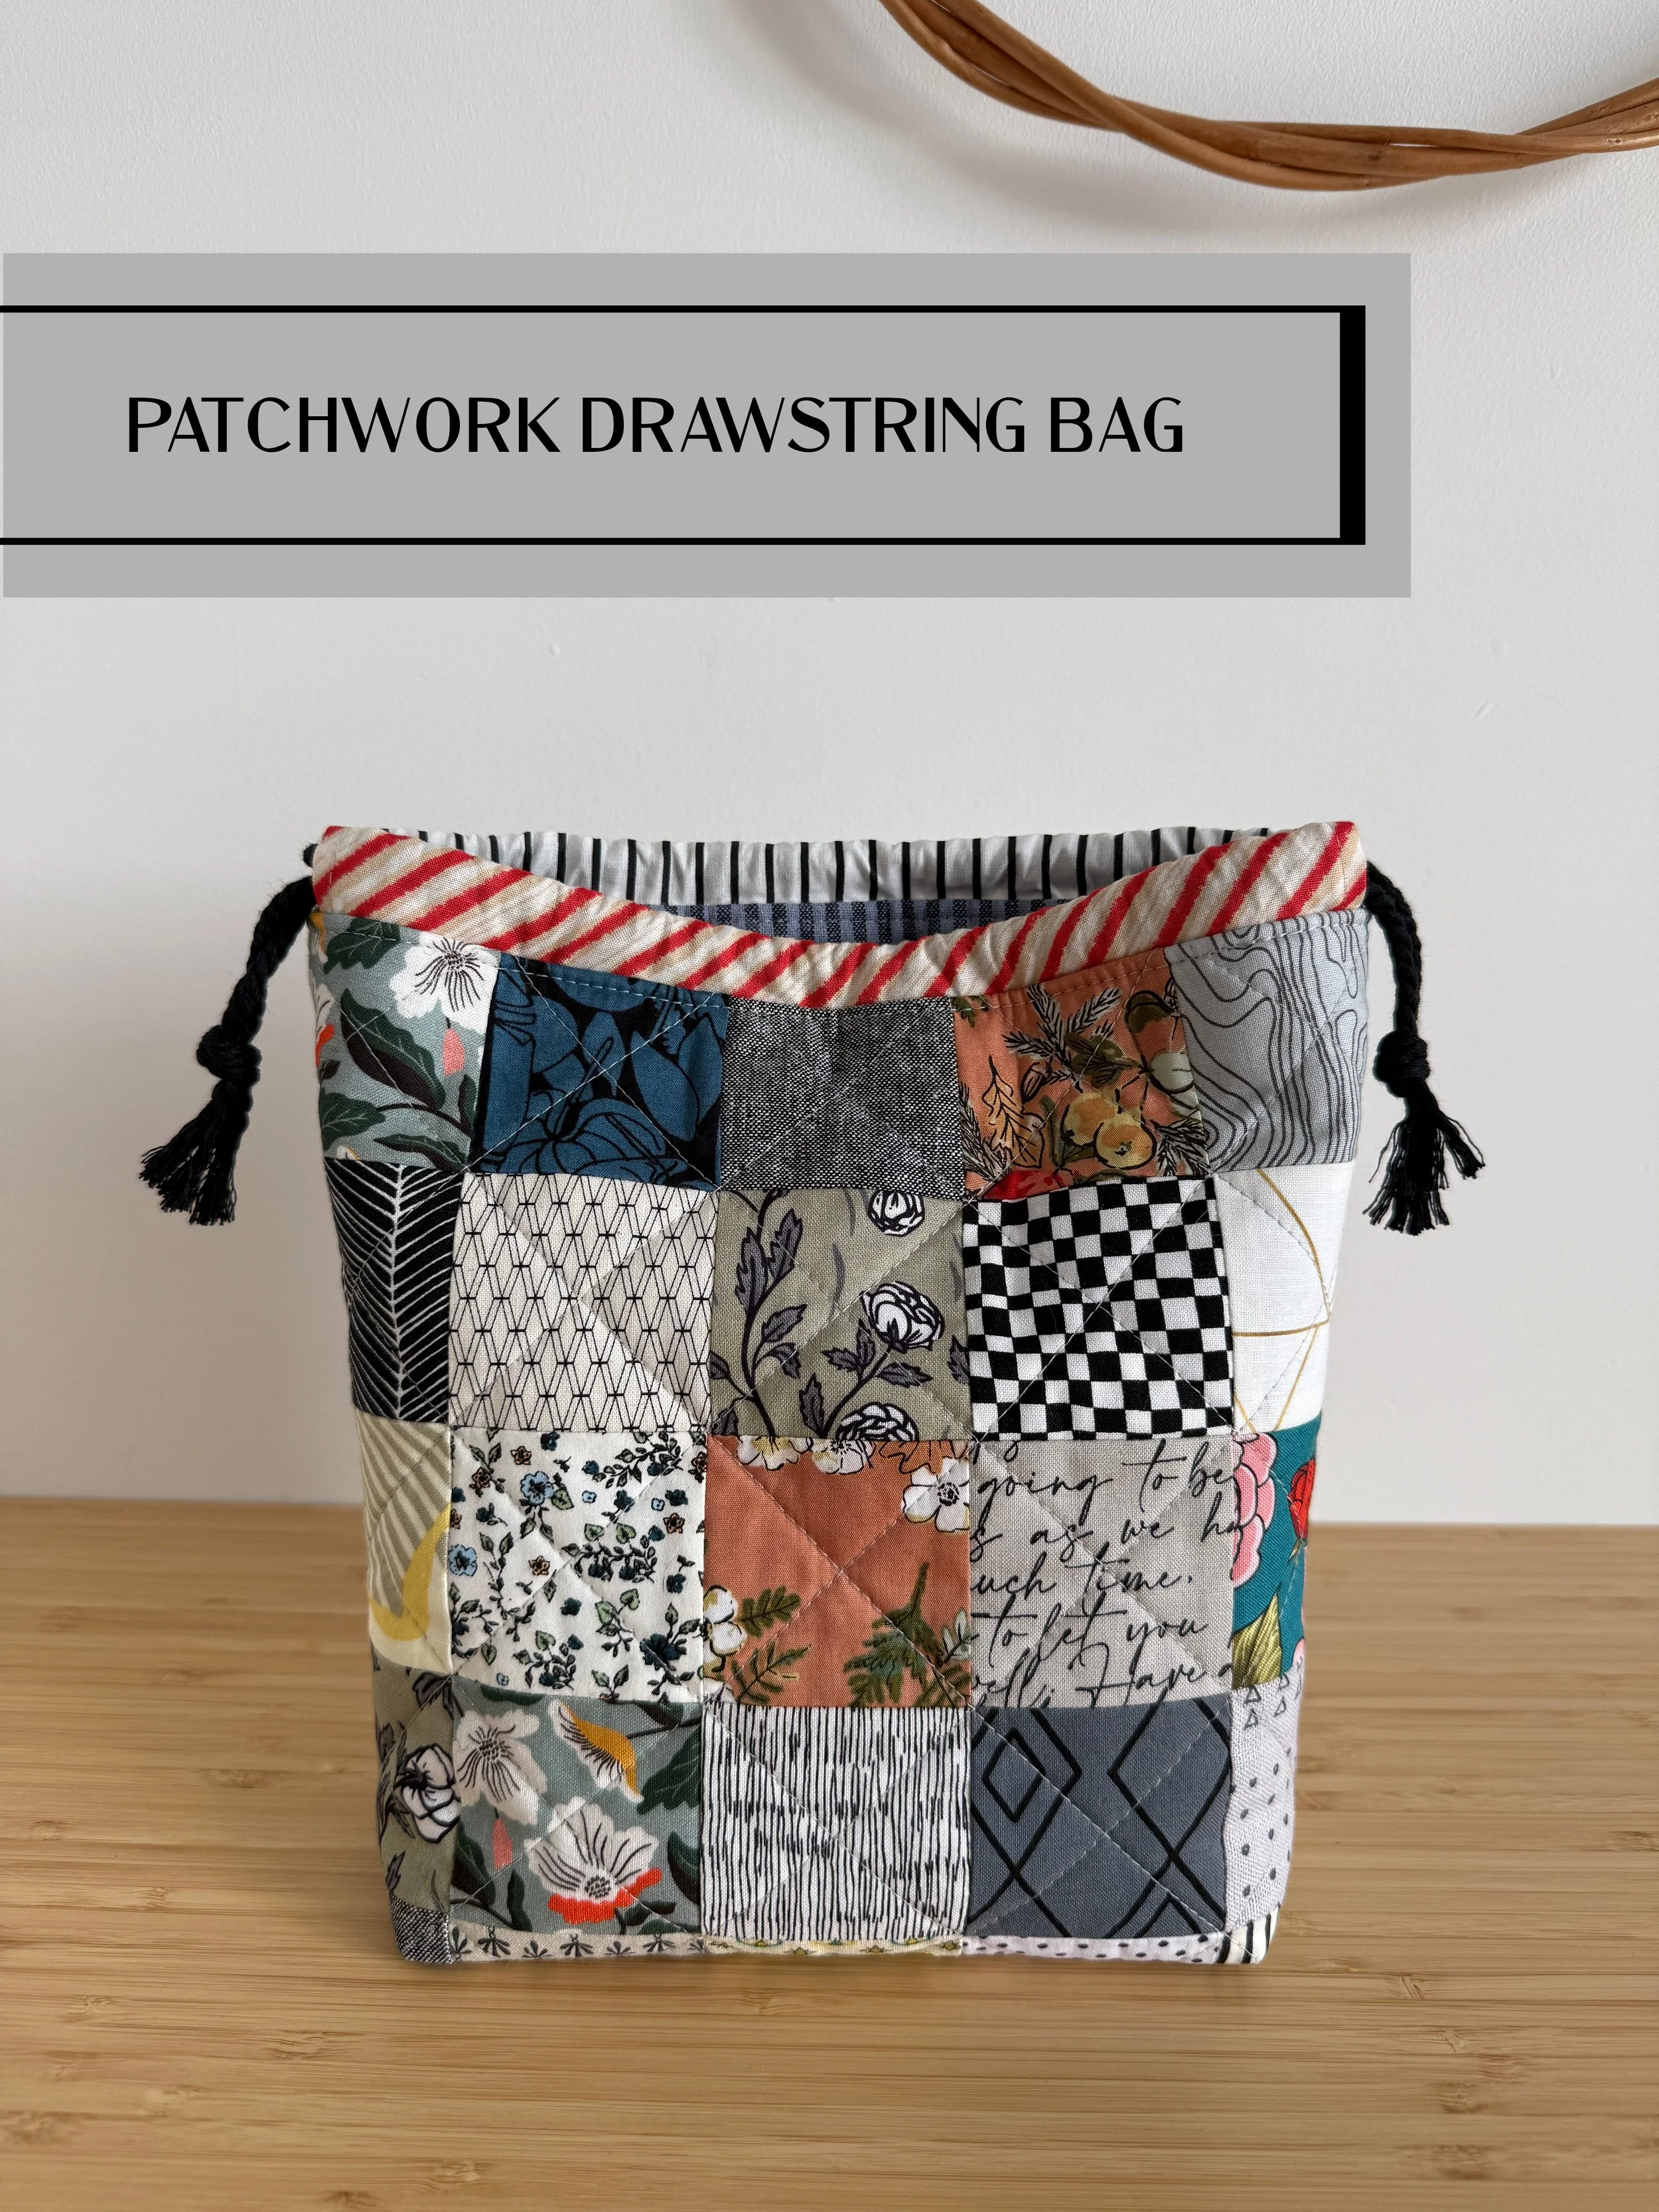
This little patchwork drawstring bag was such a quick and satisfying project, and I love that every little scrap got to play a part, making the finished piece feel unique.
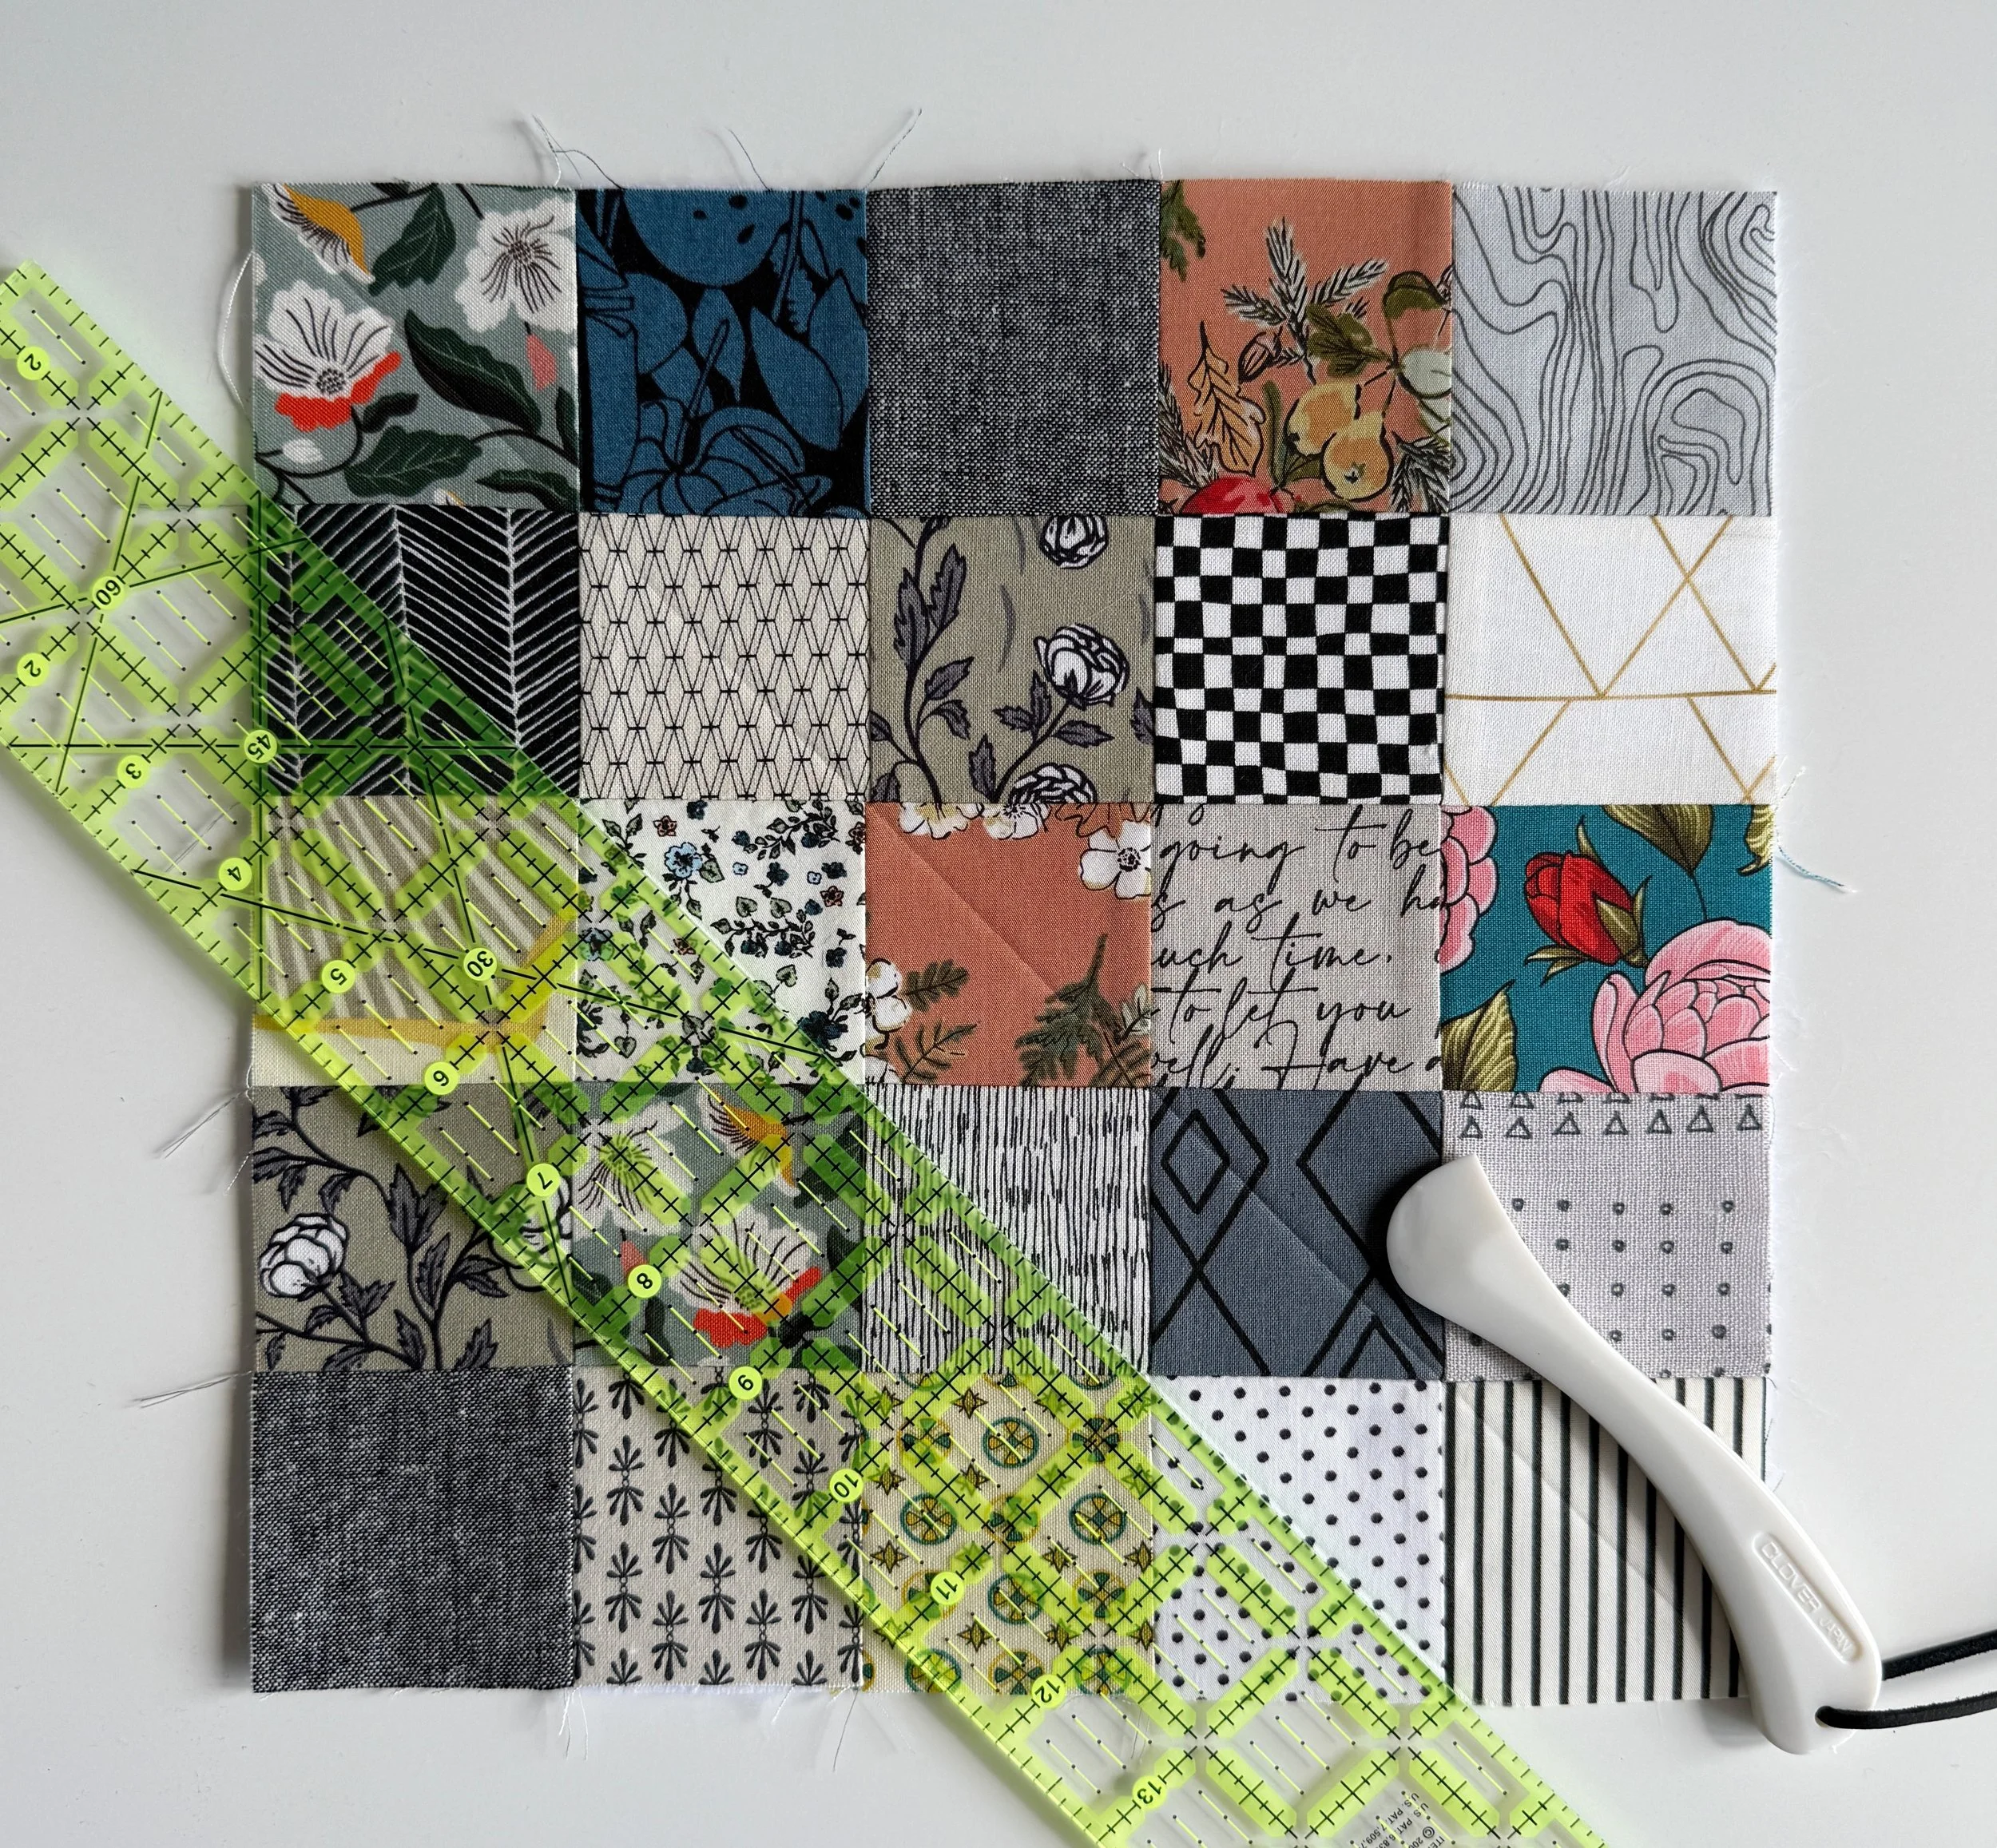
I started by trimming all my scraps into 2.5” squares. I then arranged and rearranged the pieces around until I was happy with the colour and print placement. Such fun! Once I had my layout, I sewed the squares together to create the patchwork panels.
I adhered fusible fleece to the back of my panels for extra stability, and quilted them in a grid pattern.
I wanted my quilting lines to be as straight as possible, so I used my favorite quilting ruler and Hera marker to draw my lines before I started quilting.
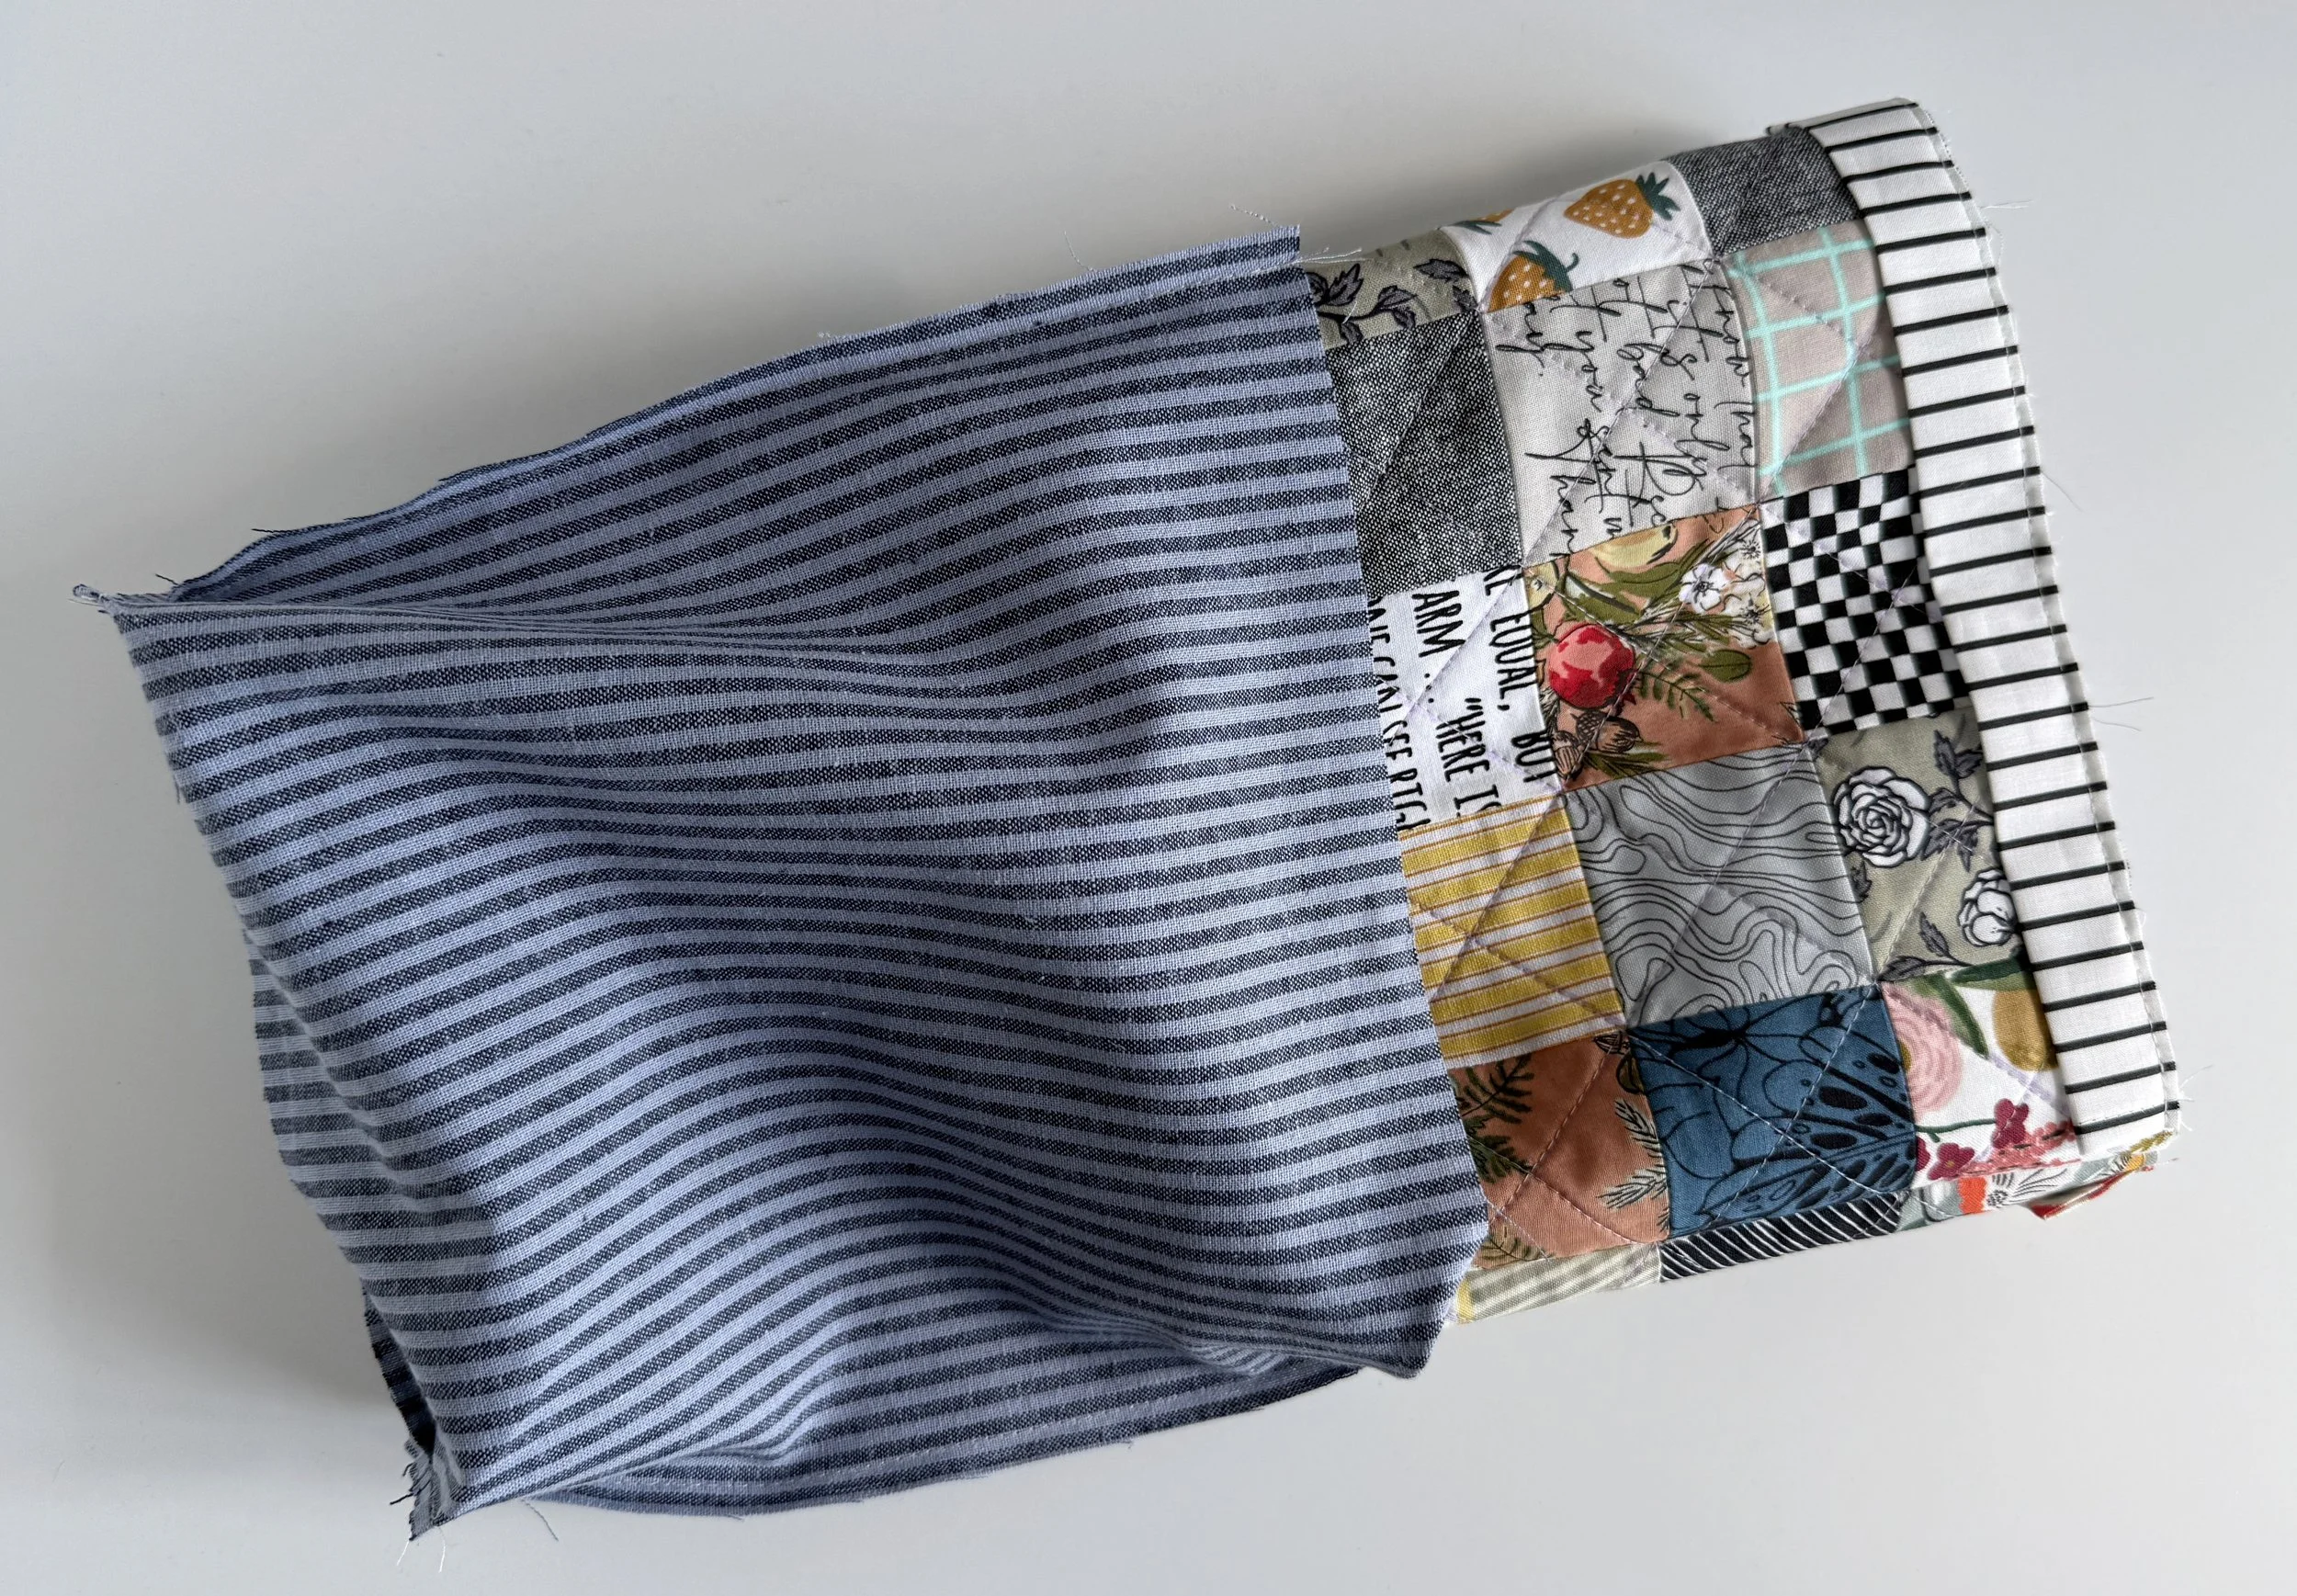
I followed my Drawstring Bag Pattern and, as usual, I added a lining. I always prefer to line my bags. Not only does it give the finished piece a lovely polished look, it also makes the bag feel just a little more special.
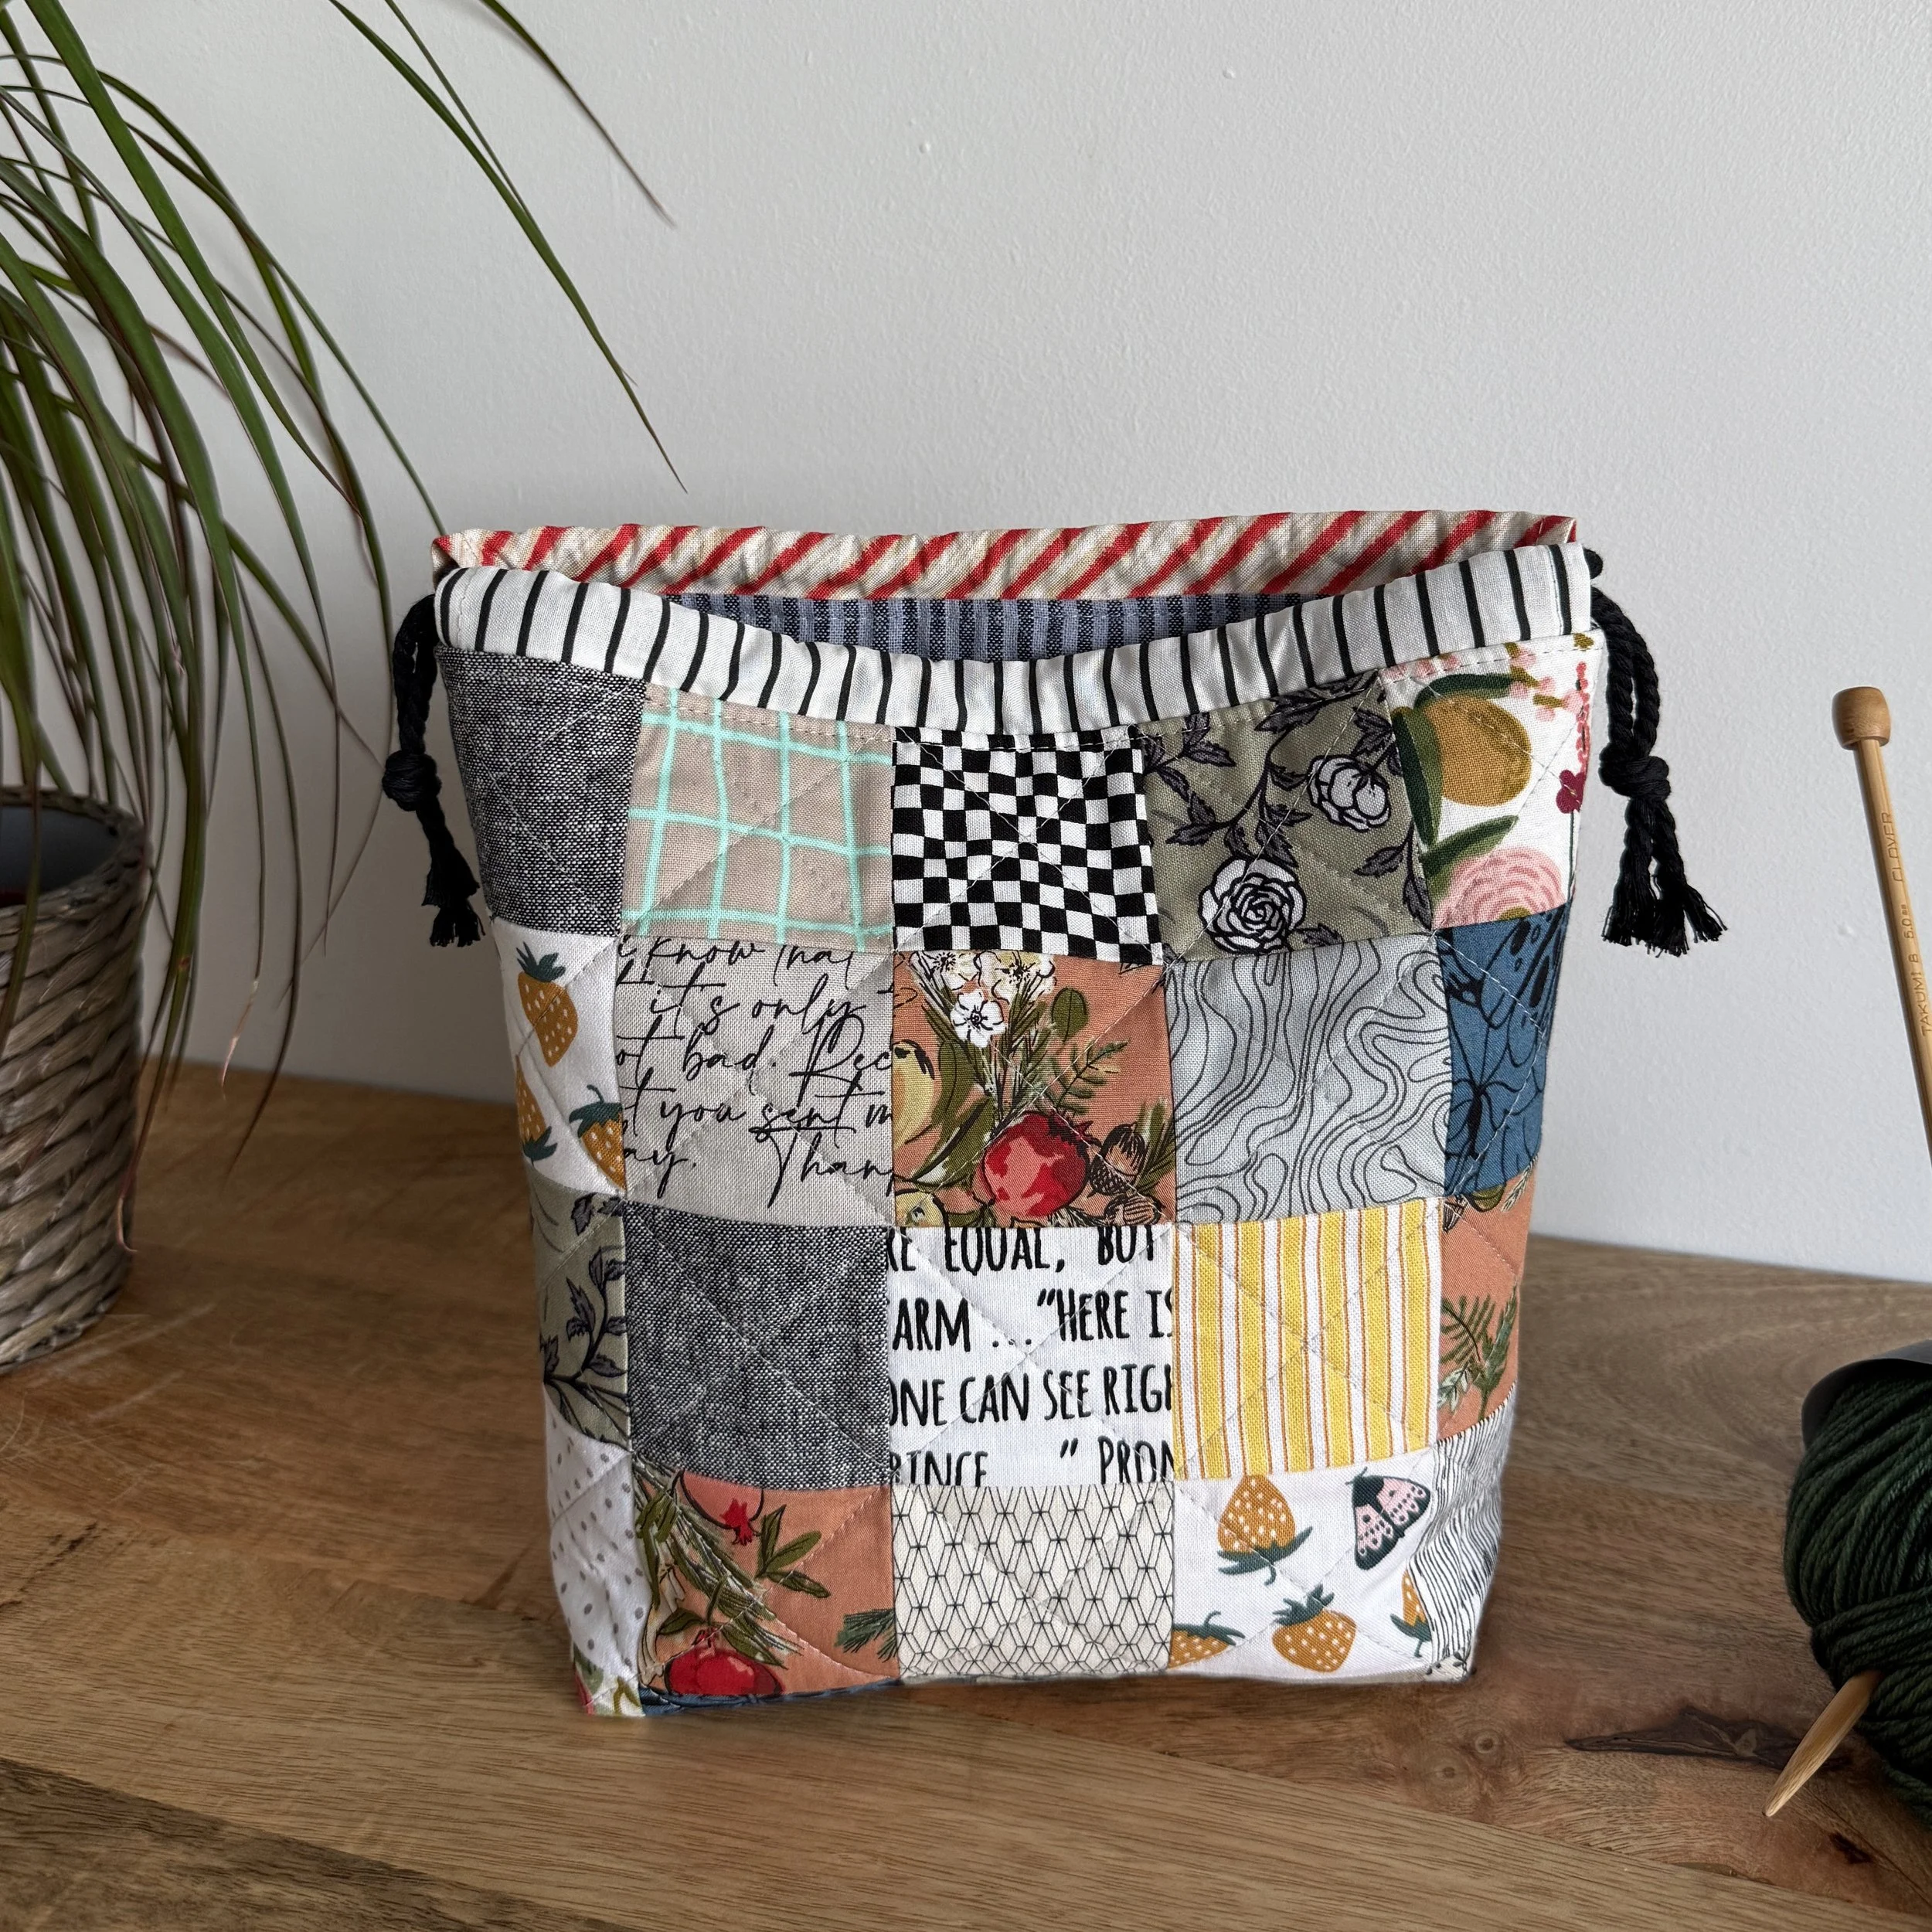
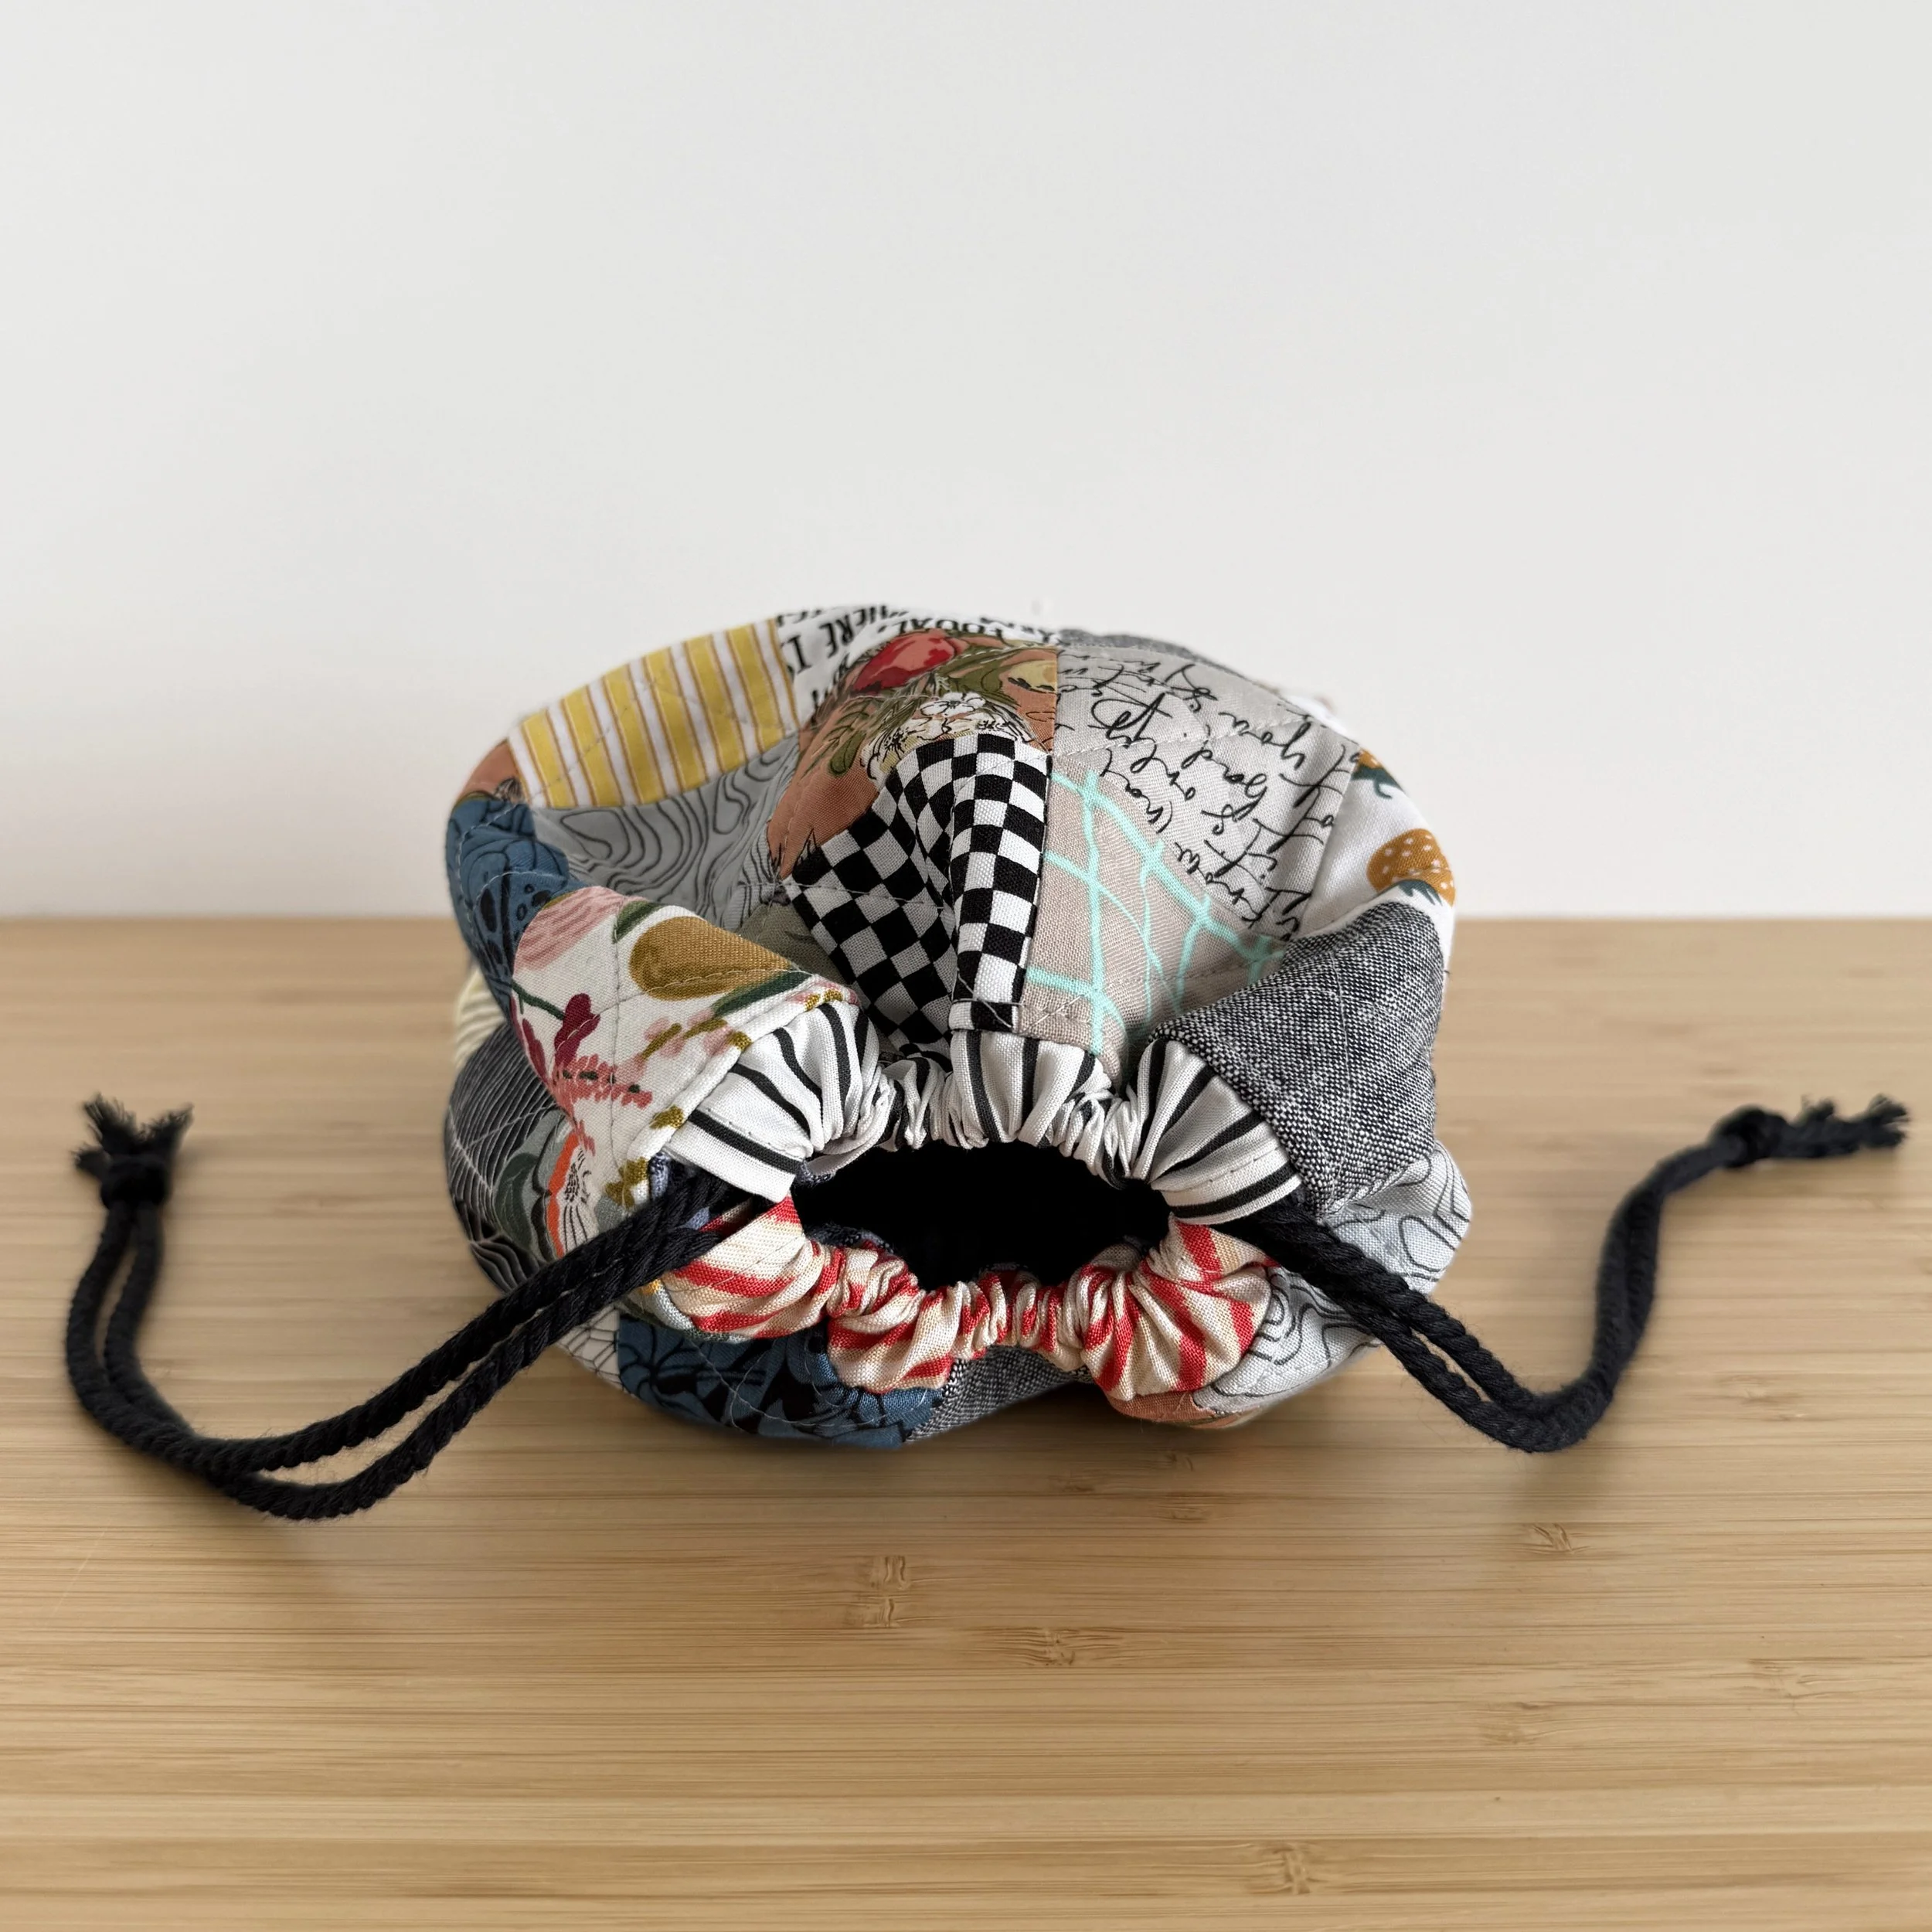
For the drawstring casing, I used two different prints from my scrap collection rather than sticking with one fabric. I absolutely love how this adds another layer of scrappiness to the finished bag and ties all those little leftover pieces together.
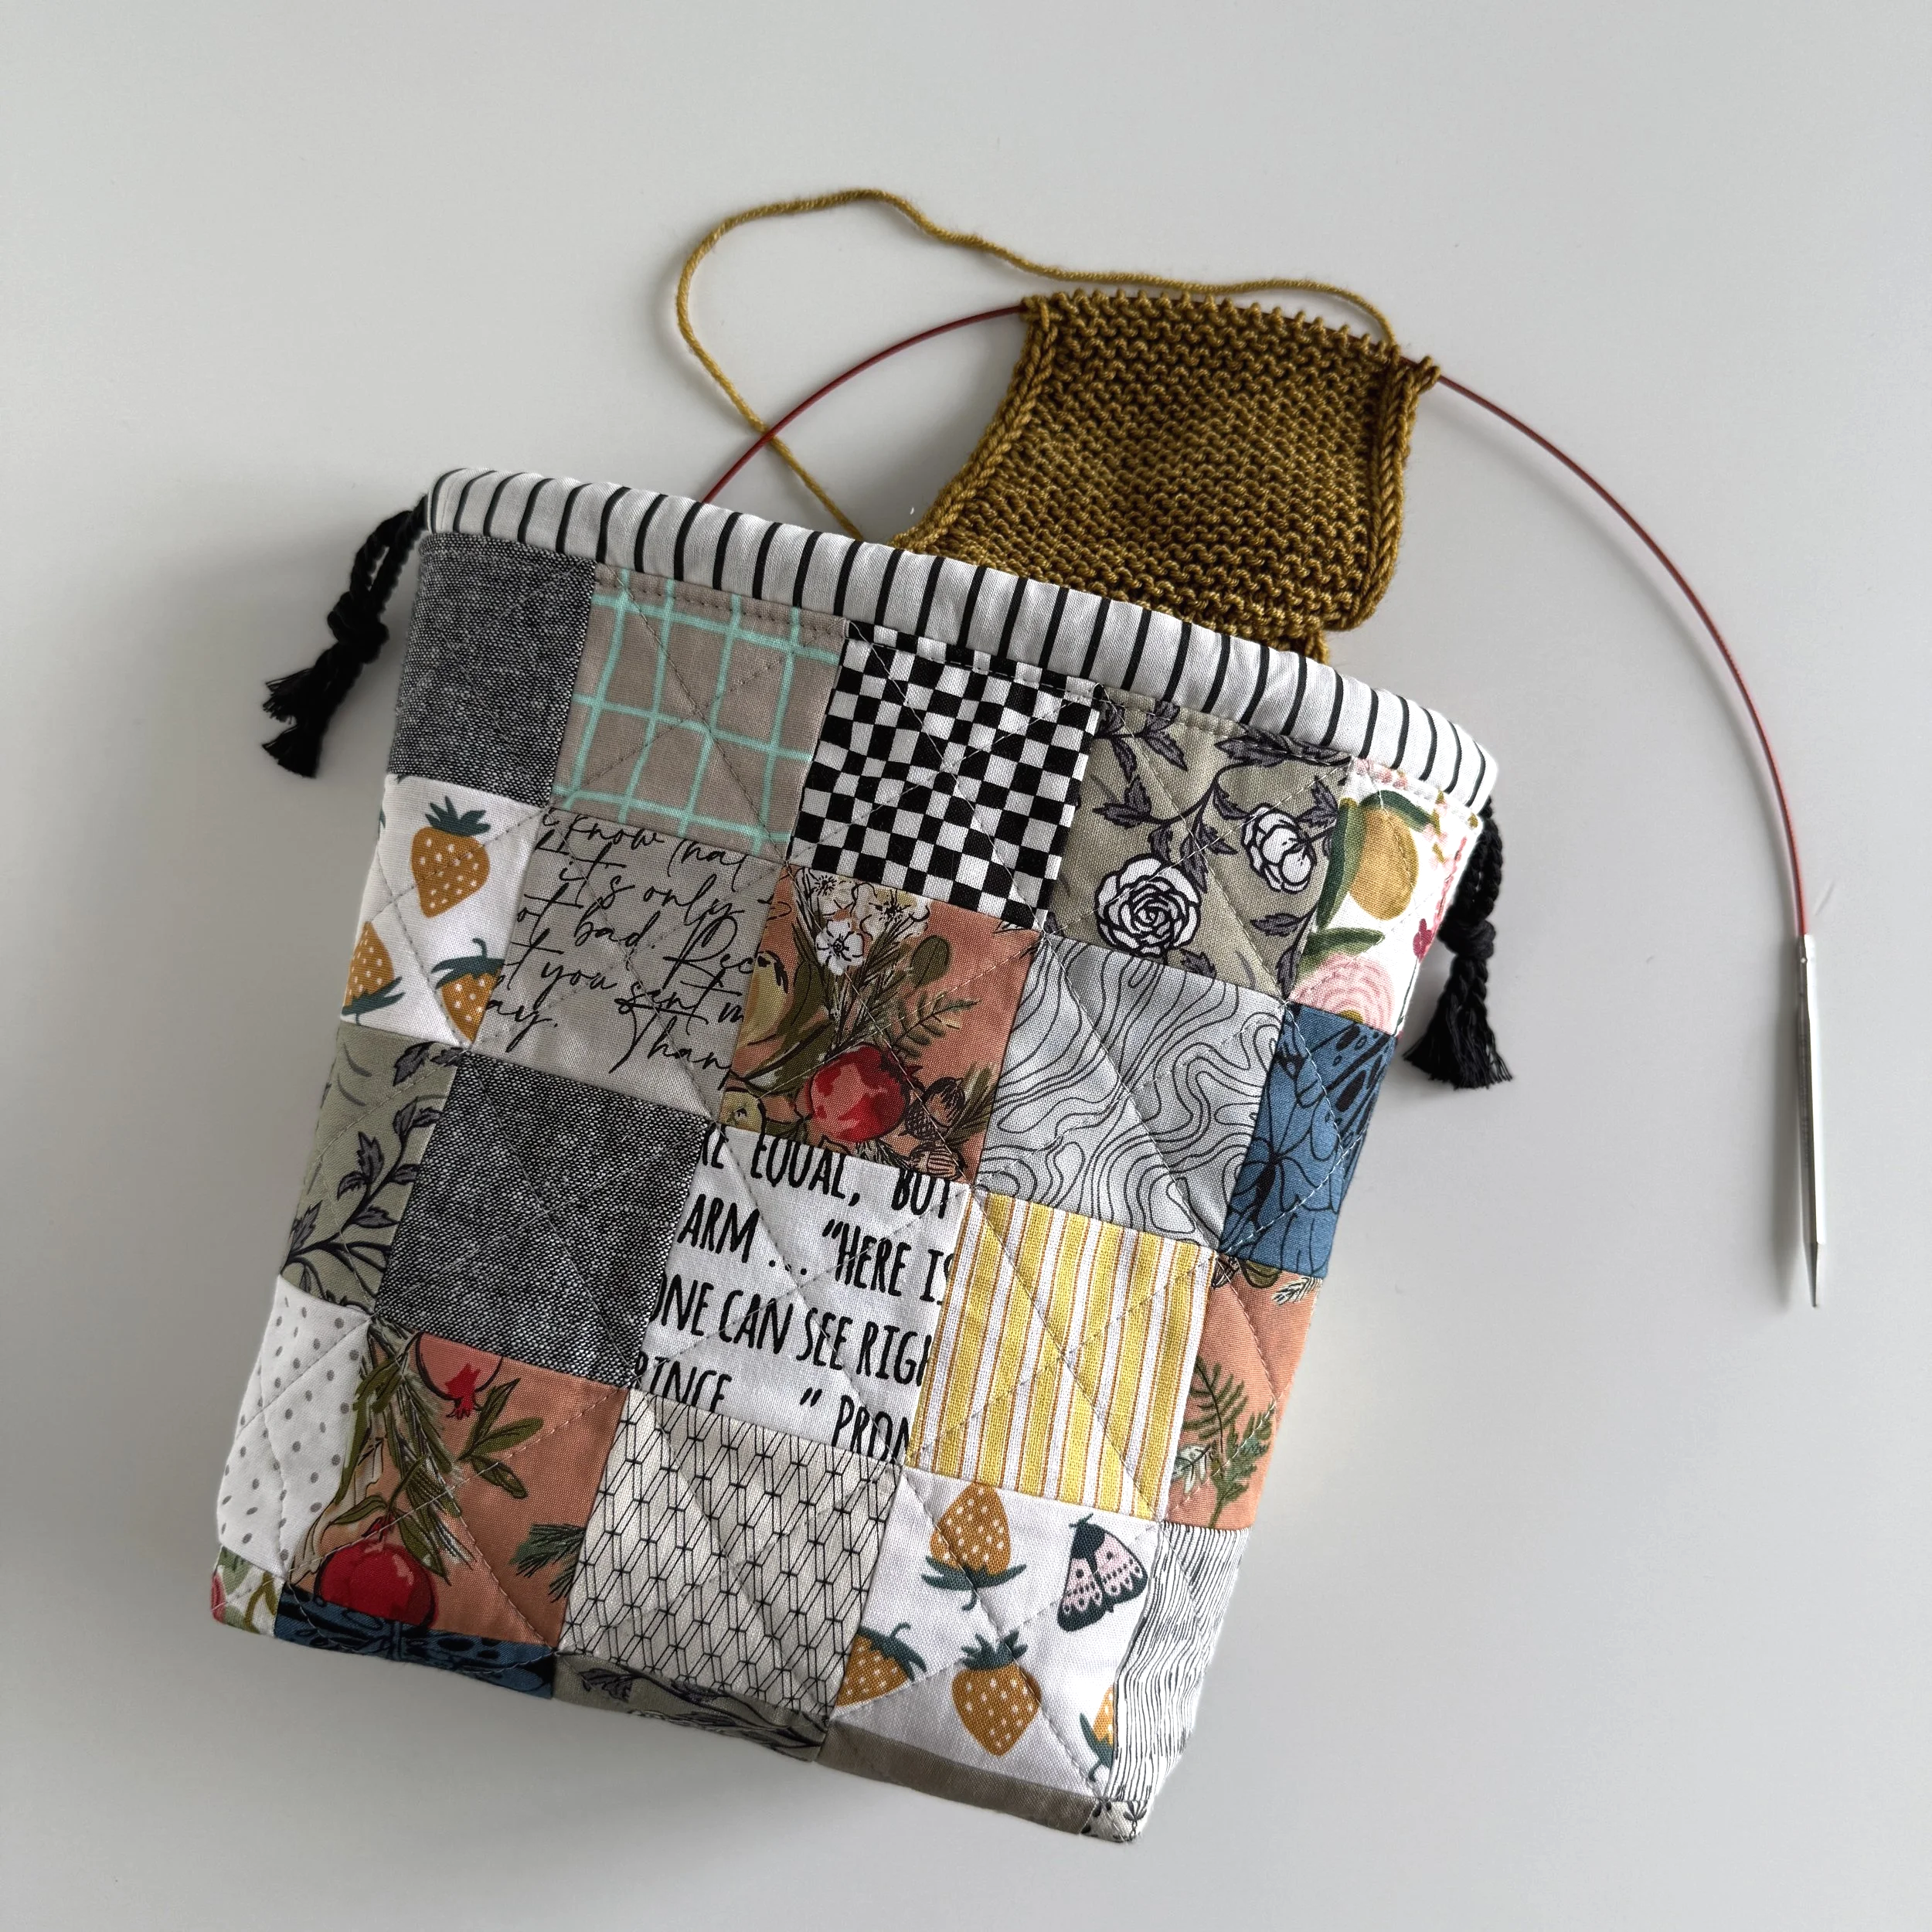
Not bad for a handful of scraps and a little play time at the sewing machine, is it?
I thoroughly enjoyed this project, and now I have a new bag for my knitting. Win-win for sure!
Thanks for reading, friends! And happy sewing :)
Svetlana