LEATHER WRIST STRAP (tutorial)
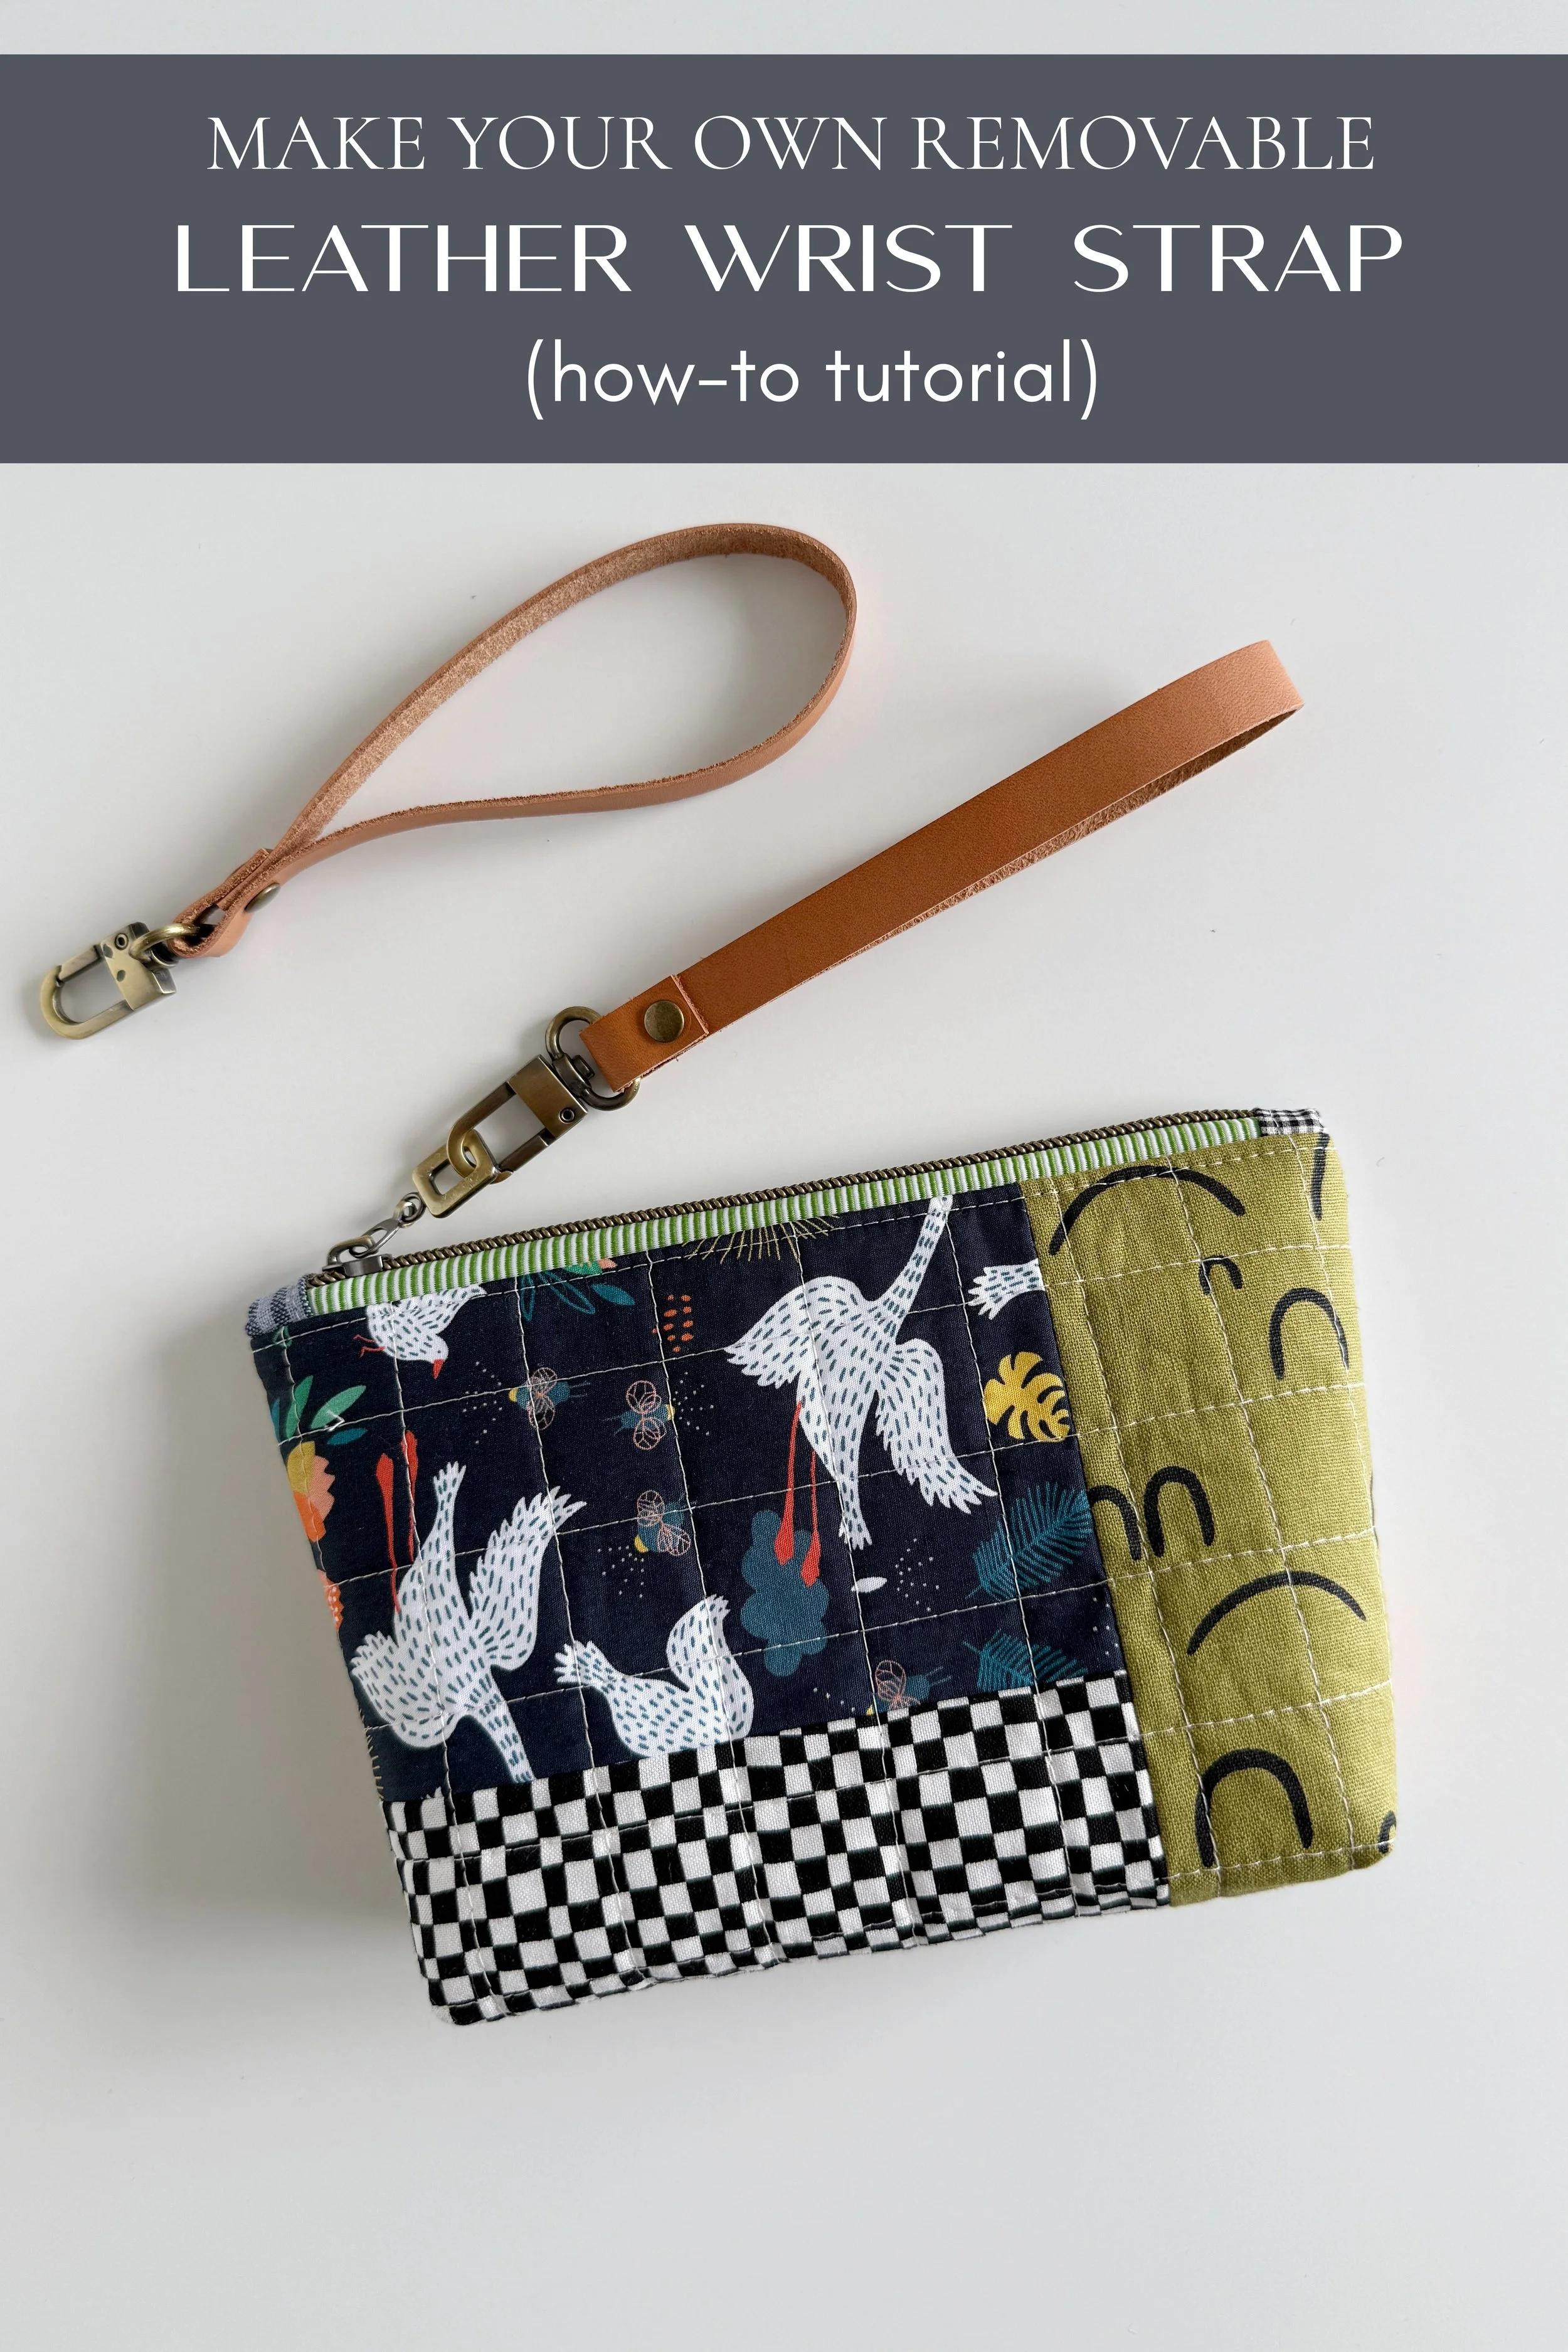
I love adding little details to my finished projects. One of my favorite finishing touches is a simple leather wrist strap (added to a zipper pull or a separately attached D-ring). It’s such an easy update and can often take an already lovely bag or pouch to the next, elevated level.
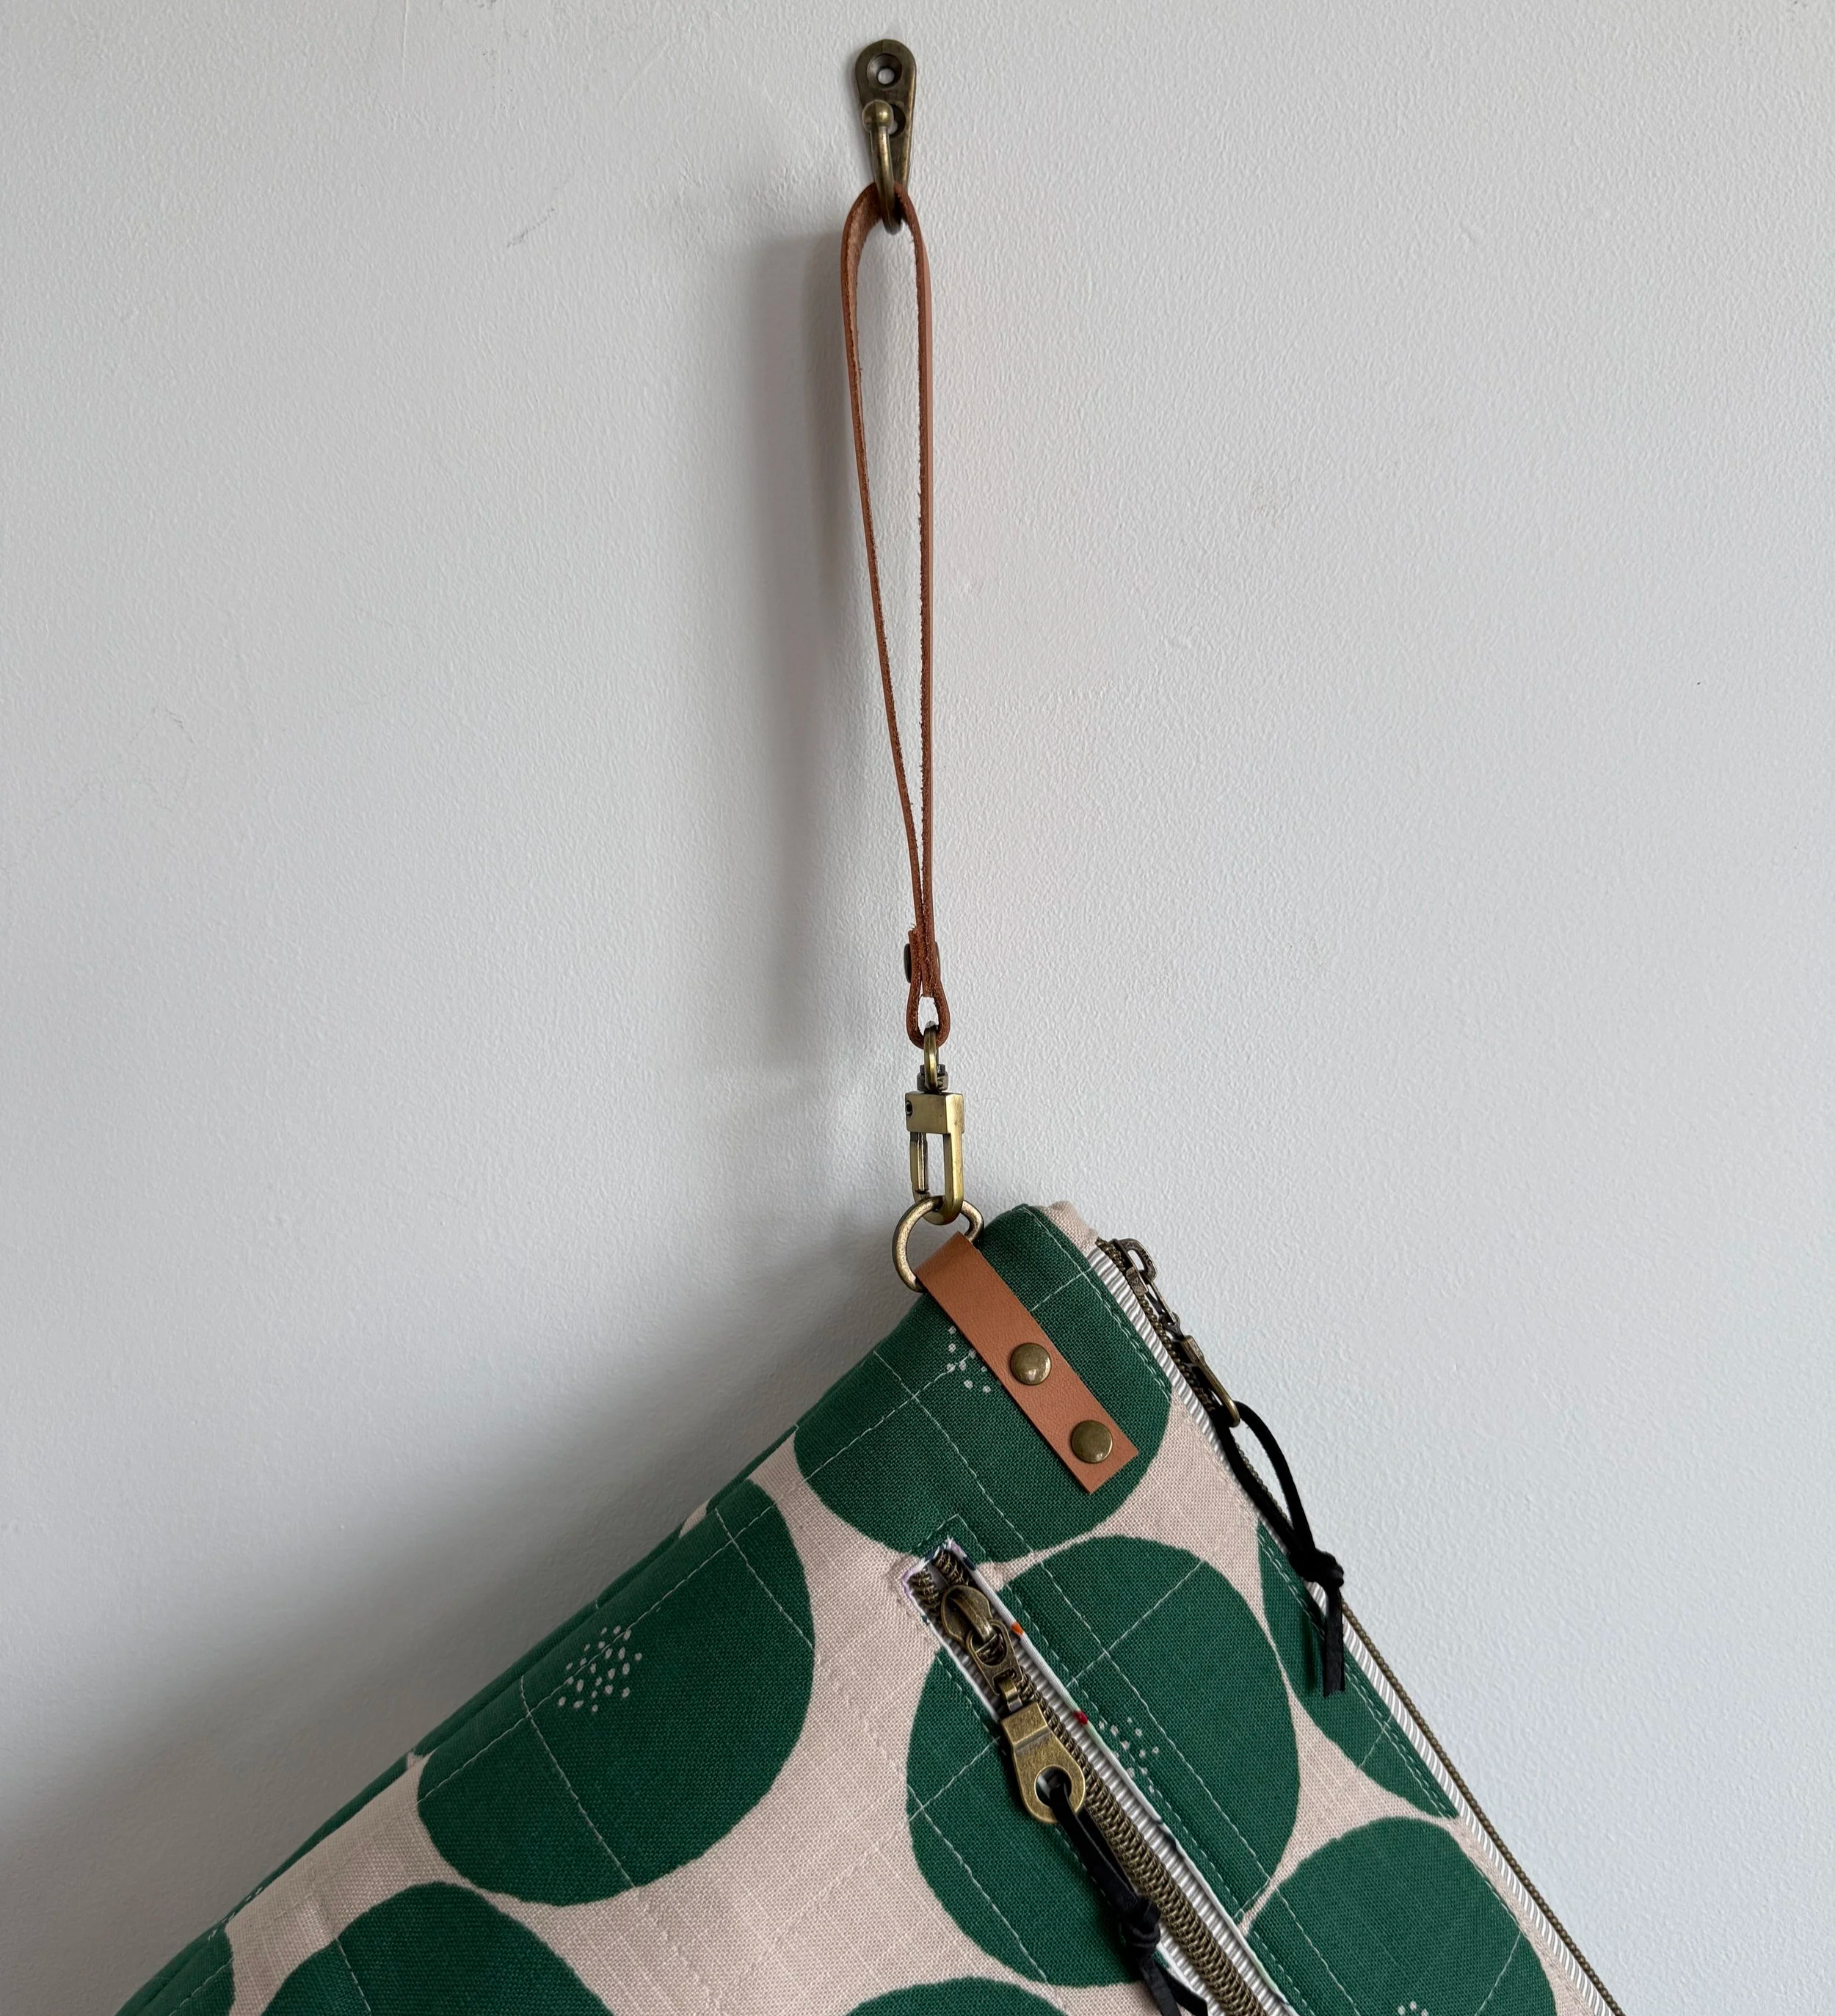
1.5 - 2mm (3- 5 oz) veg tan leather is my favorite material to use for these straps, as I love its simple, natural look. Plus, over time, the leather develops a rich, individual patina, so the strap becomes even more beautiful with use.
You can purchase pre-cut veg tan leather or buy it in larger pieces to cut it to size using a cutting mat, rotary cutter, and a ruler. I recently bought some lovely leather from this shop on Etsy, and I’m very happy with it.
To make one LEATHER WRIST STRAP, you will need:
(1) - 1/2'' x 13'' Leather Strip
(5) – 8mm x 6mm Double Cap Rivets
(1) – 1/2'' D-Ring + (1) – 1/2'' Swivel Hook
1. Mark and punch three centered holes along a 13'' Wrist Strap. Punch two holes, 1/4'' and 1 ¾'' away from one short end (holes 1 and 2). Punch one hole 1/4'' away from the opposite short end (hole 3).

2. Place the Wrist Strap right side down on a flat surface. Insert the male part of the rivet (the post) through
Hole 2. Fold the end with the single hole over (wrong sides together), aligning Hole 3 with Hole 2. Thread the swivel hook onto the opposite end (the end with two holes).

3. Fold the short end over the swivel hook and align the holes. Place the female part of the rivet onto the post and snap it into place. Follow the manufacturer's directions to secure the rivet in place.

4. Attach the finished Wrist Strap to your zipper pull or D-ring.
Easy-peasy, isn’t it? I hope you have lots of fun creating your own wrist straps and enjoy adding them to your finished projects.
Thanks for reading, friends! Svetlana