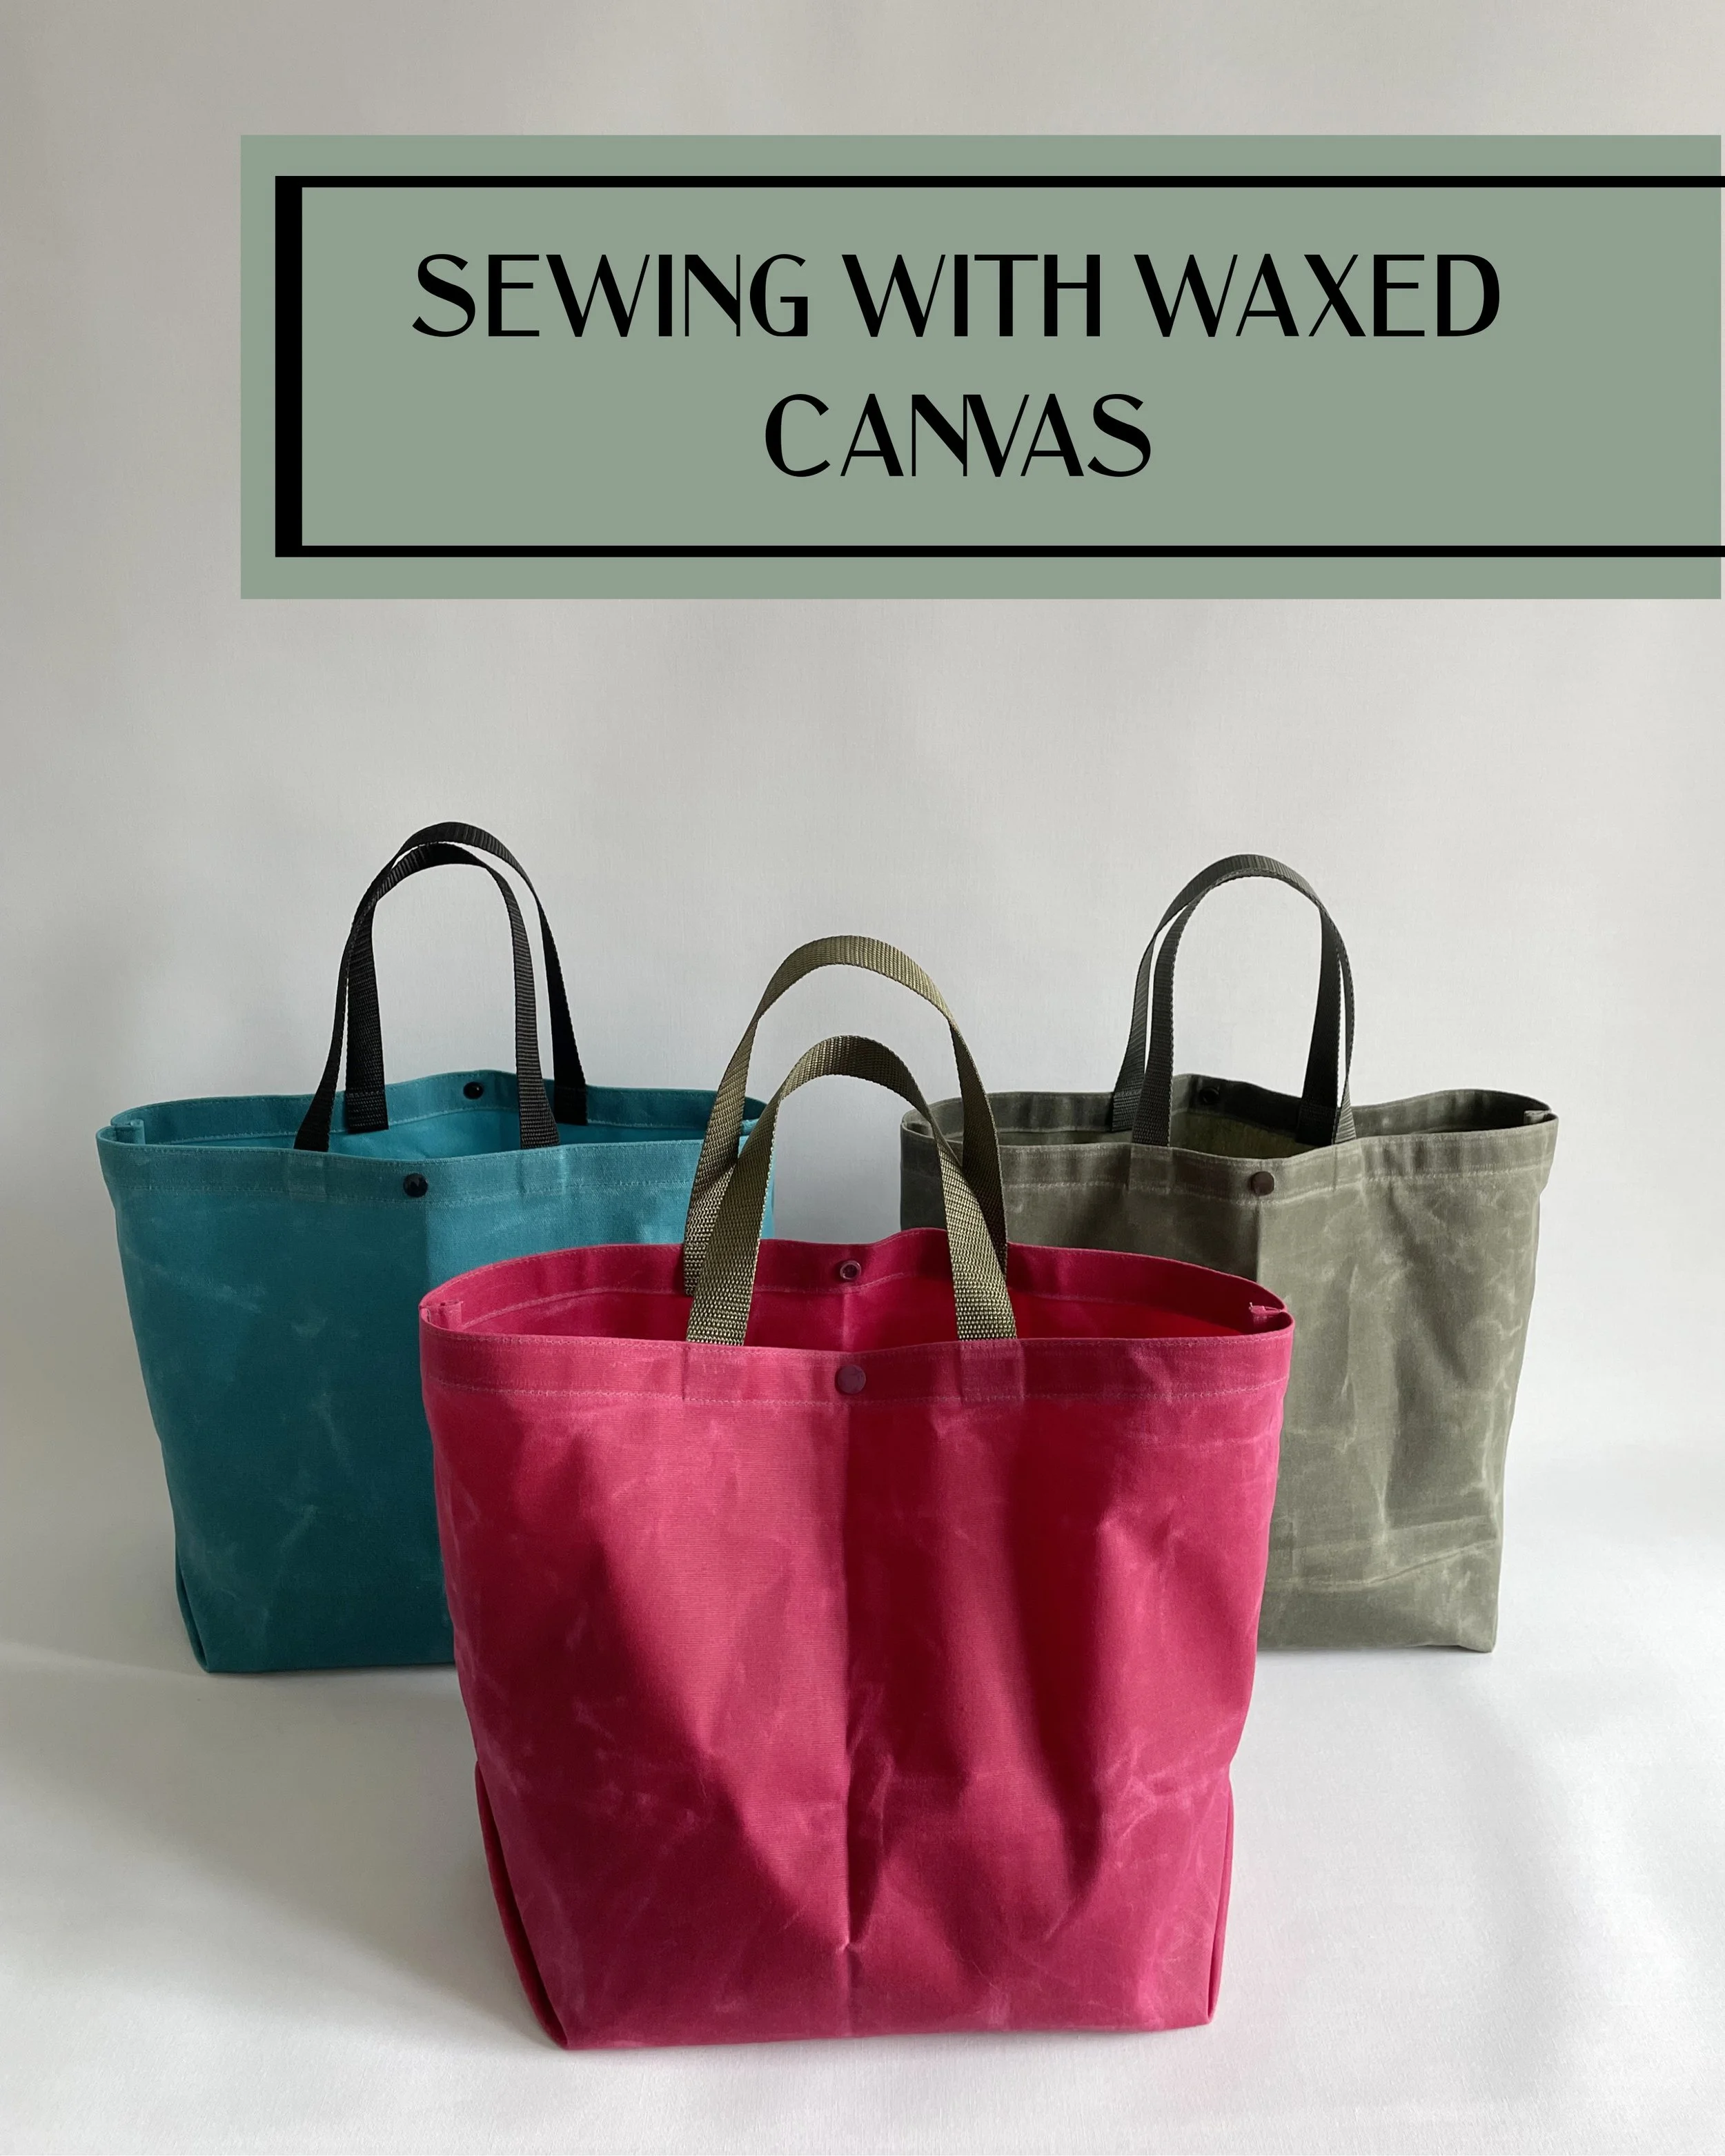
SEWING WITH WAXED CANVAS
I’ve been designing bag-making sewing patterns for years, and every single one starts the same way - with a bag I want to make and use myself. Some are inspired by a specific need, while others come from wanting to try a new feature or design.
While I love every pattern I create, there are always a few that become true favorites.
Would you be surprised if I told you my Market Tote is one of them?
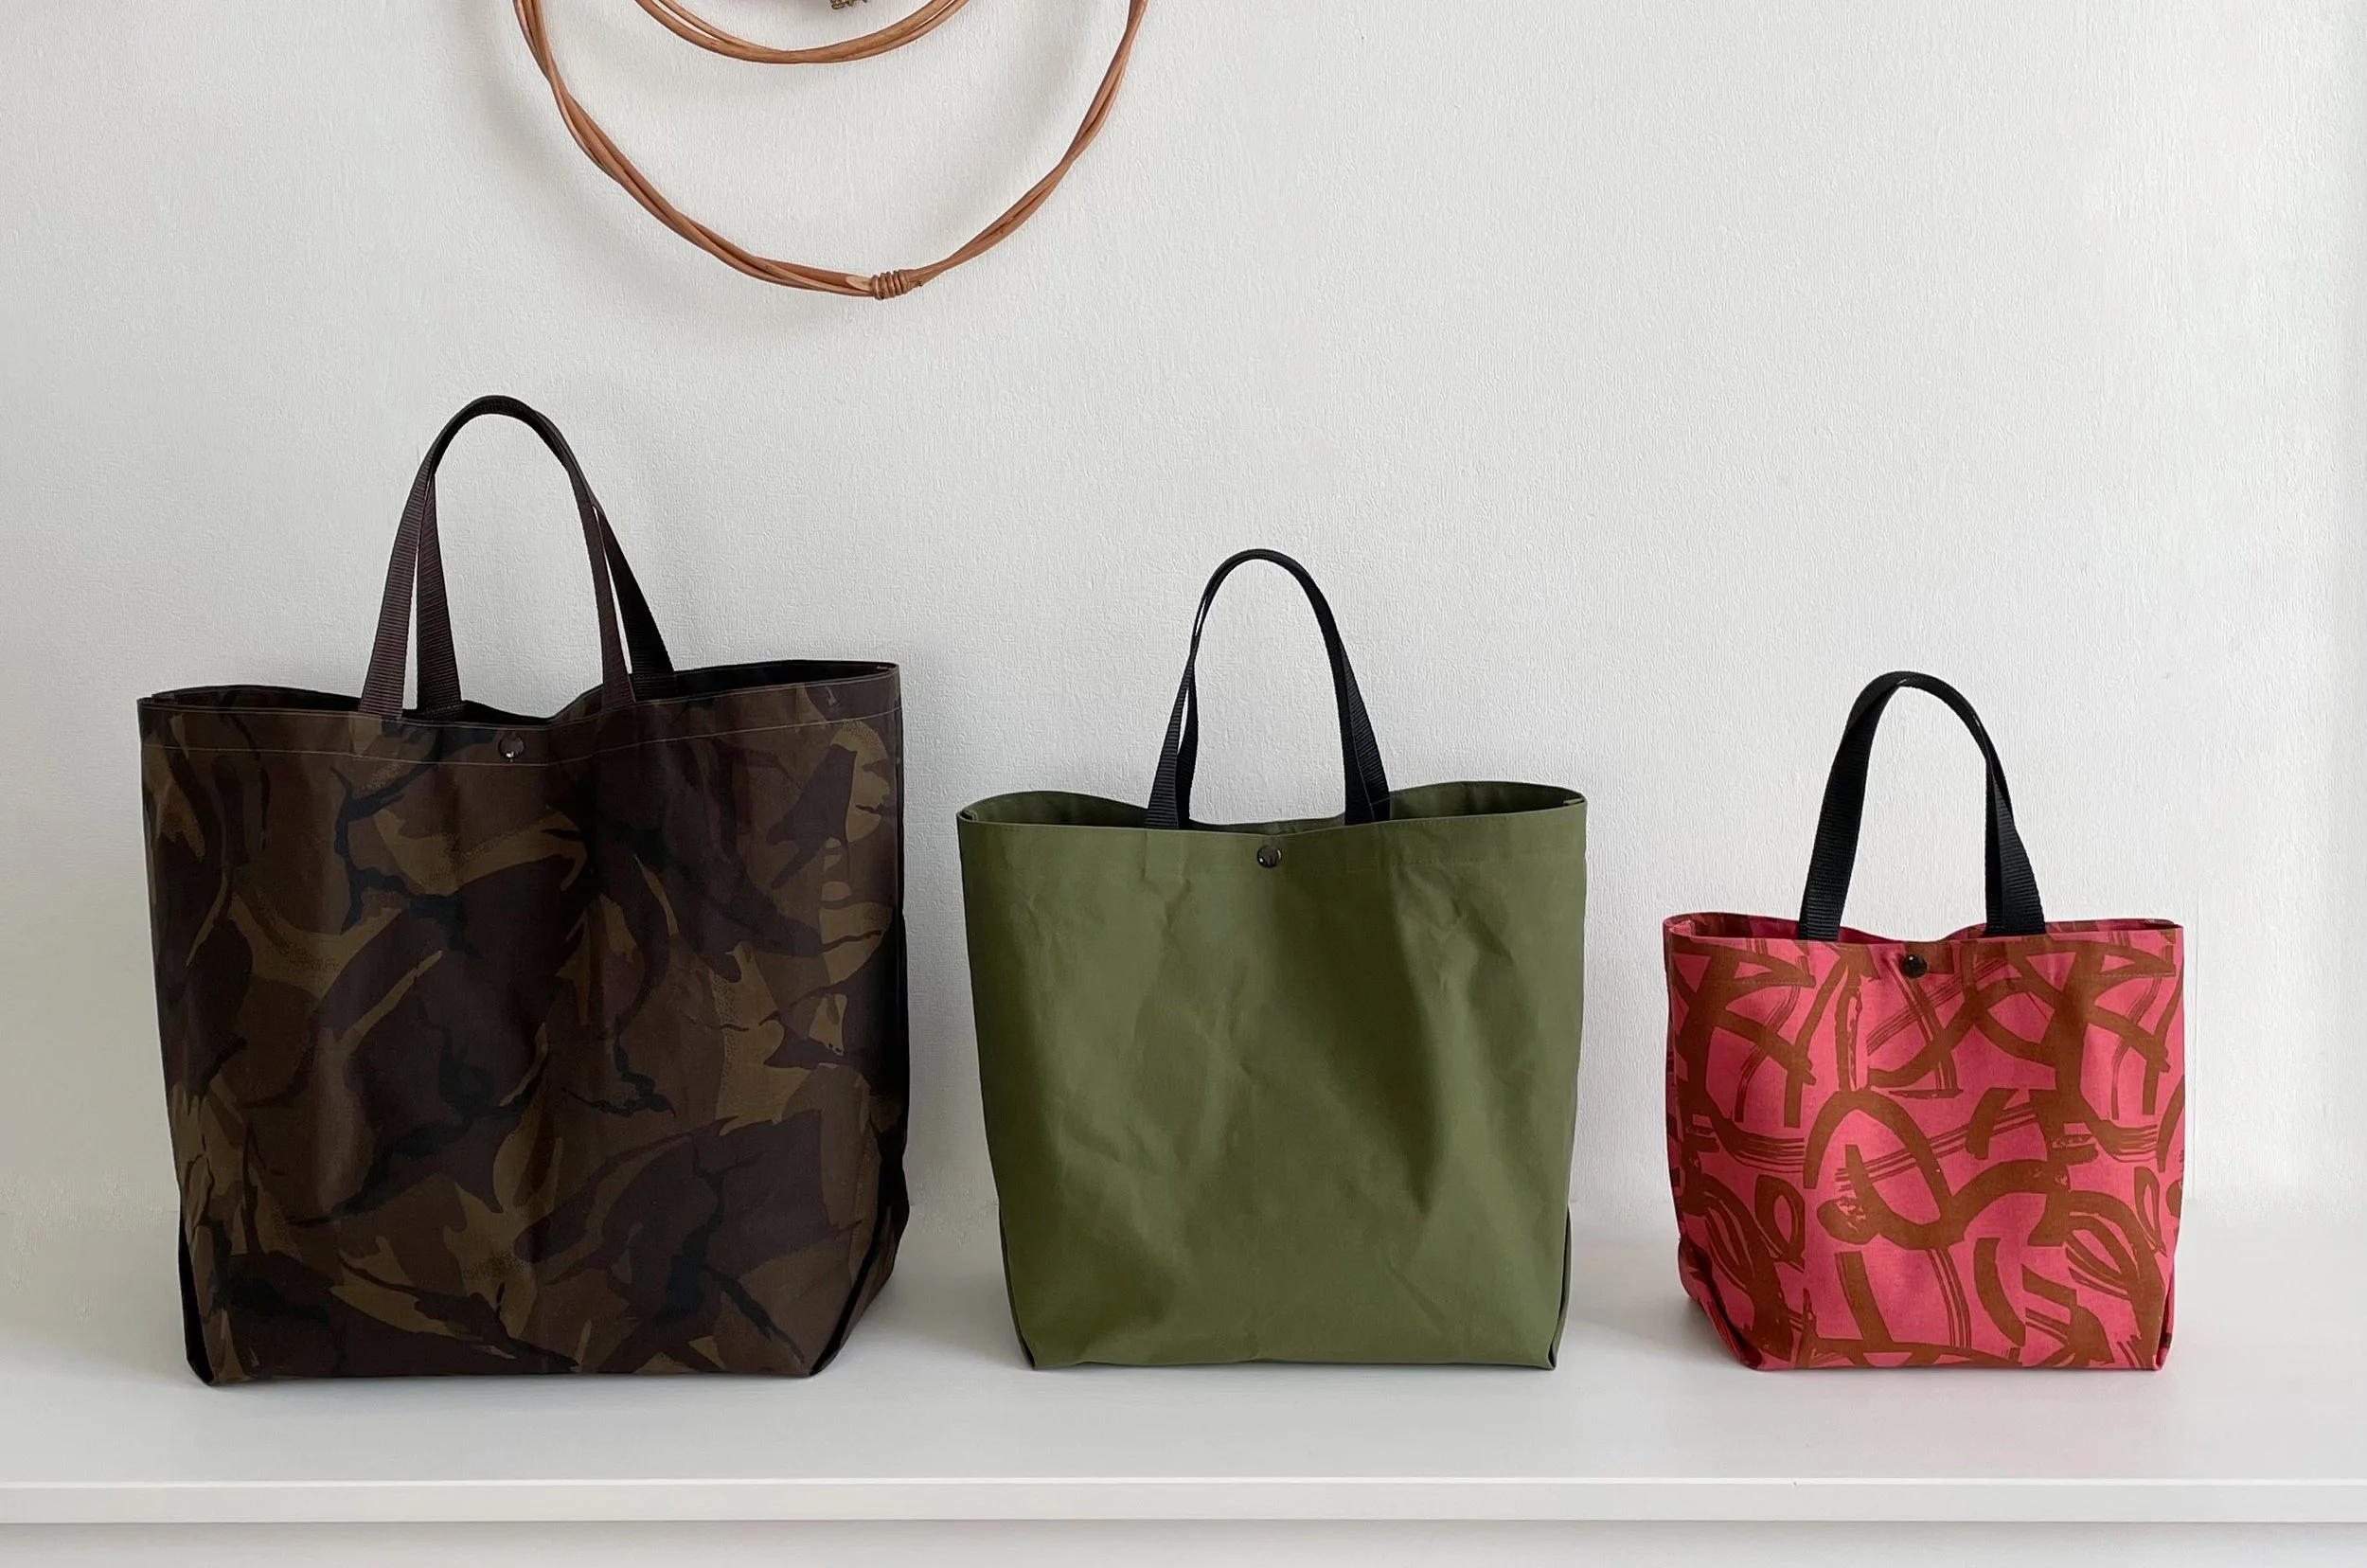
What I love most about the Market Tote is how simple and practical it is. It folds up small enough to take anywhere, but once opened, it’s surprisingly roomy and sturdy. It’s the kind of bag that quietly becomes part of your daily routine. I always keep one neatly folded in my purse so it’s ready whenever I need it. I also have several tucked away in my car, so there’s always one within easy reach.
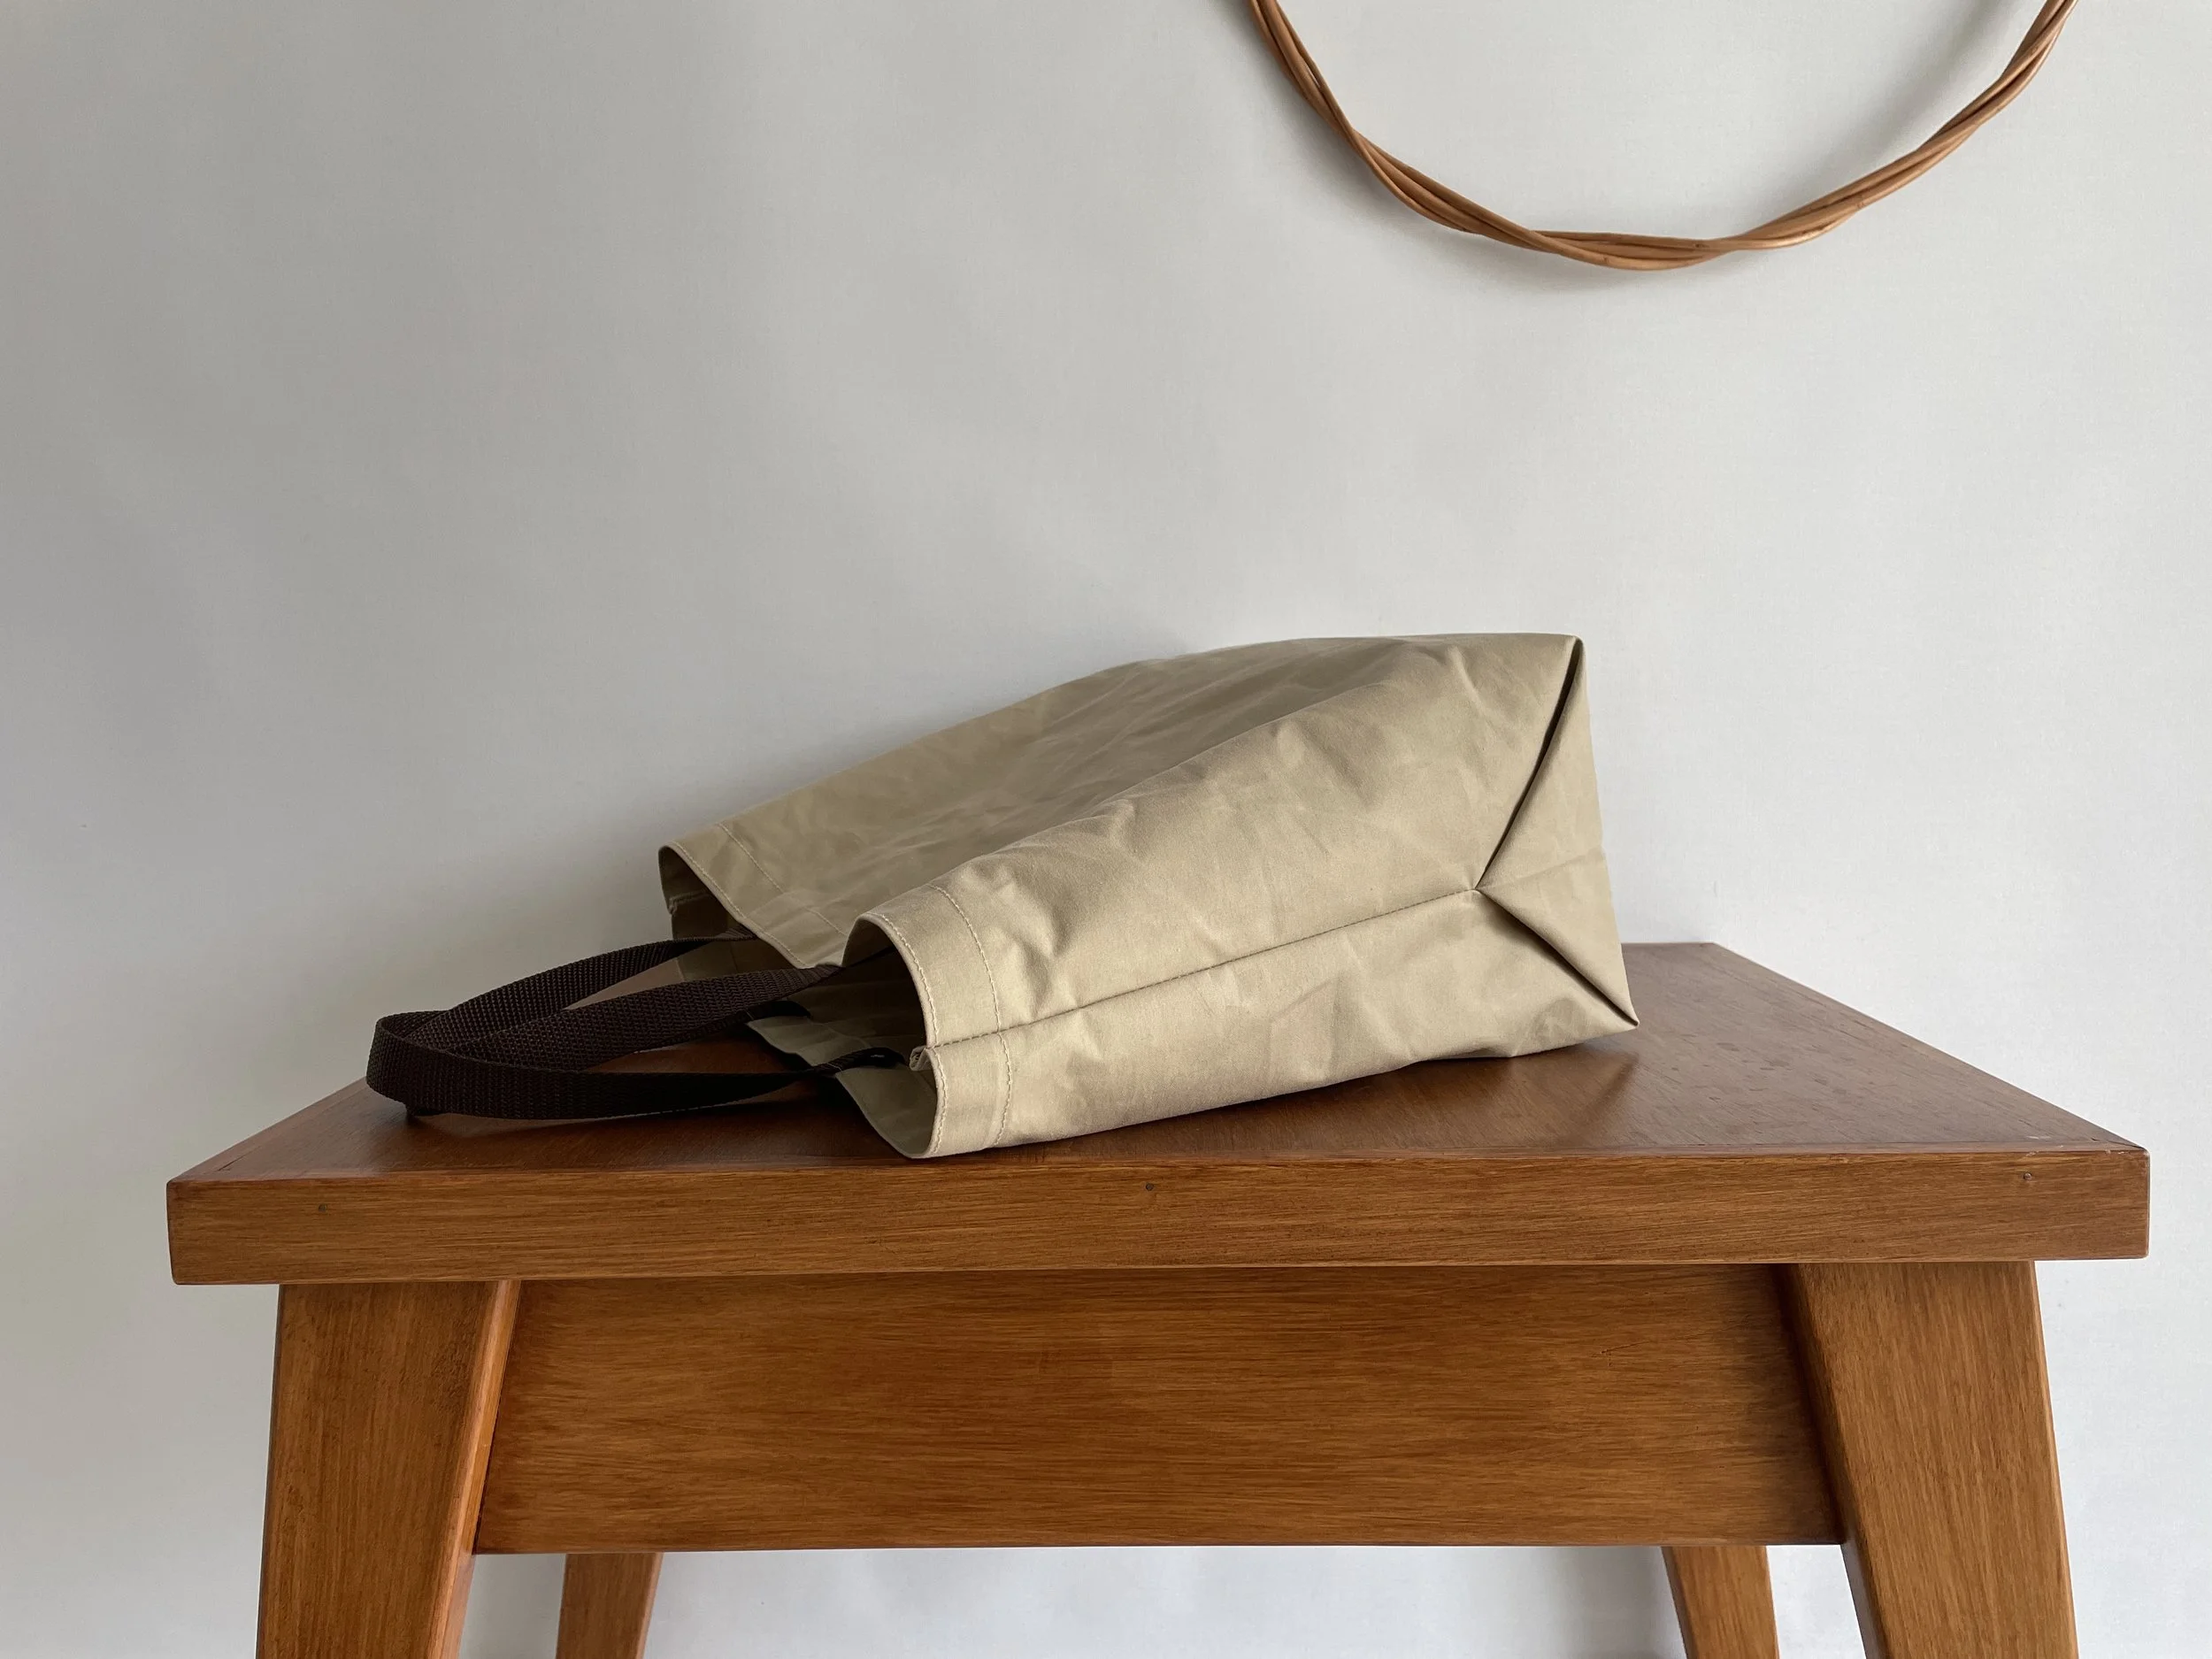
This bag is unlined and created from a single piece of fabric using a clever folding technique. All seams are finished with the French seam technique for a clean, durable finish. So, when Carolyn over at Sullivans Trim reached out to see if I wanted to try out their waxed canvas, I knew this pattern would be perfect for it.
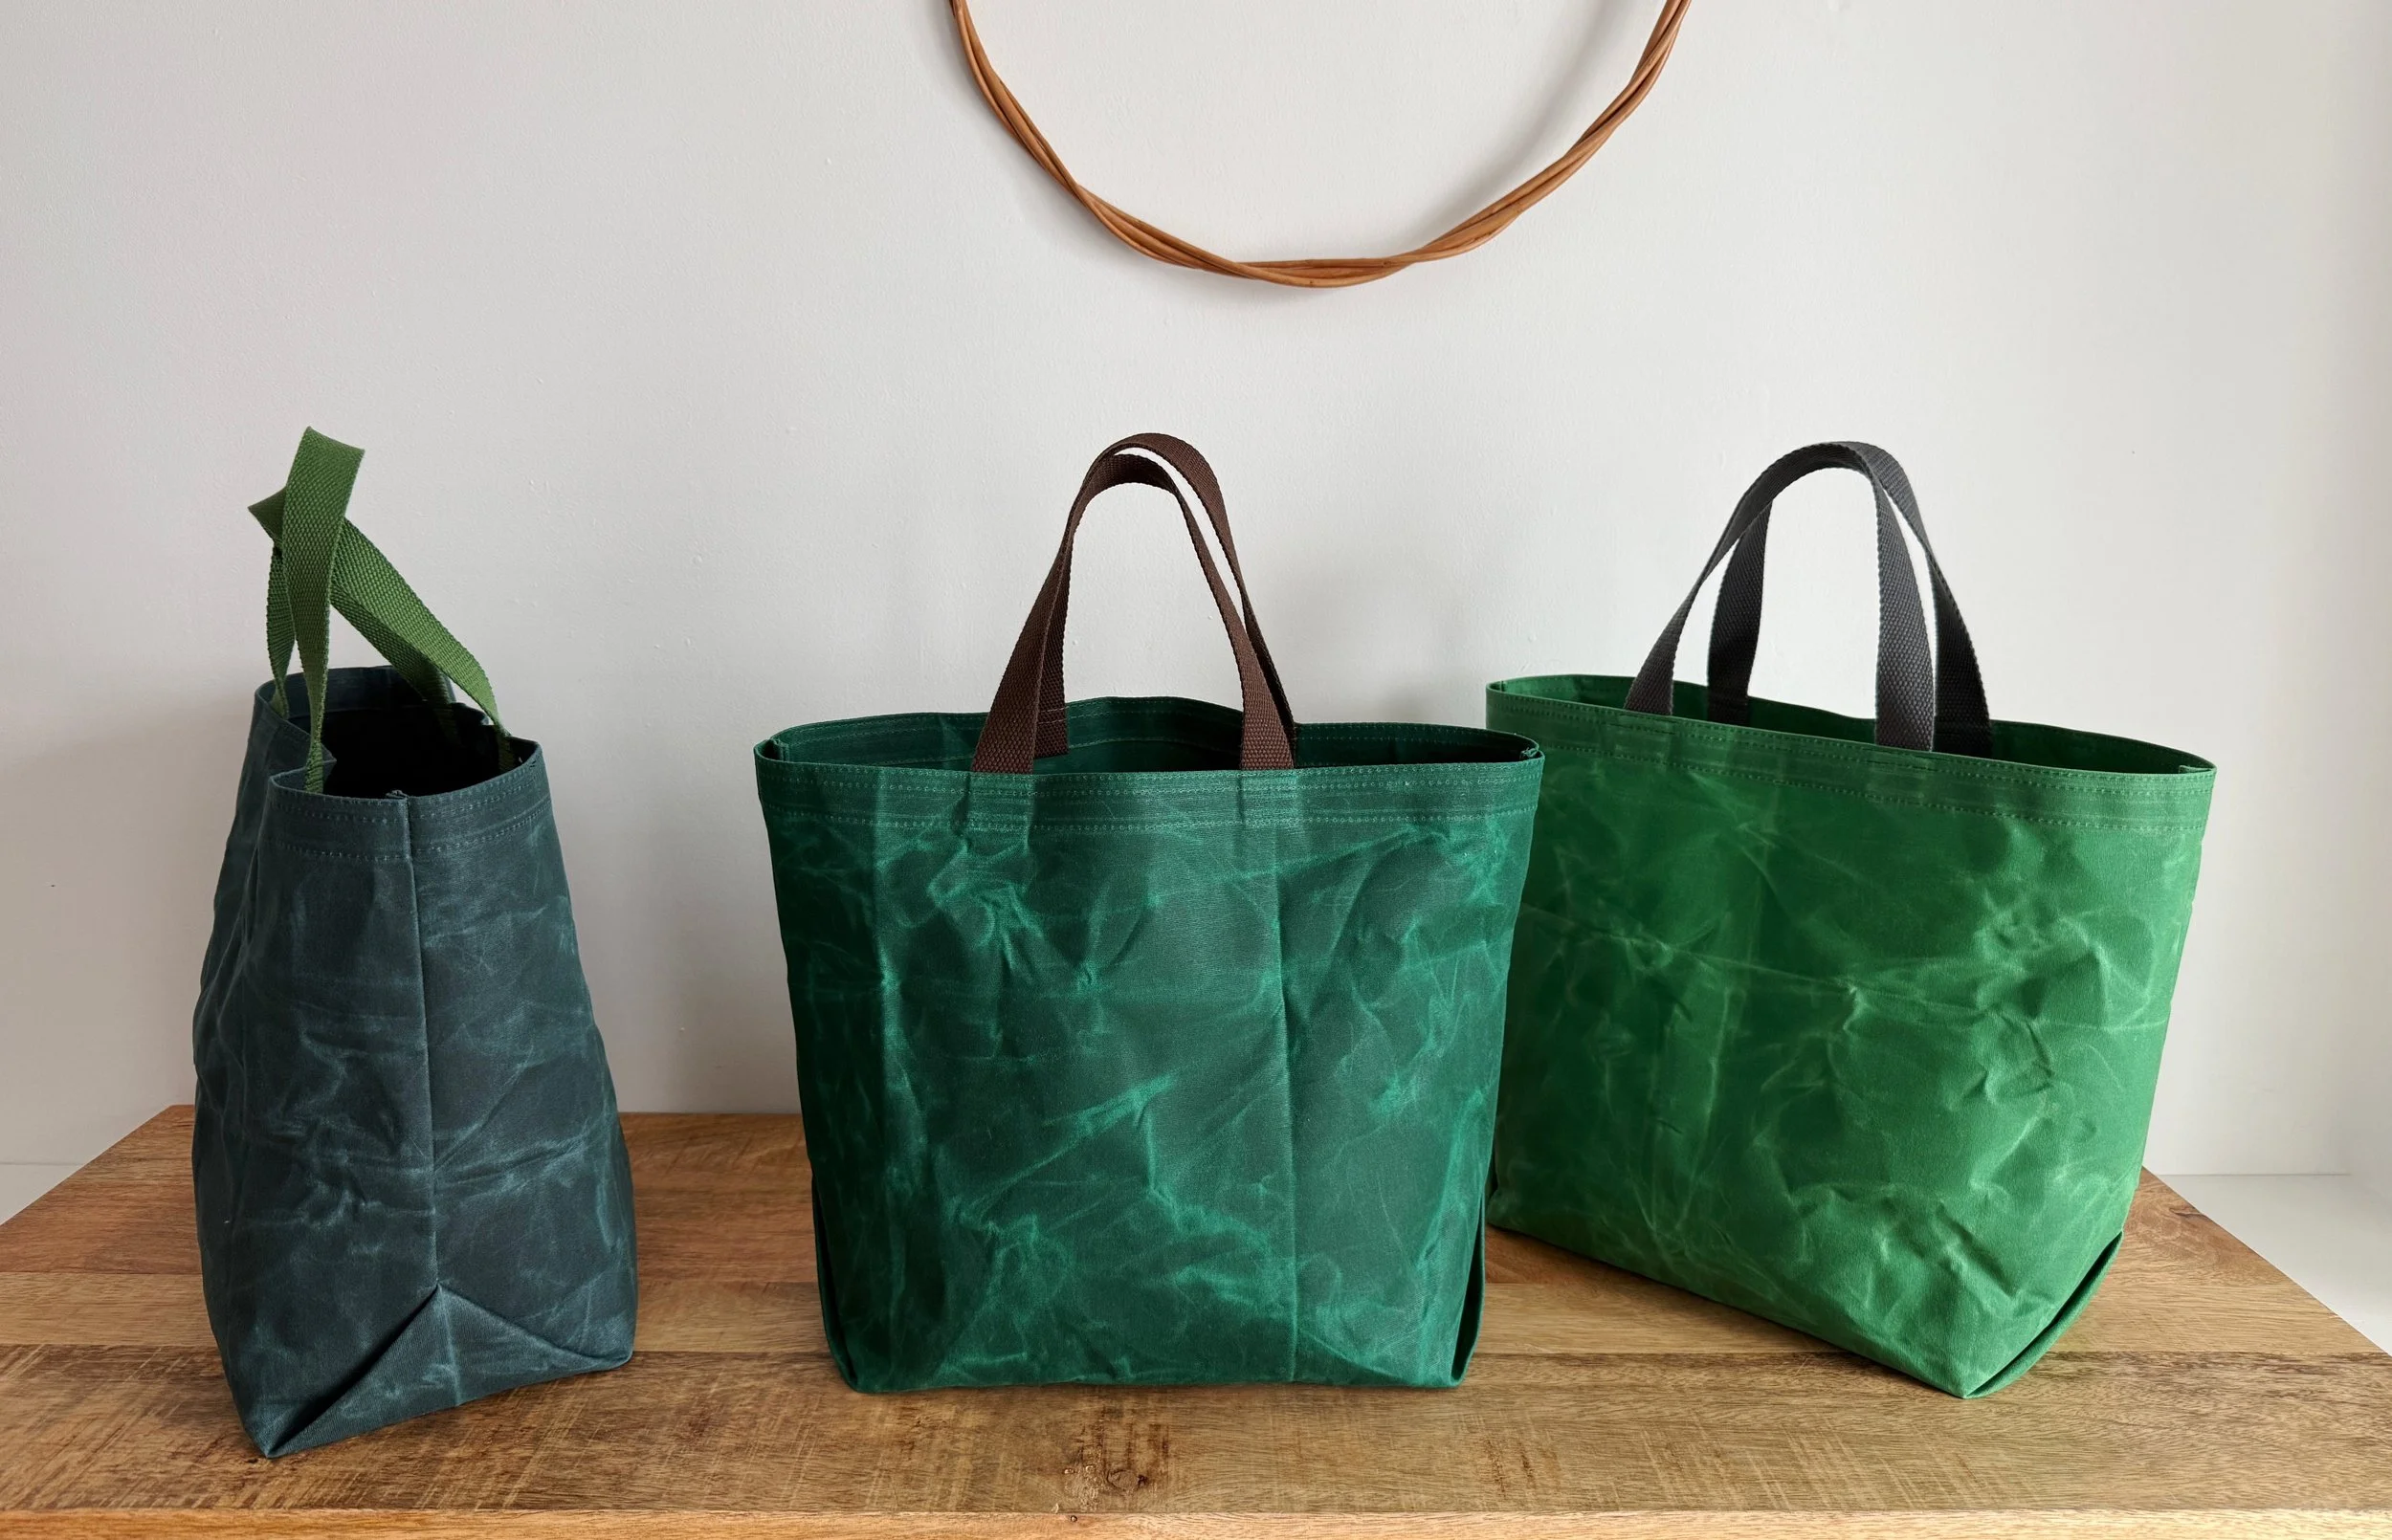
Waxed canvas is a cotton canvas that's been treated with wax, giving it a beautiful rustic, lived-in look while making it naturally water-resistant. It has that perfect balance of rugged and timeless, and the more you use it, the more character it develops.
One of the things I love most is how sturdy it is. It's an amazing choice for bag making because it already has so much structure, so in most cases there's no need to add interfacing. That means fewer steps, less bulk, and a nice little saving on materials too.
If you're thinking about giving waxed canvas a try, here are a few tips that have made sewing with it much easier for me:
Skip the iron. Heat can damage or melt the wax coating. Instead, finger-press your seams or use a Hera marker to create crisp seam lines.
If your fabric gets creased or marked, don't panic! A quick blast with a hair dryer will gently warm the wax and help the fabric "heal" itself.
Use sewing clips instead of pins whenever possible, as pins can leave permanent holes in the fabric. If you do need to unpick a seam, those needle marks can often be softened with the hair dryer trick too.
Choose a stronger needle, such as a 90/14 or 100/16, to help you sew through thicker layers more easily.
Attach a walking foot to your machine, if you have one.
A slightly longer stitch length works better on waxed canvas. I like to use a stitch length of 3.25 on my Juki, and it gives really nice results (normally I use a 2.75 stitch).
Pair it with a good quality polyester thread for strong, durable seams that will stand up to everyday use.
Once you've finished your project, give your sewing machine a quick clean. Wax residue can build up around the needle plate and feed dogs, so a little maintenance will keep everything running smoothly.
Waxed canvas is such a rewarding fabric to work with. It might feel a little different from regular cotton at first, but once you get the hang of it, you'll surely find yourself reaching for it again and again.
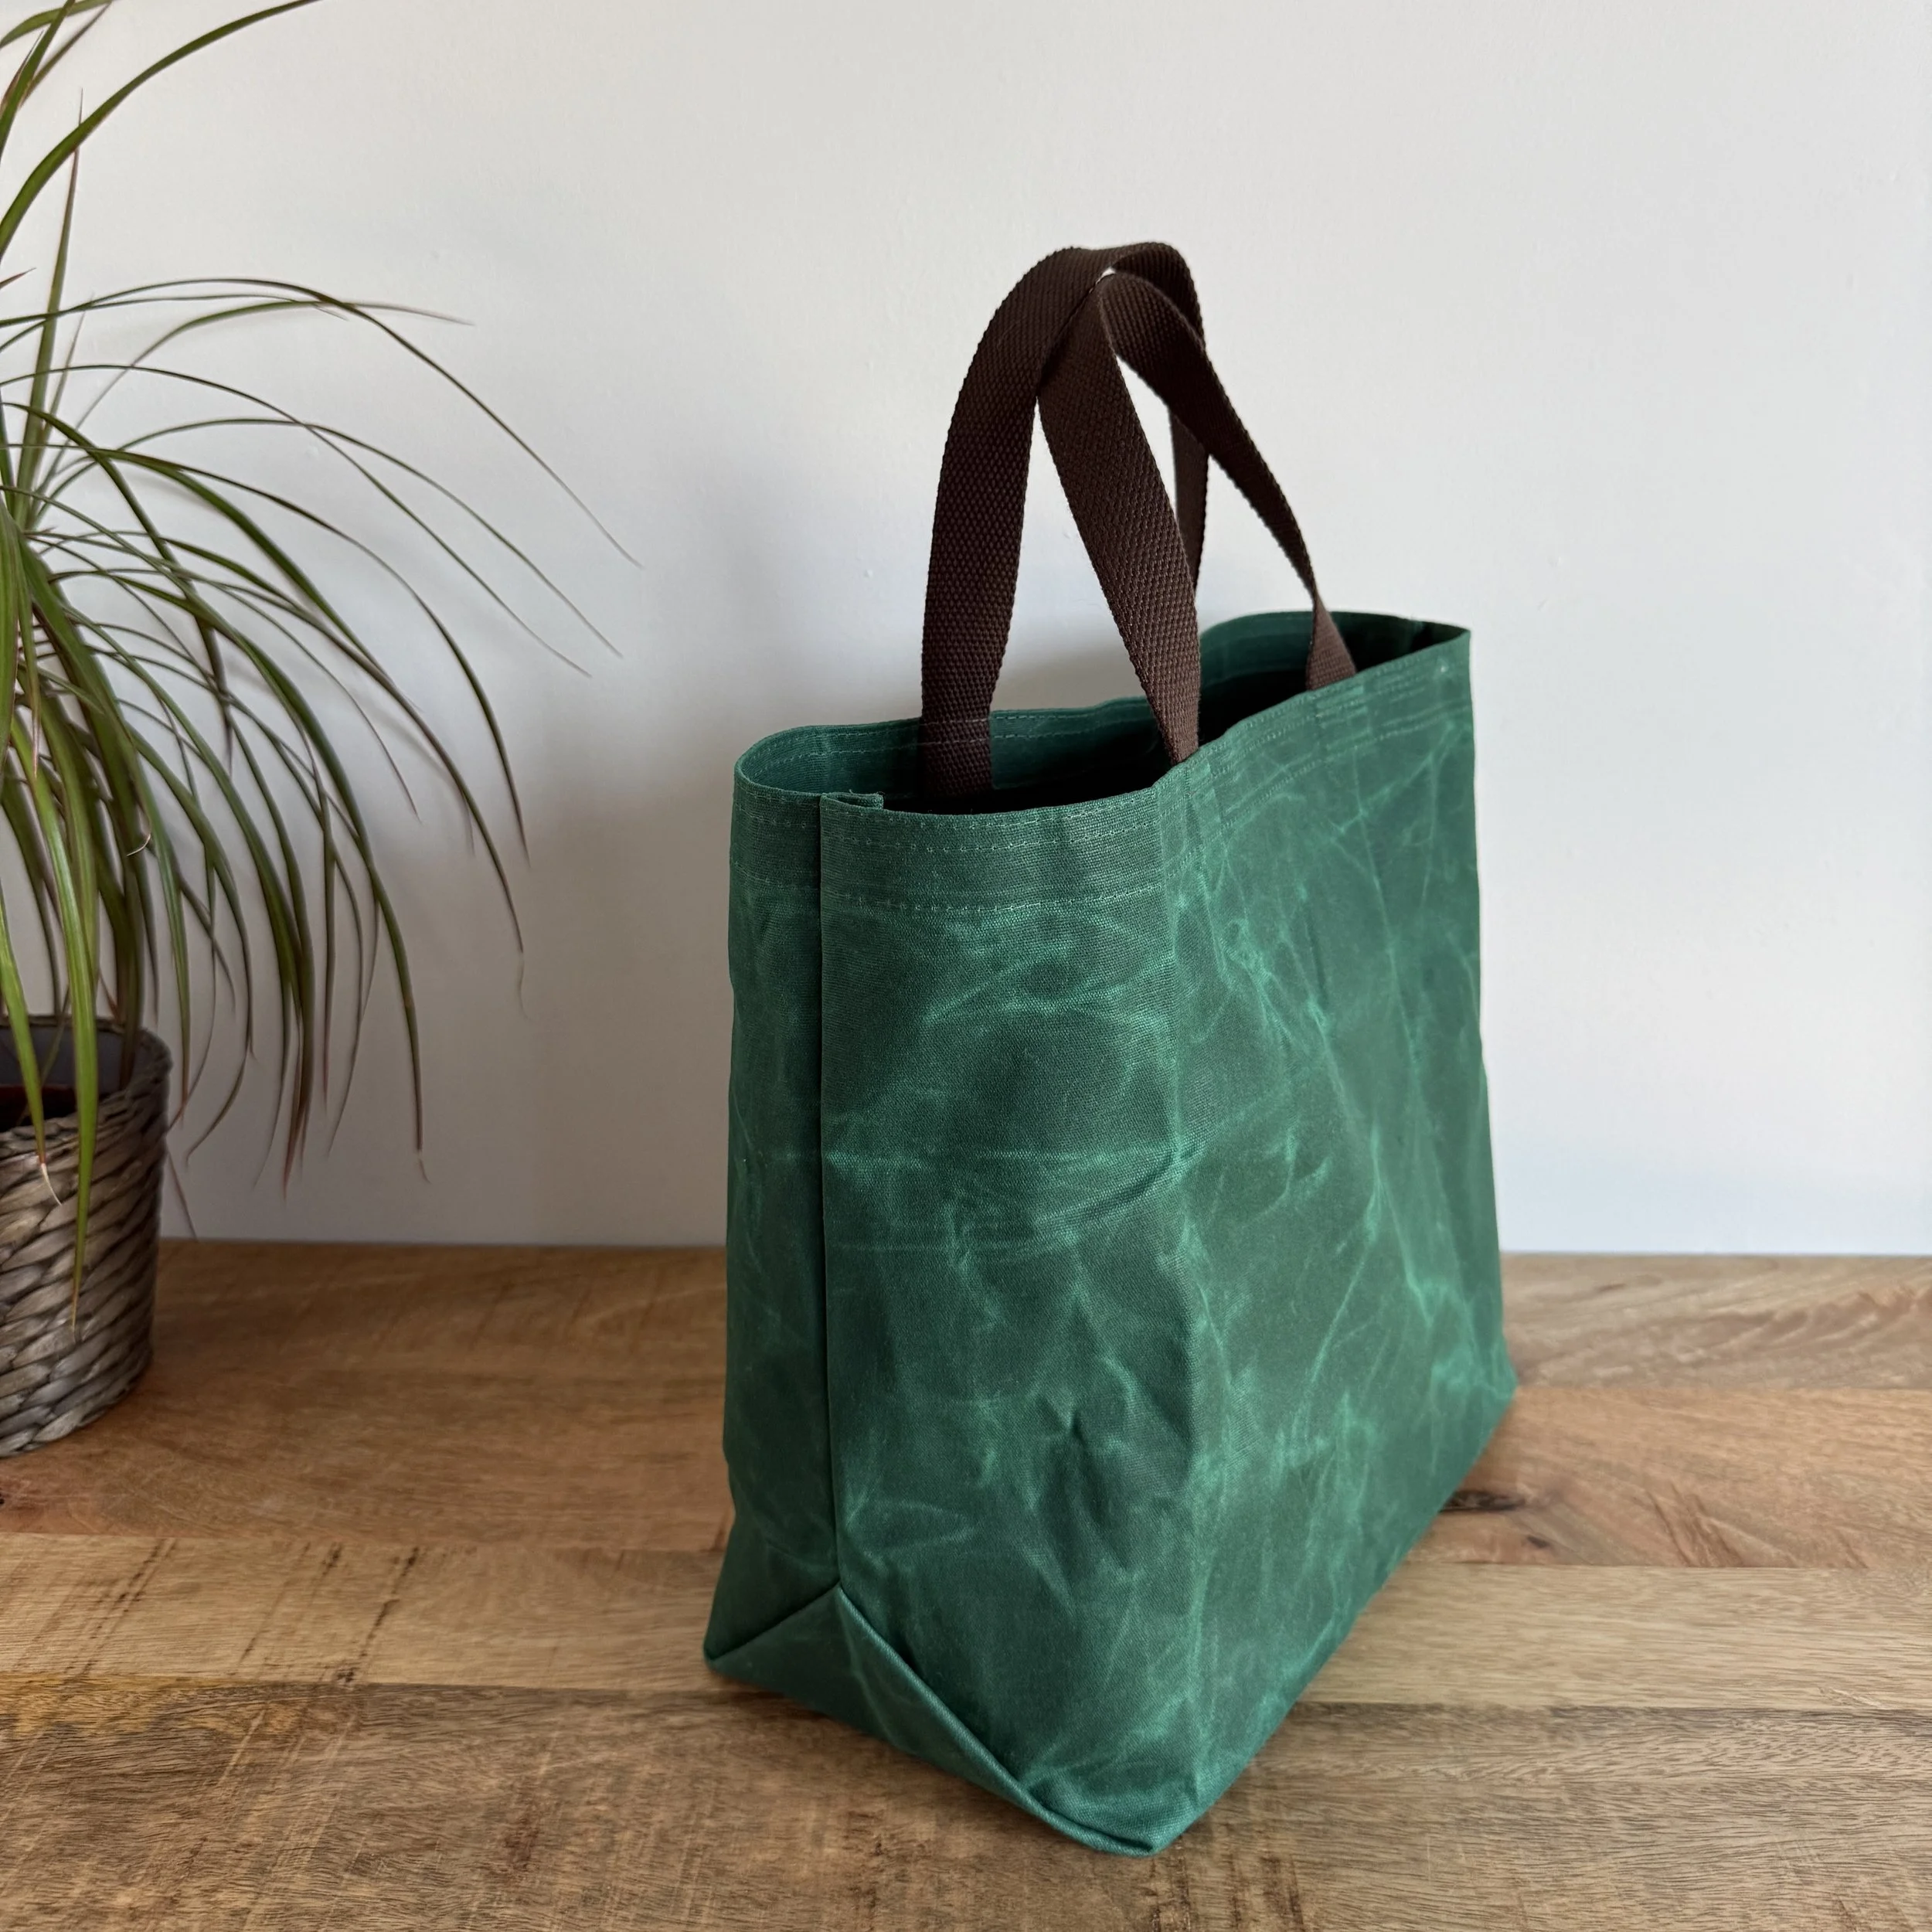
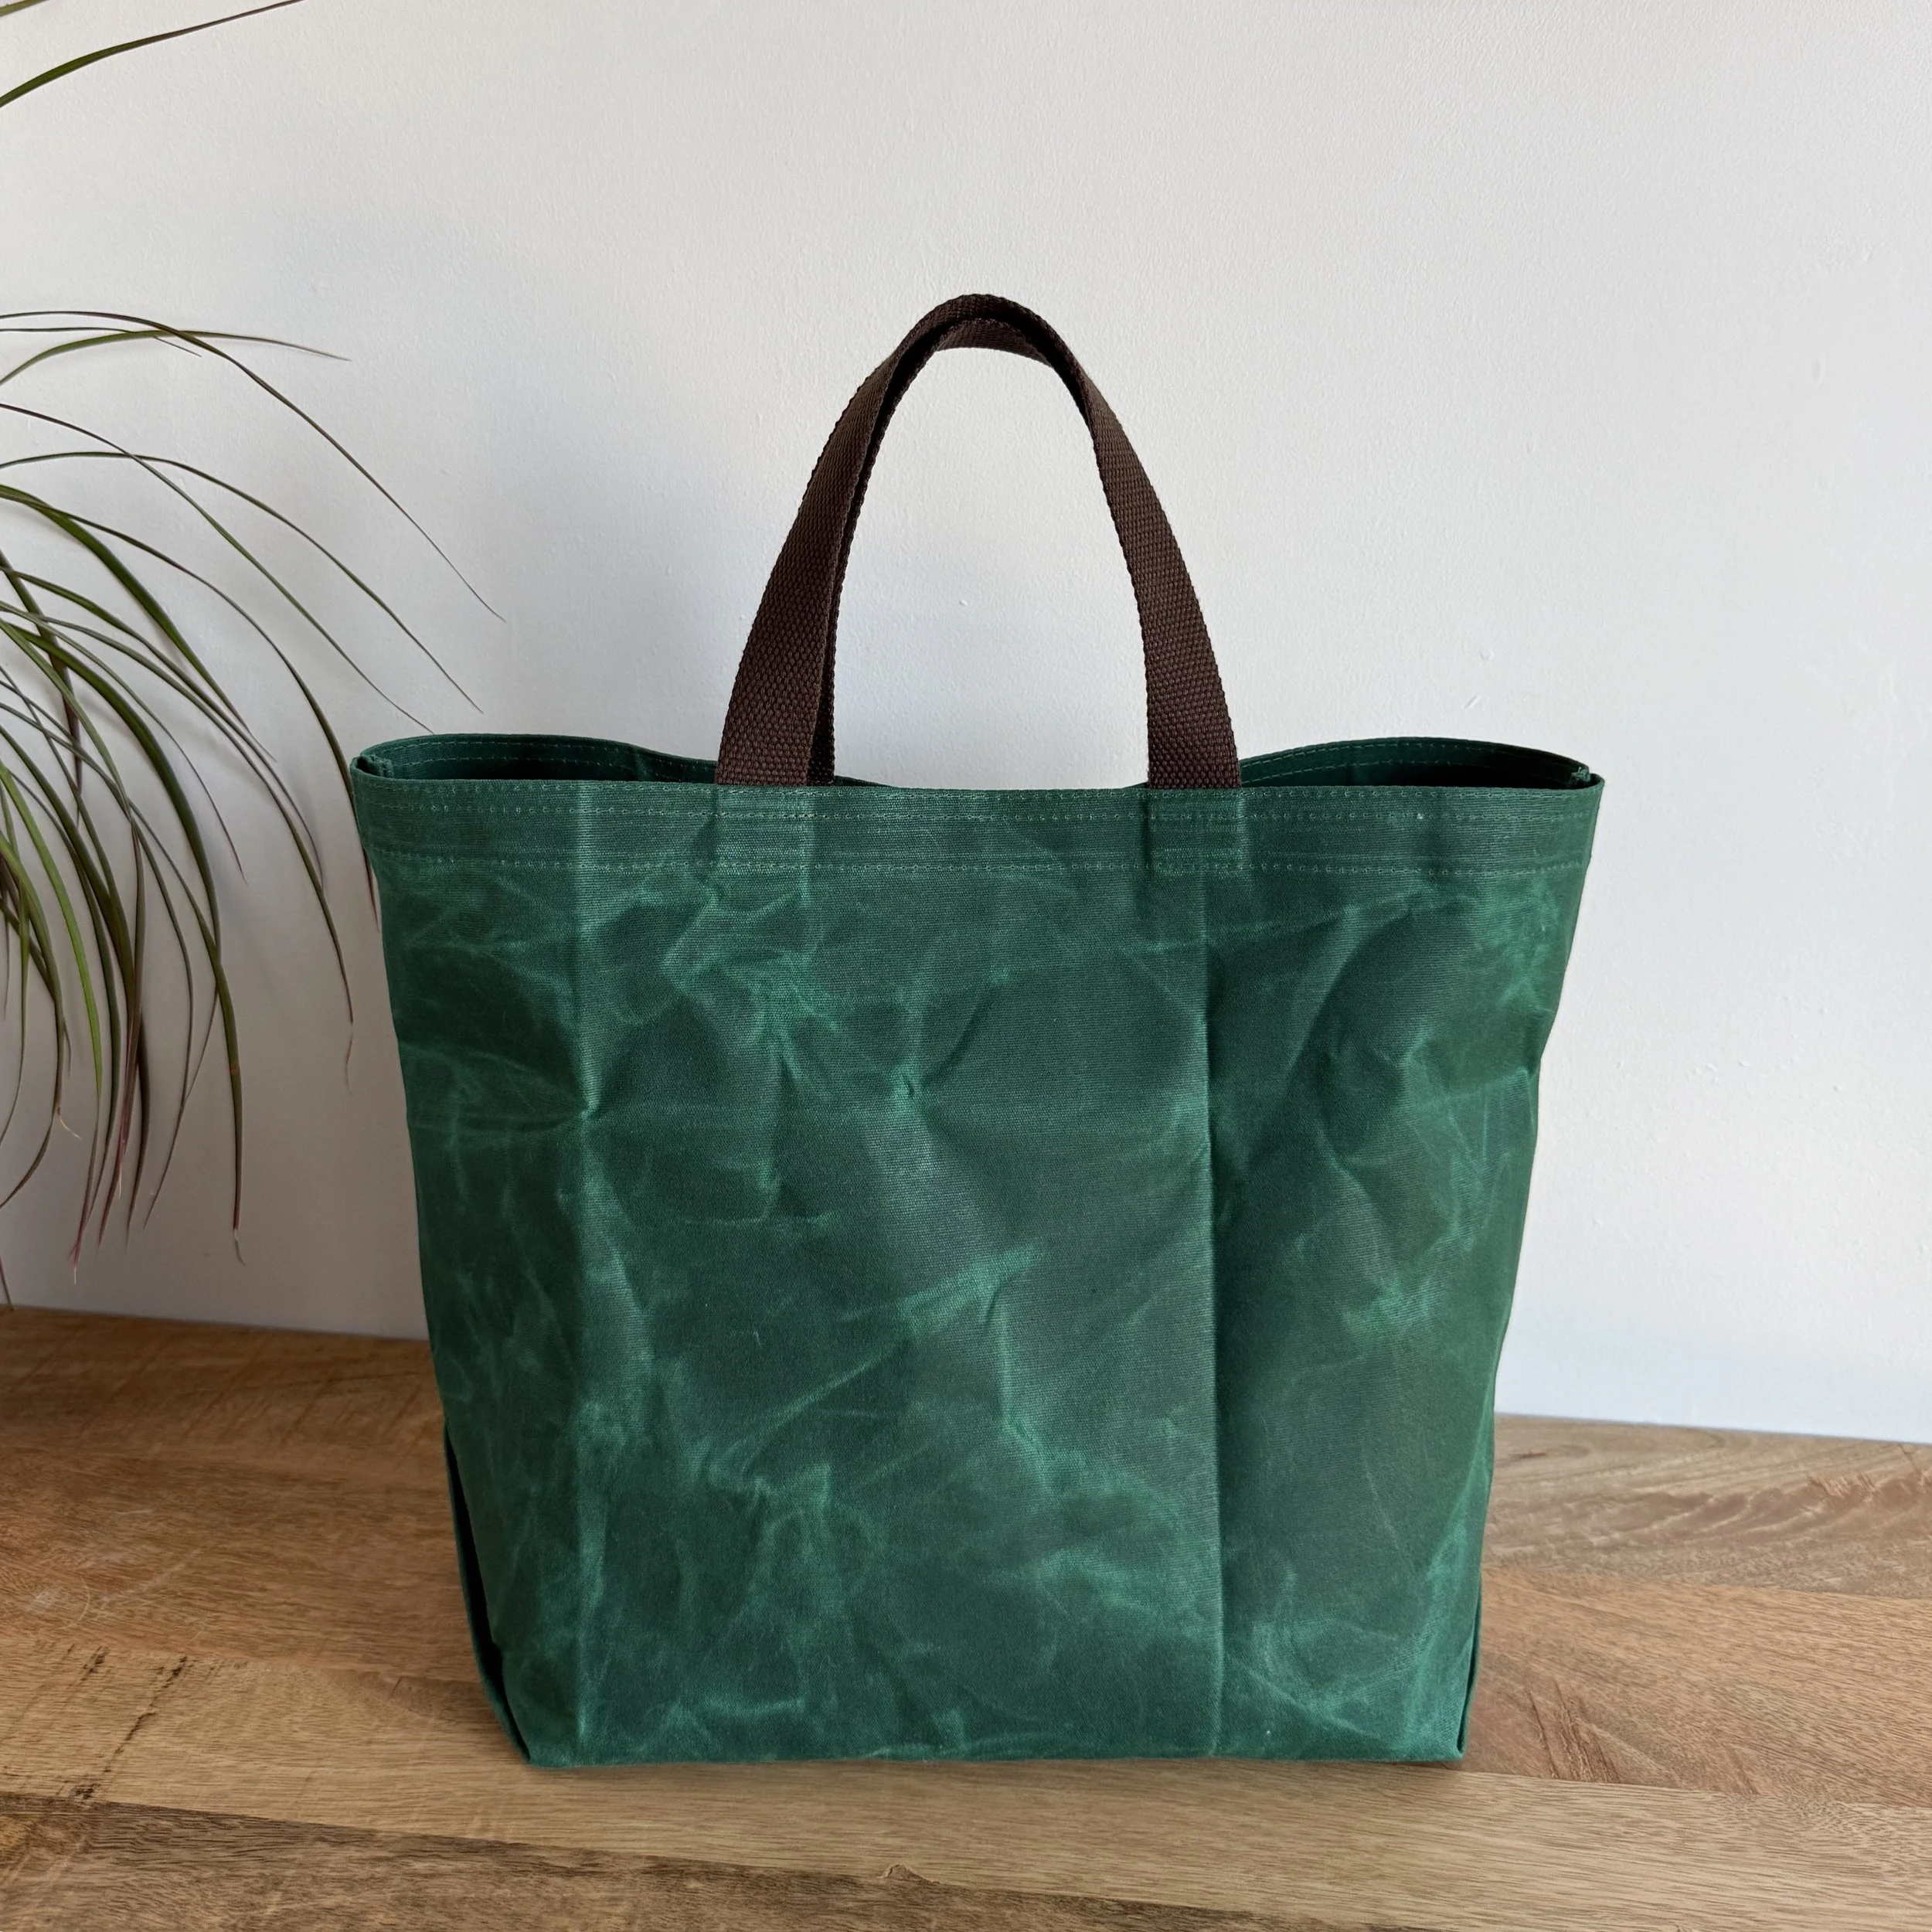
What do you say? Would you like to give waxed canvas a try? Then check out Sullivans Trim website for an amazing selection of waxed canvases in an array of colors. And while you’re at it, browse their webbing selection. It makes for the most wonderful bag handles without any hassle.
I'd love to hear about your experience with waxed canvas. If you have any tips, tricks, or favorite ways to use or care for it, share them in the comments below.
As always, thanks for reading and happy sewing!
Svetlana