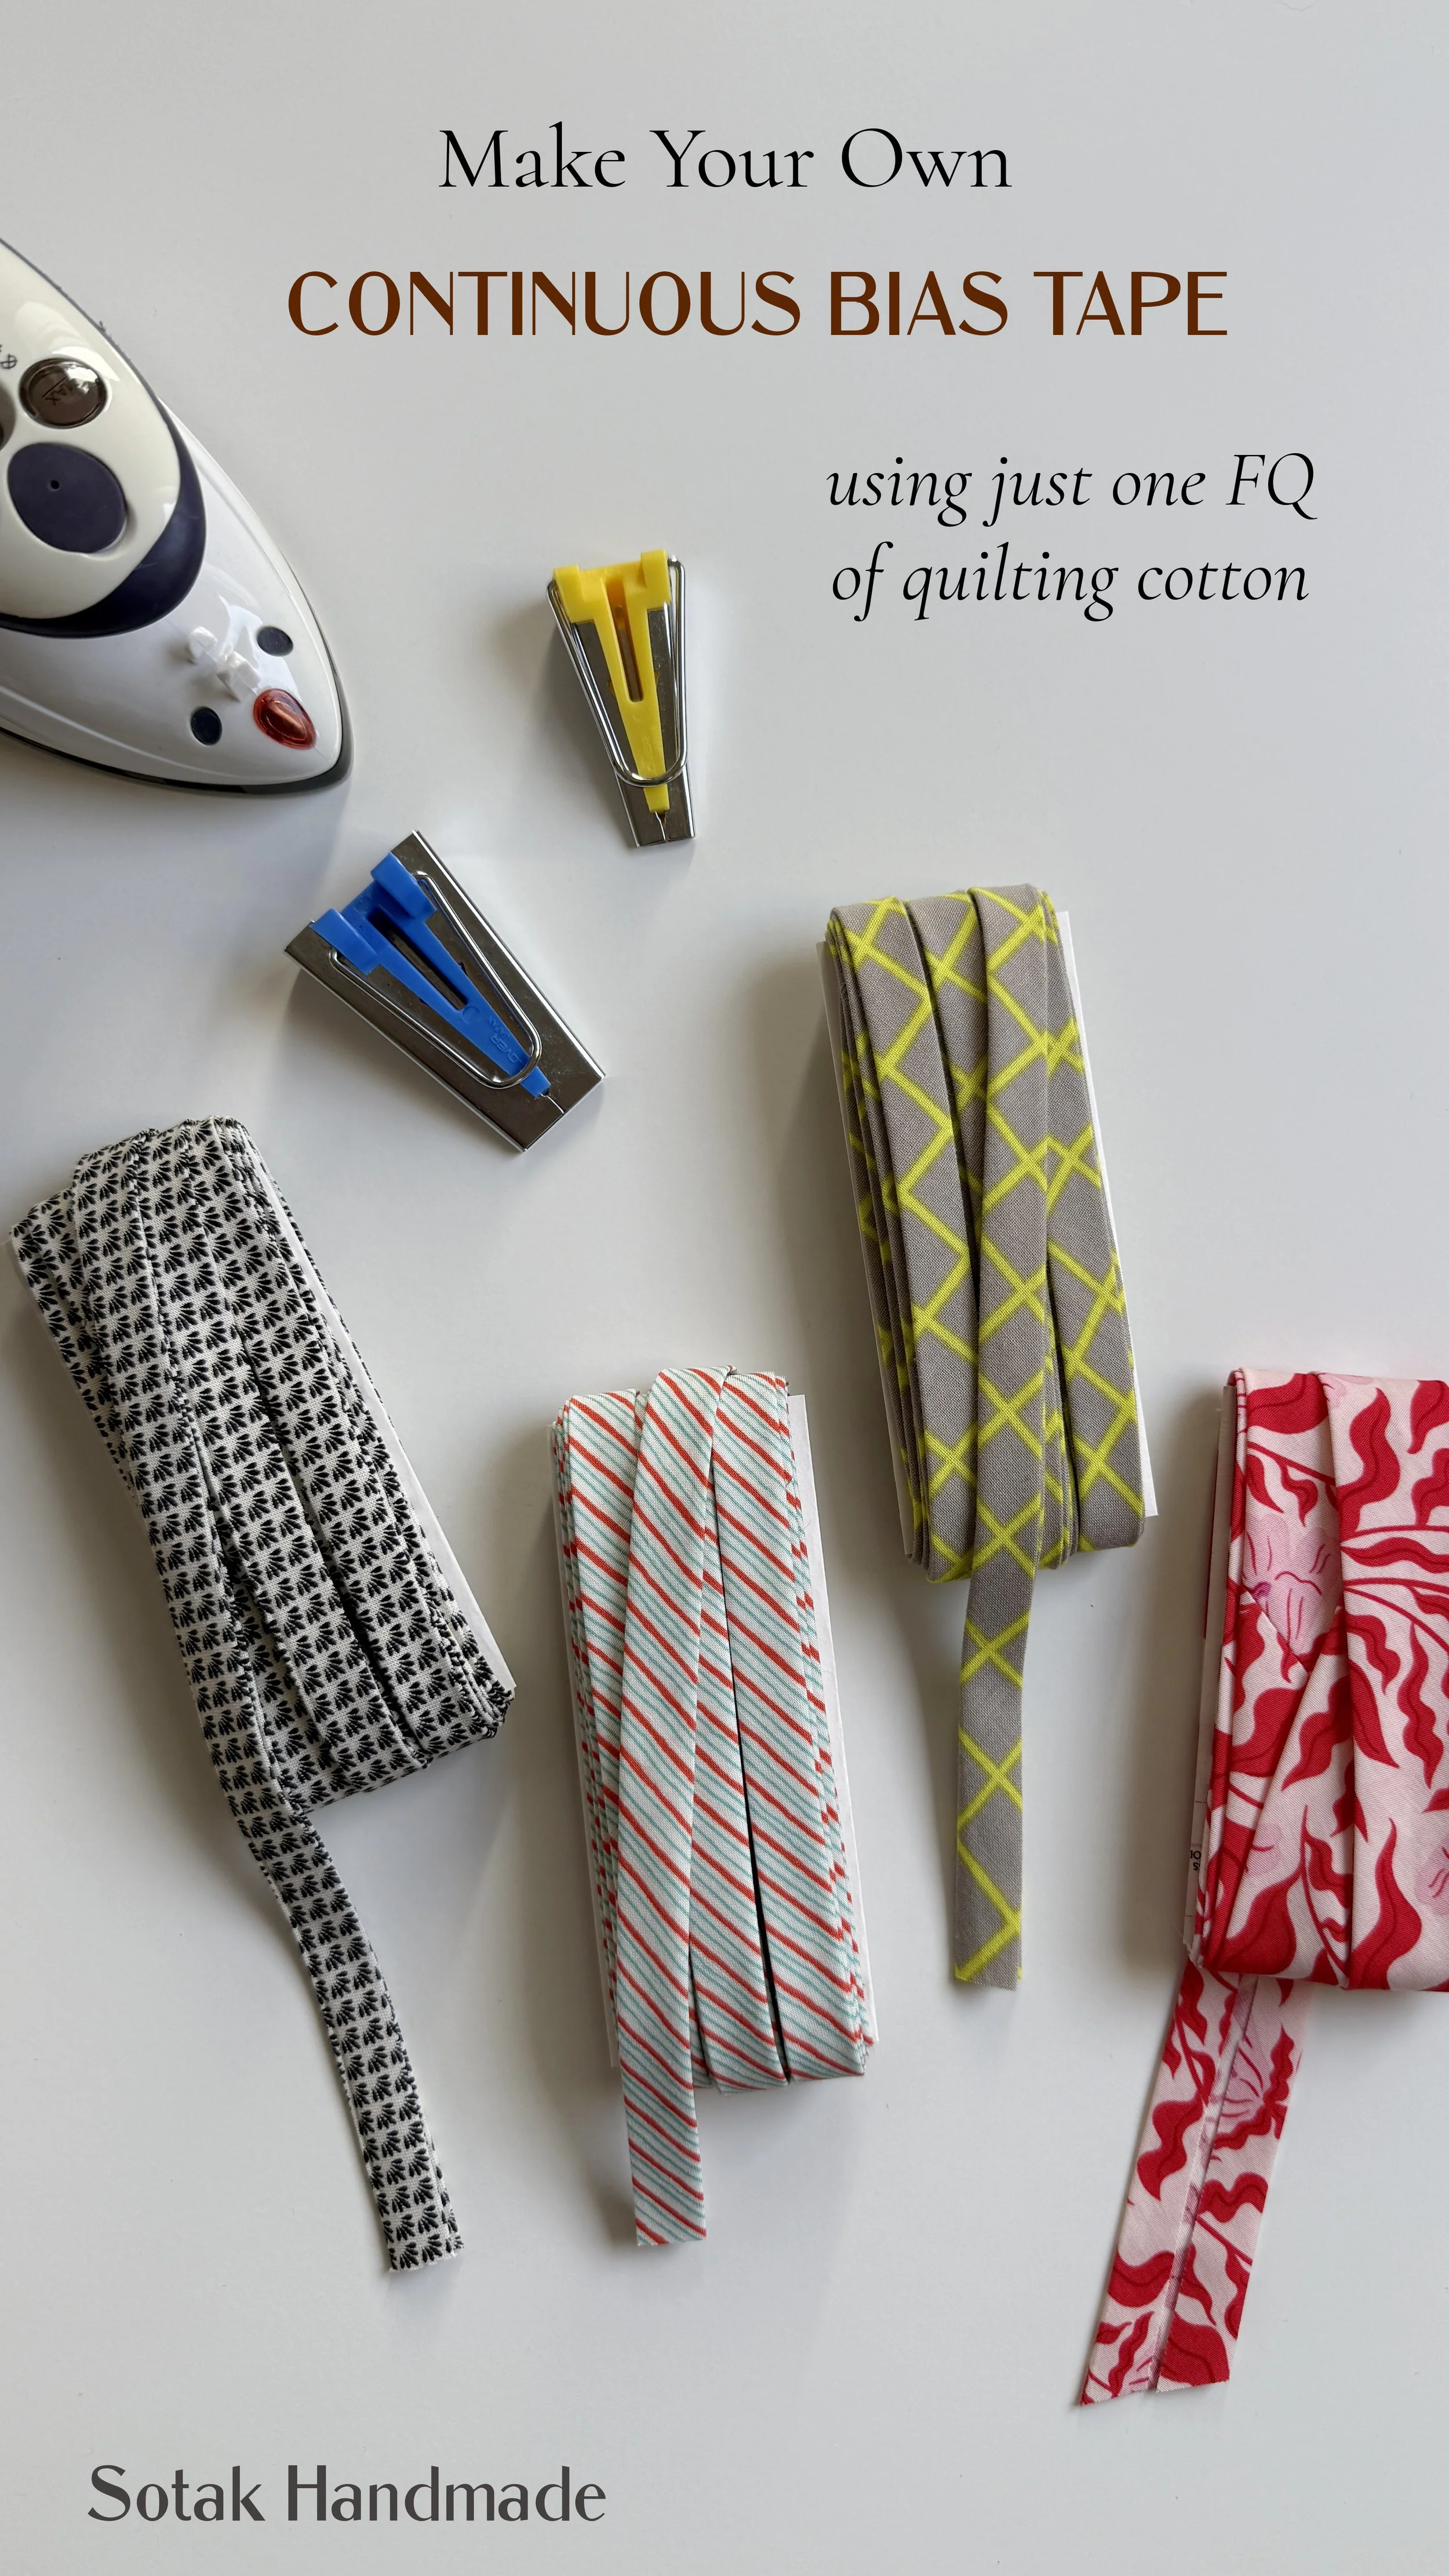
If you sew, you've probably come across bias tape. It's one of those wonderfully useful sewing notions that can add a pop of color and help you achieve neat, professional-looking edges on your projects.
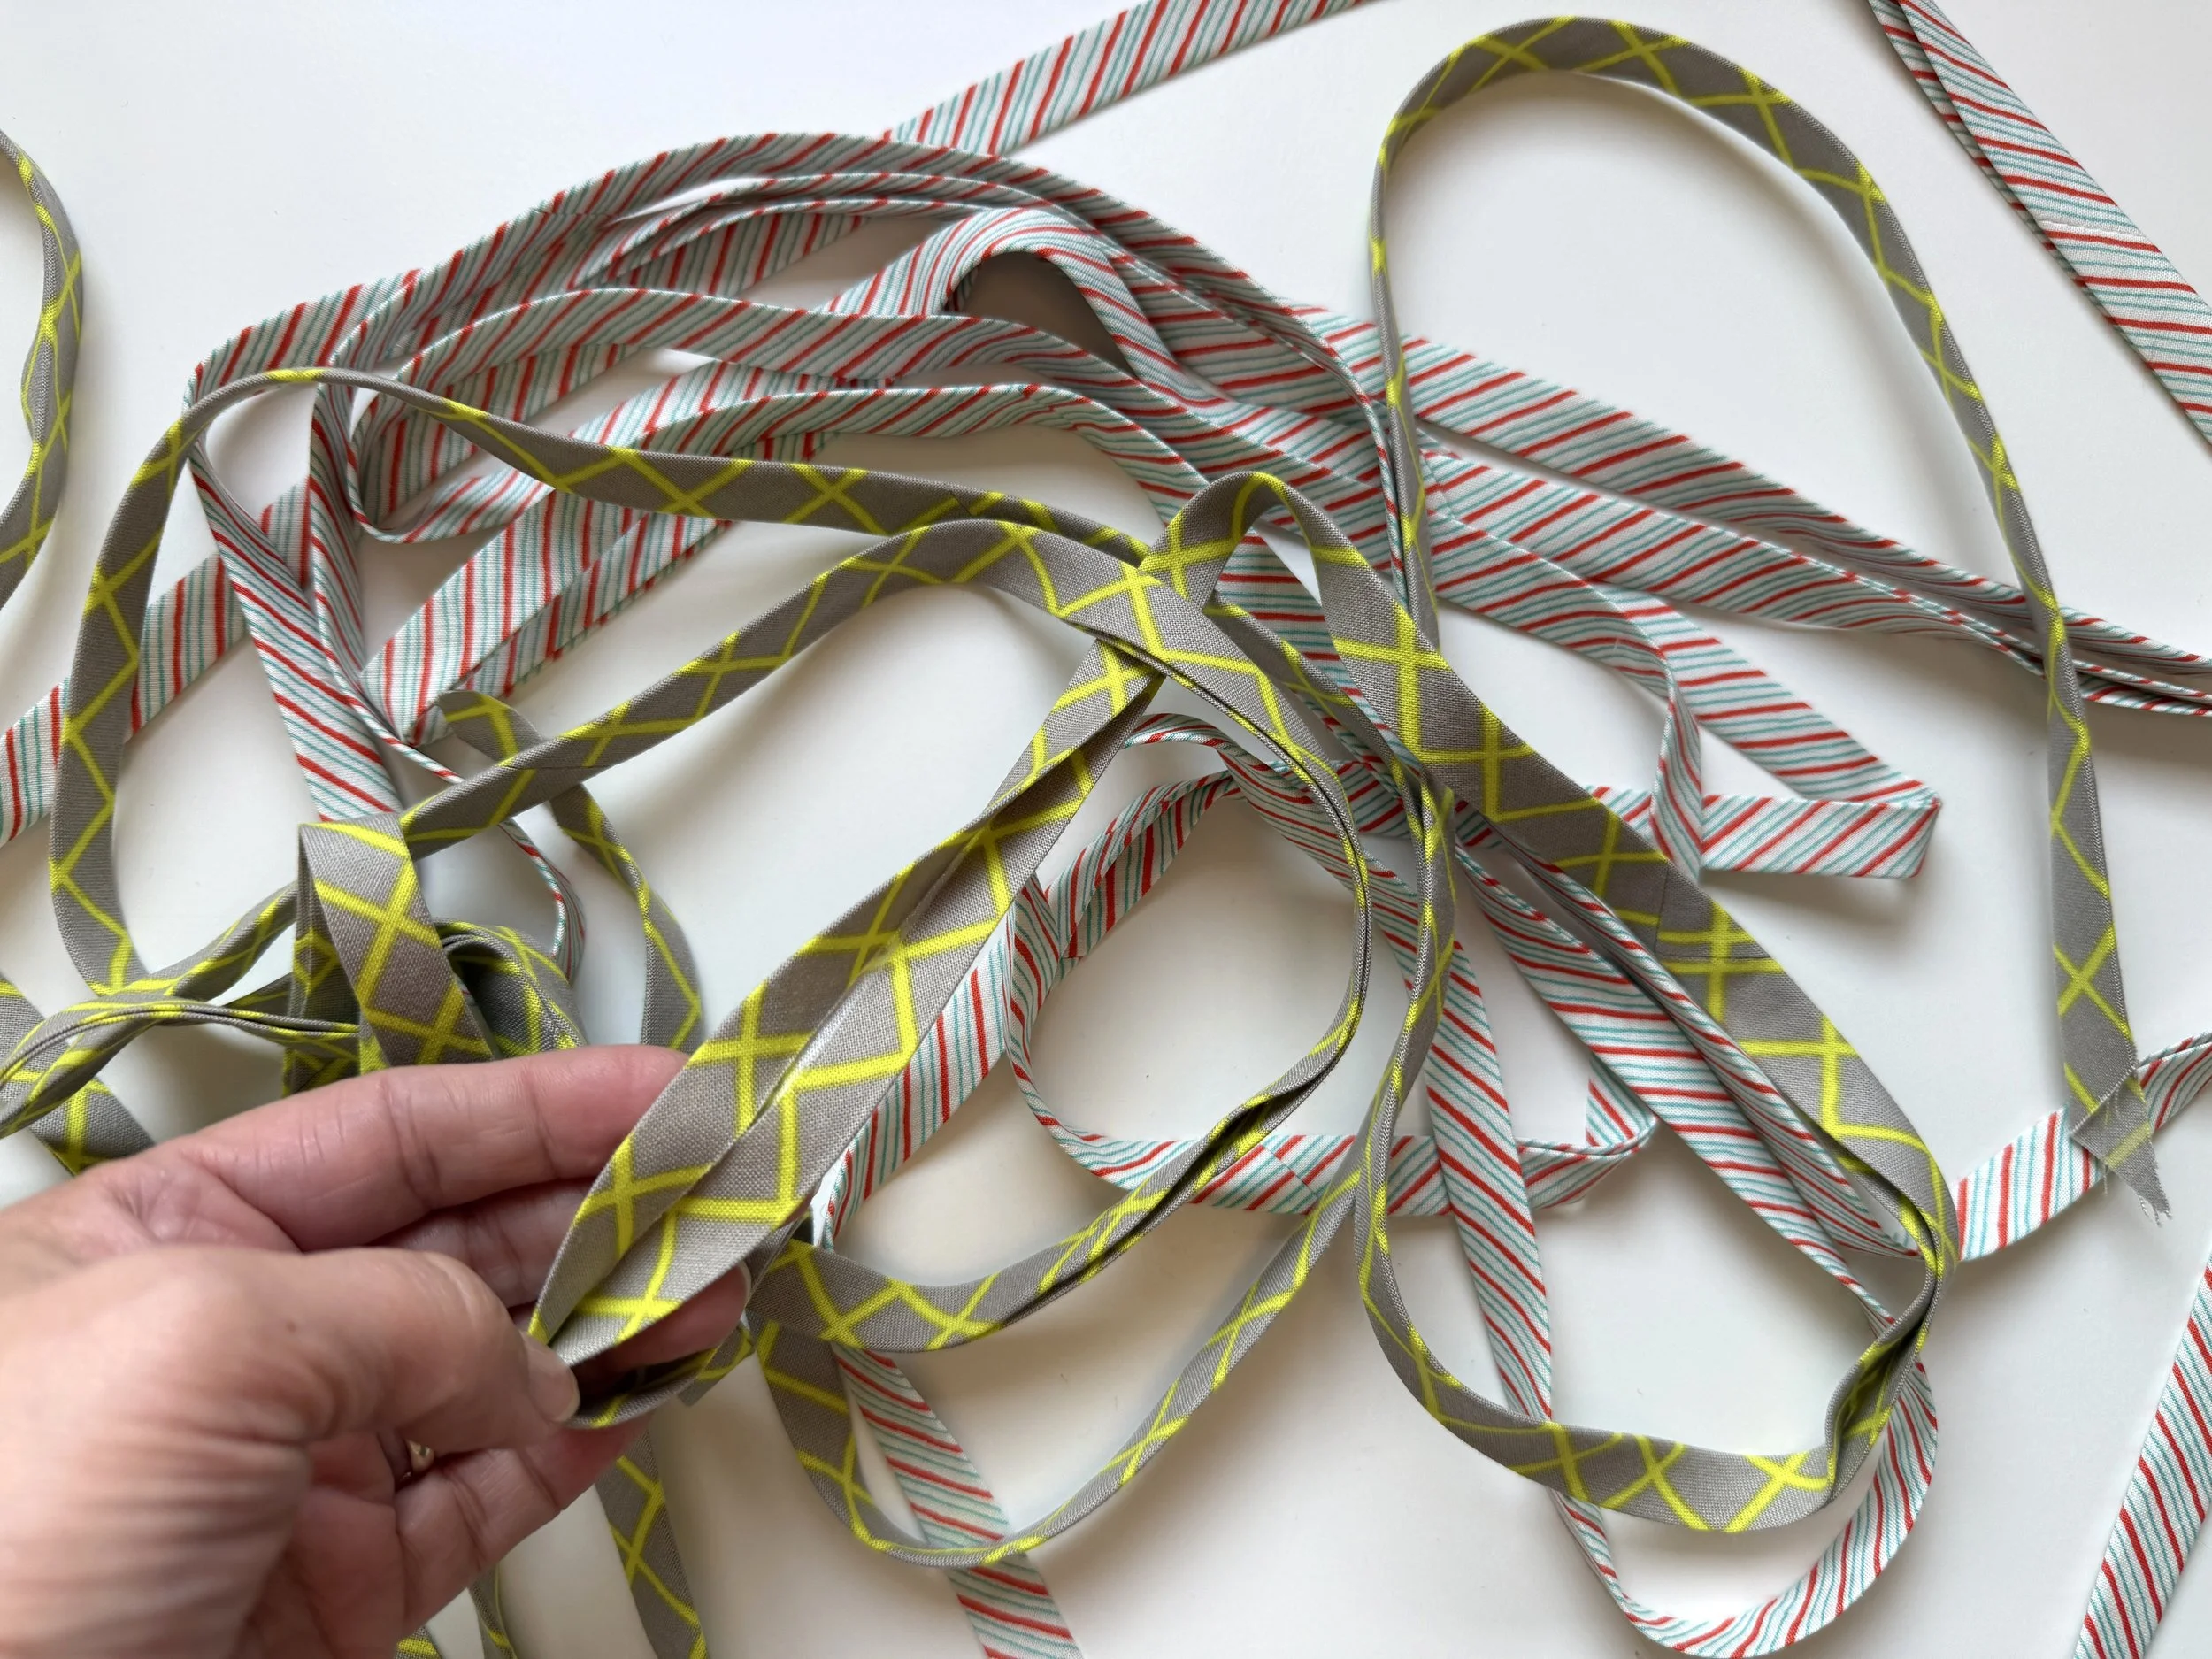
Bias tape is a long strip of fabric cut diagonally across the grain, at a 45-degree angle to the selvage. This diagonal direction is known as the bias of the fabric. It is usually folded and pressed lengthwise, with the raw edges tucked inside, ready to be sewn onto your project.
Unlike fabric cut along the straight grain, fabric cut on the bias has natural stretch and flexibility, so it can bend and curve more easily, which makes it ideal for projects where you need to follow a curved edge without the fabric becoming bulky or puckered.
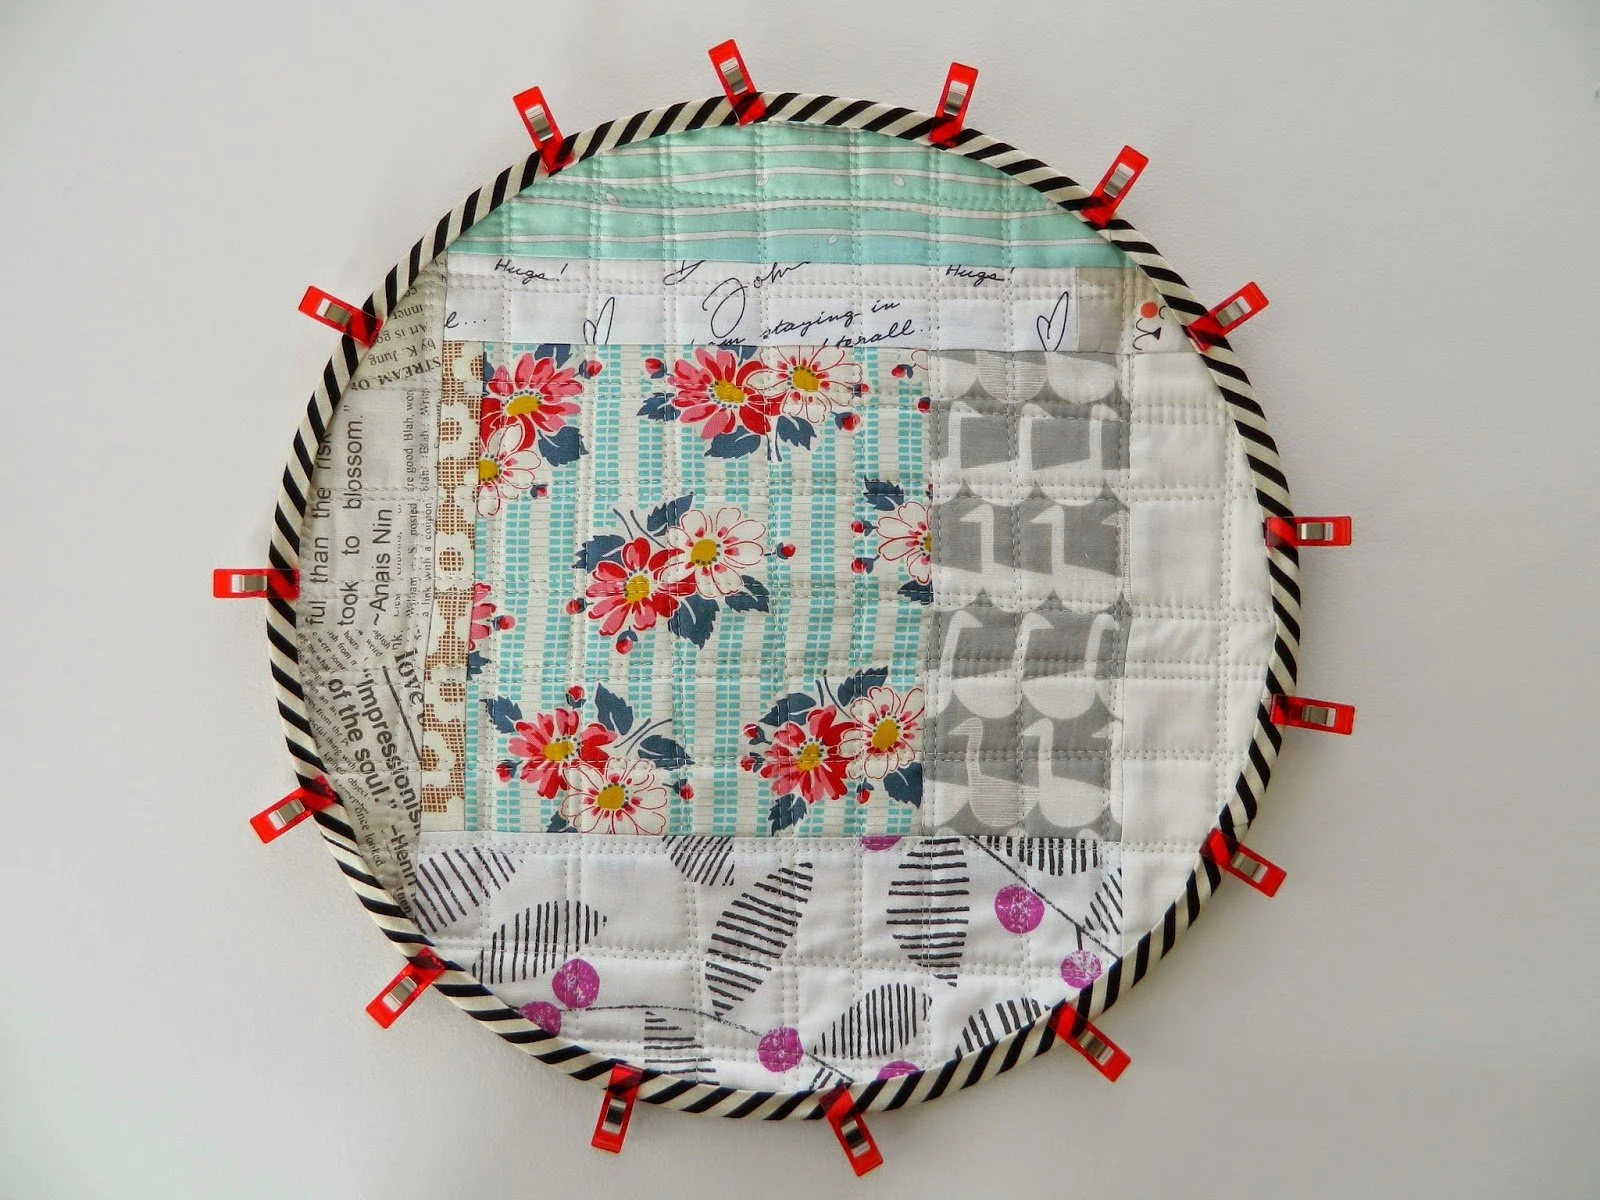
You can buy ready-made bias tape in different colors and widths. But making your own is easier than you might think, and it opens up many more possibilities for choosing the perfect fabric to complement your project.
In this post, I'll explain how to turn a single FQ (fat quarter) of quilting cotton into one long, continuous strip of 1’’ wide single-fold or 1/2’’ wide double-fold bias tape.
FOR THIS PROJECT YOU WILL NEED
One FQ of Quilting Cotton
Rotary Cutter and/or Fabric Scissors, Cutting Mat, and Quilting Ruler
Iron and Ironing Board
Bias Tape Maker (optional, but highly recommended)
A FEW HELPFUL TIPS BEFORE WE START
Don't stretch the fabric while pressing. Let the iron do the work rather than pulling the strip.
Be consistent with your measurements. Accurate strip widths make folding and sewing much easier.
Store the finished bias tape neatly. Wind it around a piece of cardboard or a small bobbin so it's ready whenever you need it.
LET’S GET TO IT, SHALL WE?
Step 1: Press your fat quarter of quilting cotton so that it is flat and wrinkle-free. Trim any uneven edges if necessary, making sure you have a neat rectangle.
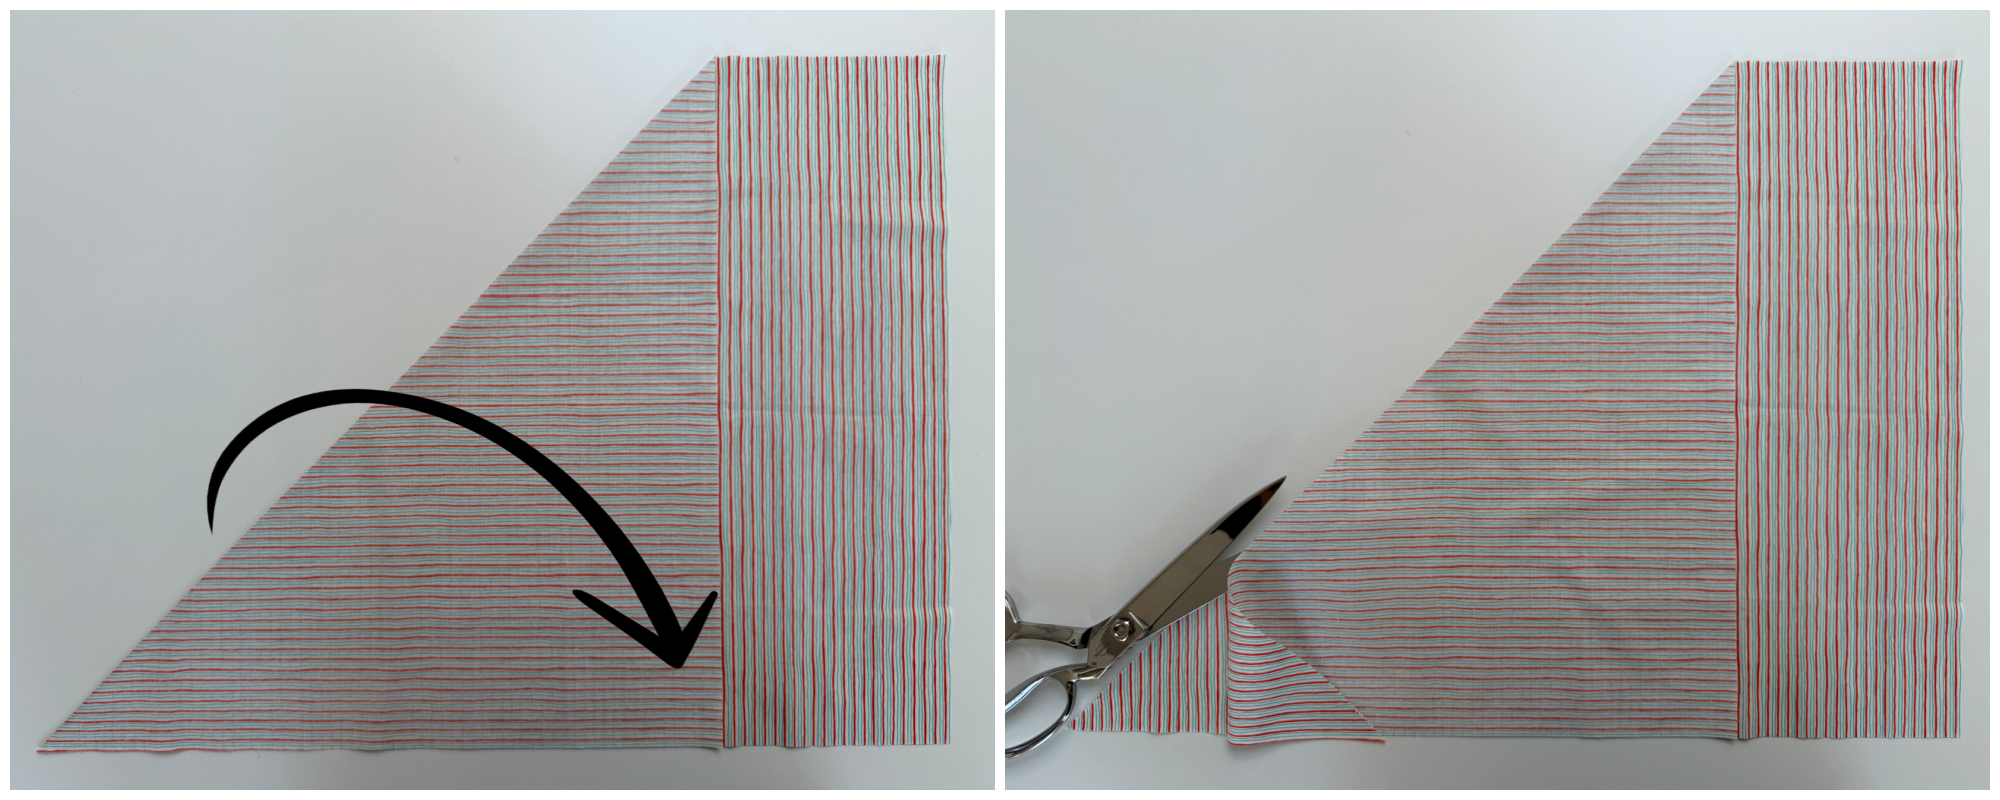
Step 2: Line up the upper left corner of your fabric with the bottom edge to create a fold at a 45-degree angle. Press using a hot iron and steam. Use your sharp fabric shears to cut along the folded line.
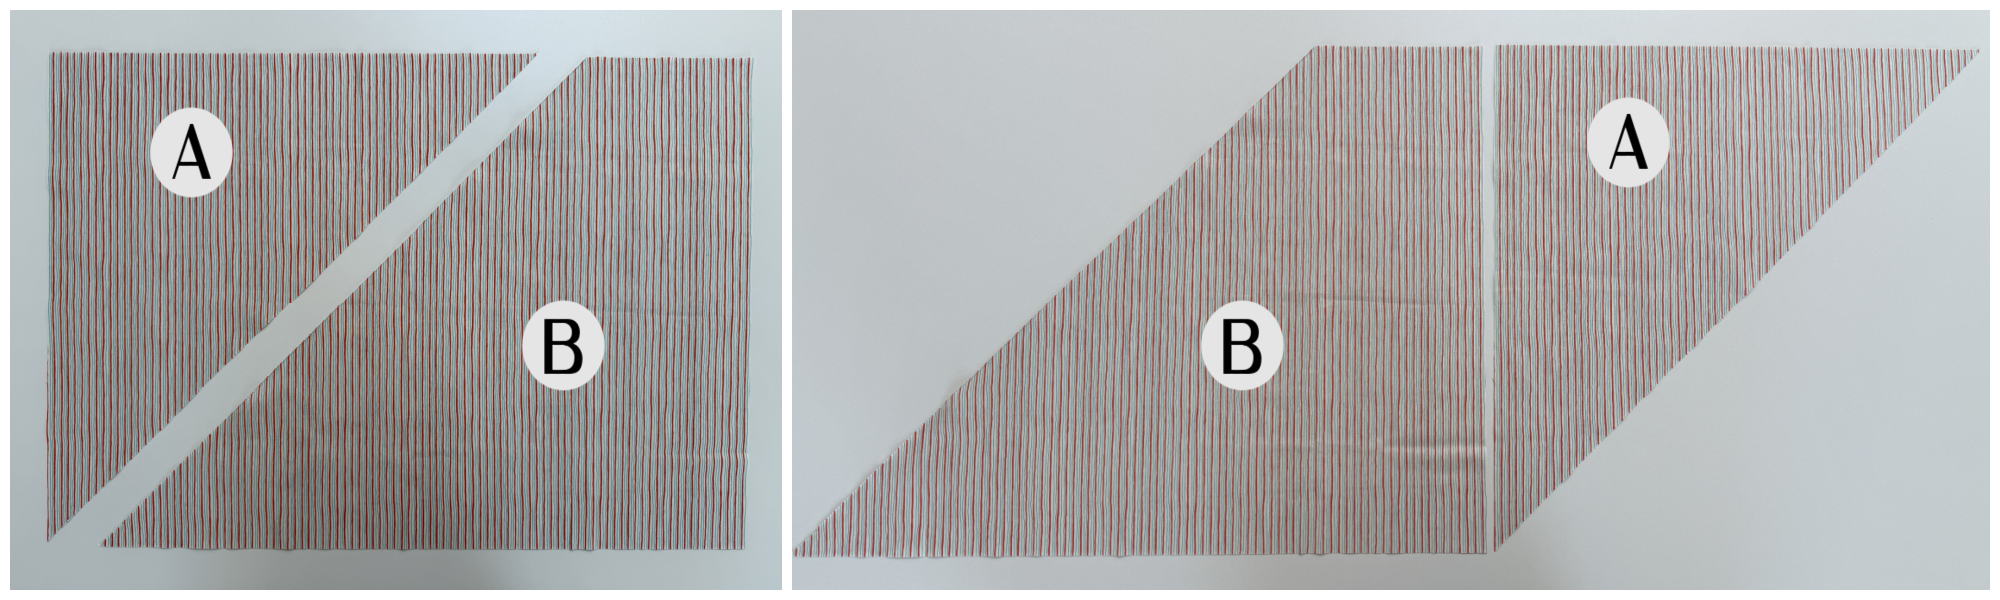
Step 3: Reposition the fabric so that two angled edges run parallel to each other along the panel's outer edges.
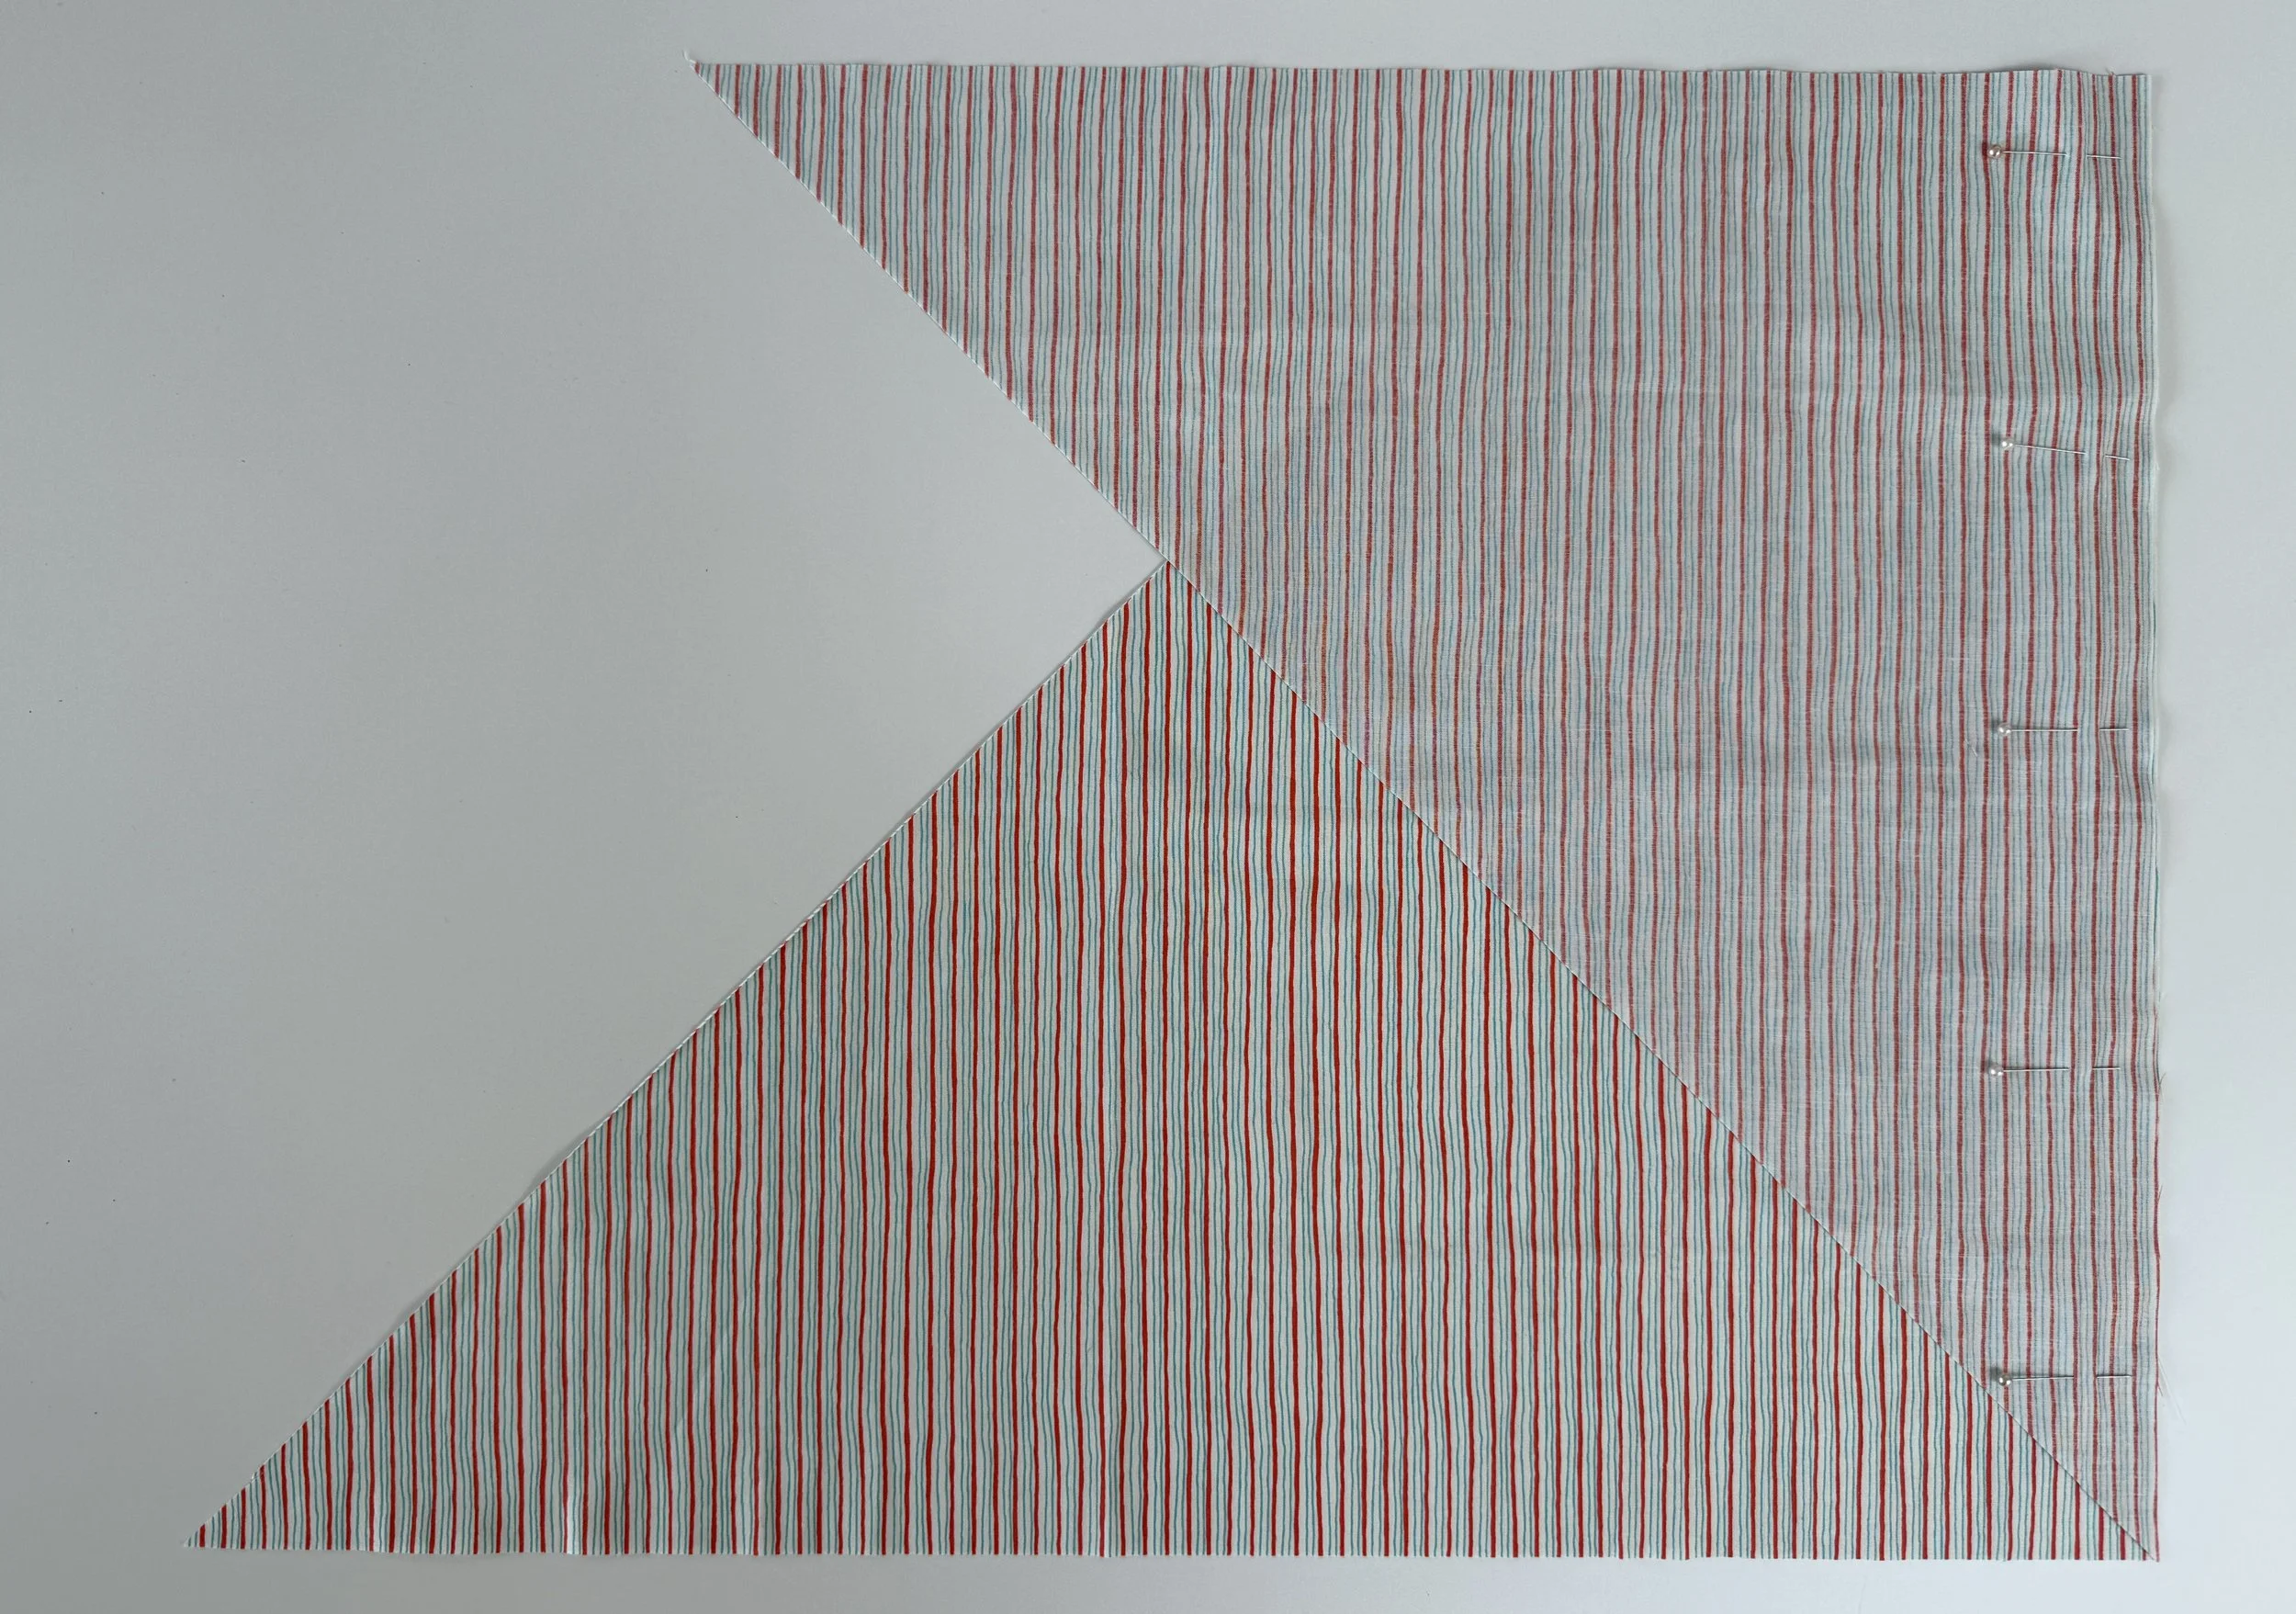
Step 4: Place the two straight edges together, with the right sides facing. Pin to hold the two layers together. Use 1/4’’ SA and a short stitch length (2 on my Juki sewing machine) to sew along the pinned edge, backstitching at the beginning and end. Press the seam open.
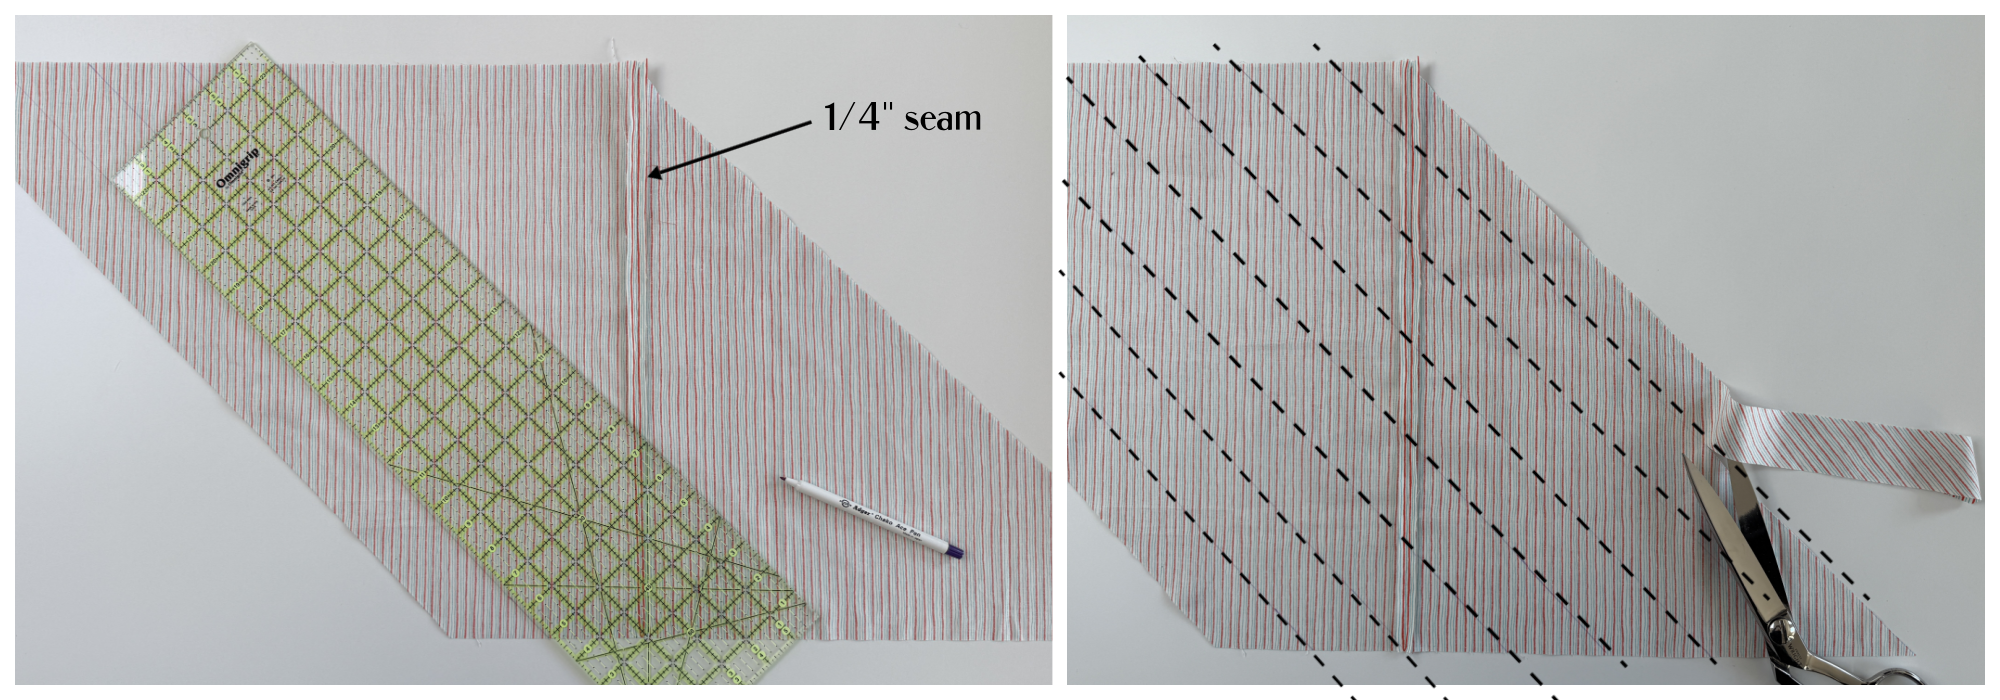
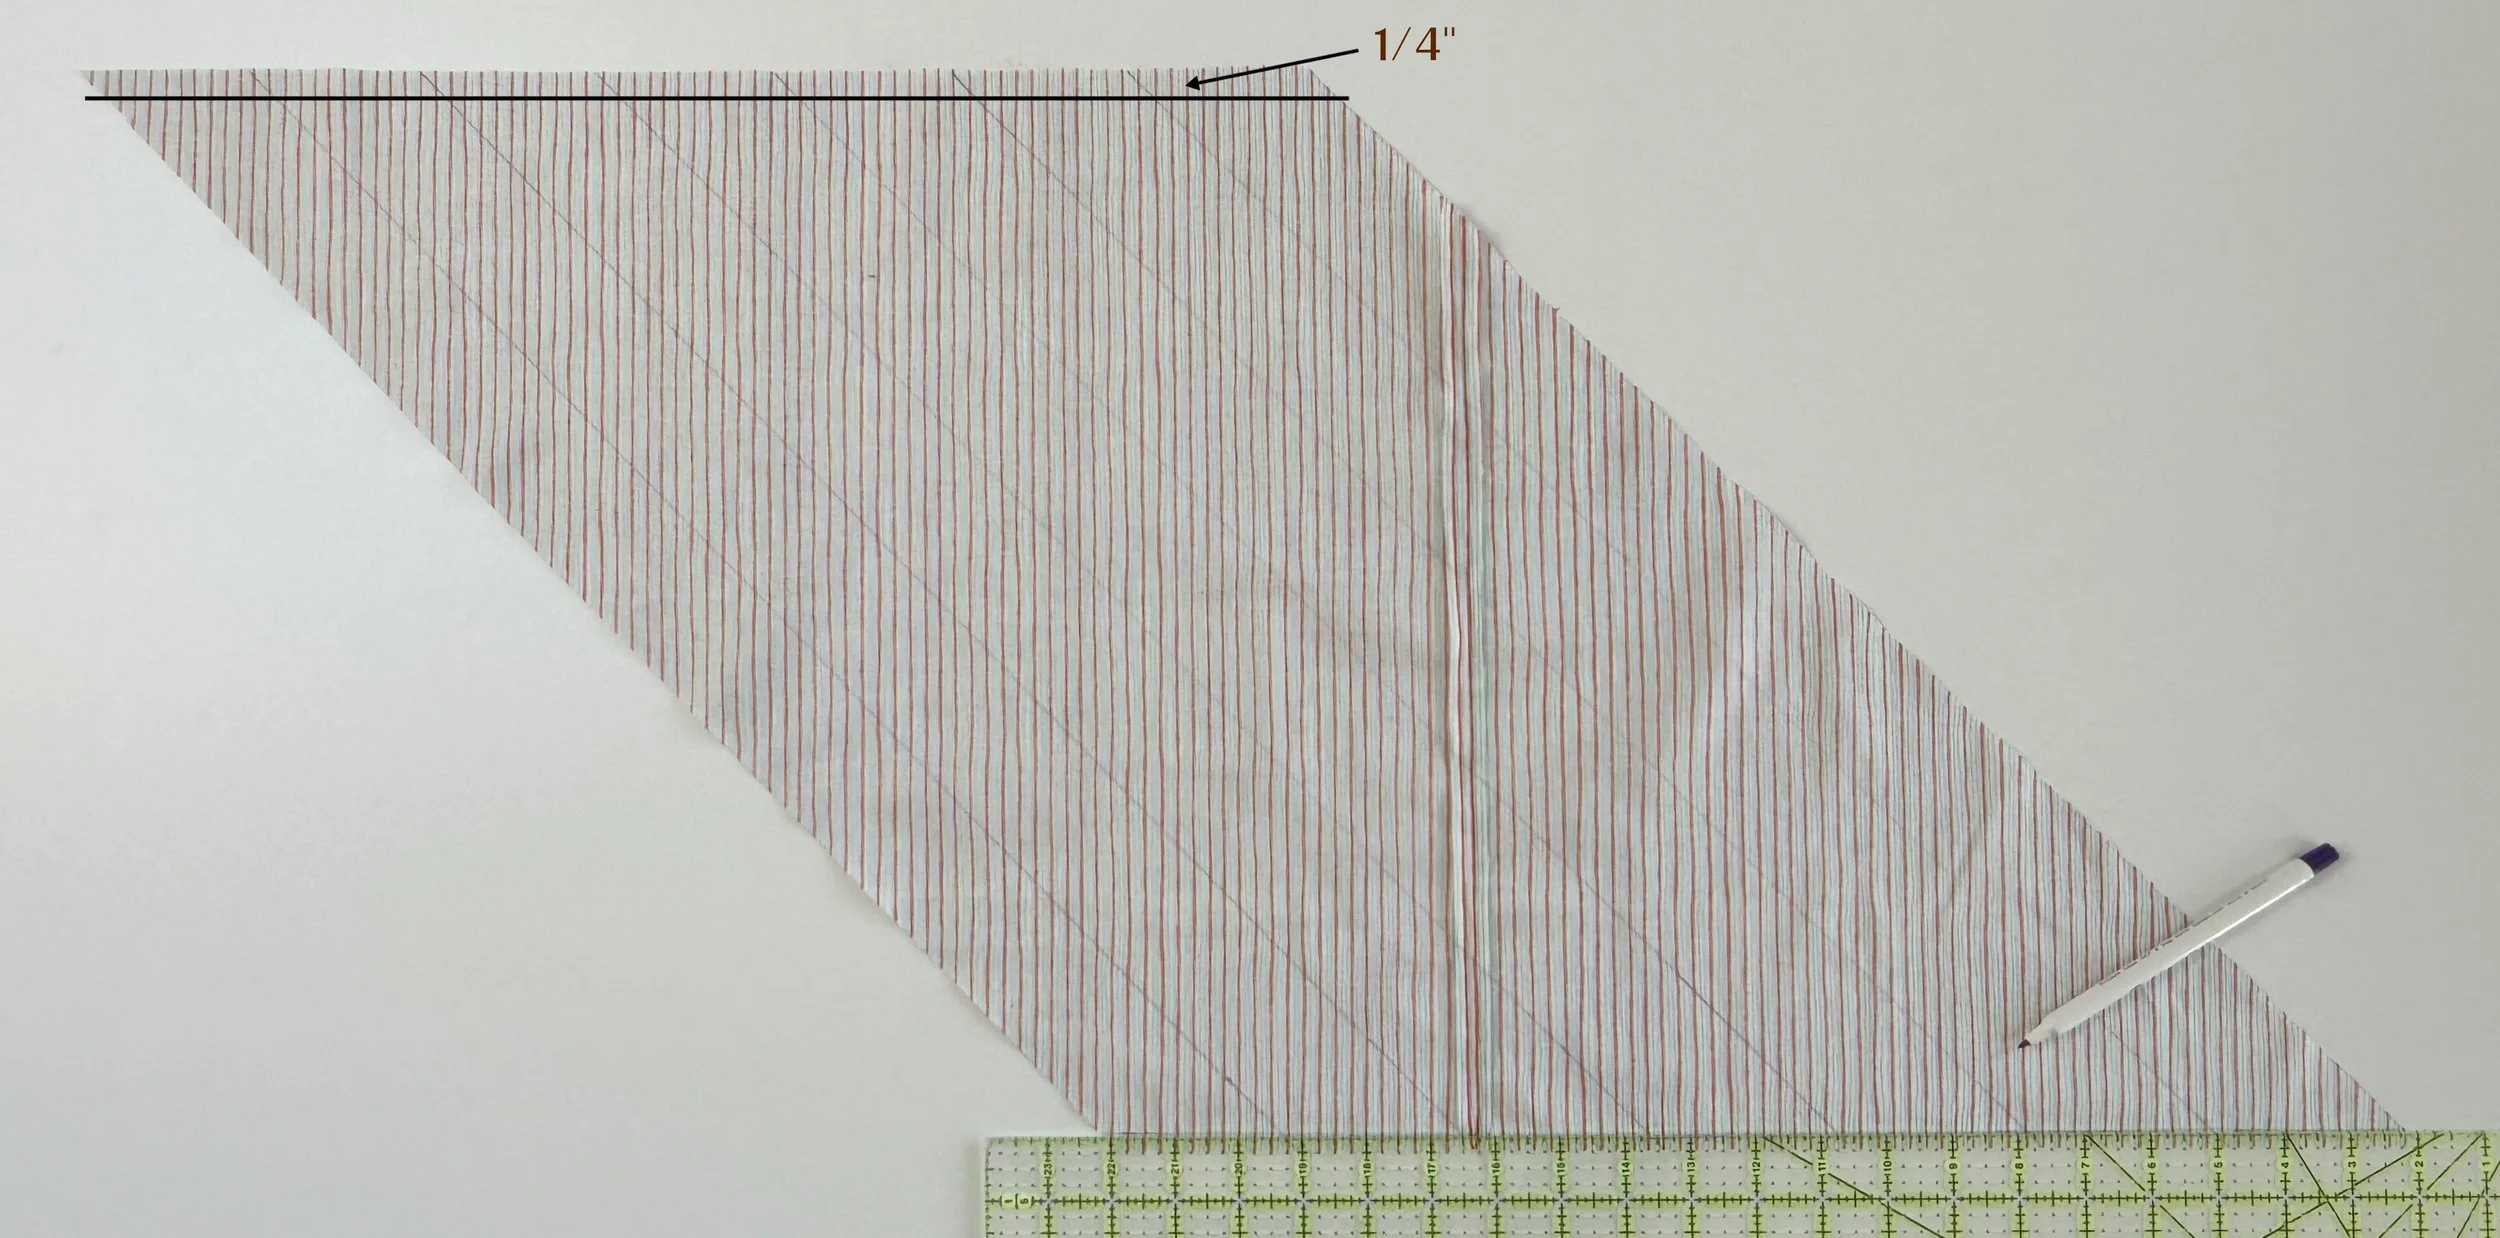
Step 5: Use a ruler and a fabric marker to draw lines along the bias/diagonal edge. My lines are 2’’ apart, but you can adjust the width of the strips depending on your needs. Trim off and discard a narrow strip at the end, as you want all the strips to be exactly 2’’ wide.
Step 6: Draw a line 1/4’’ away from each straight edge. These lines will mark your seam allowance for the next step.
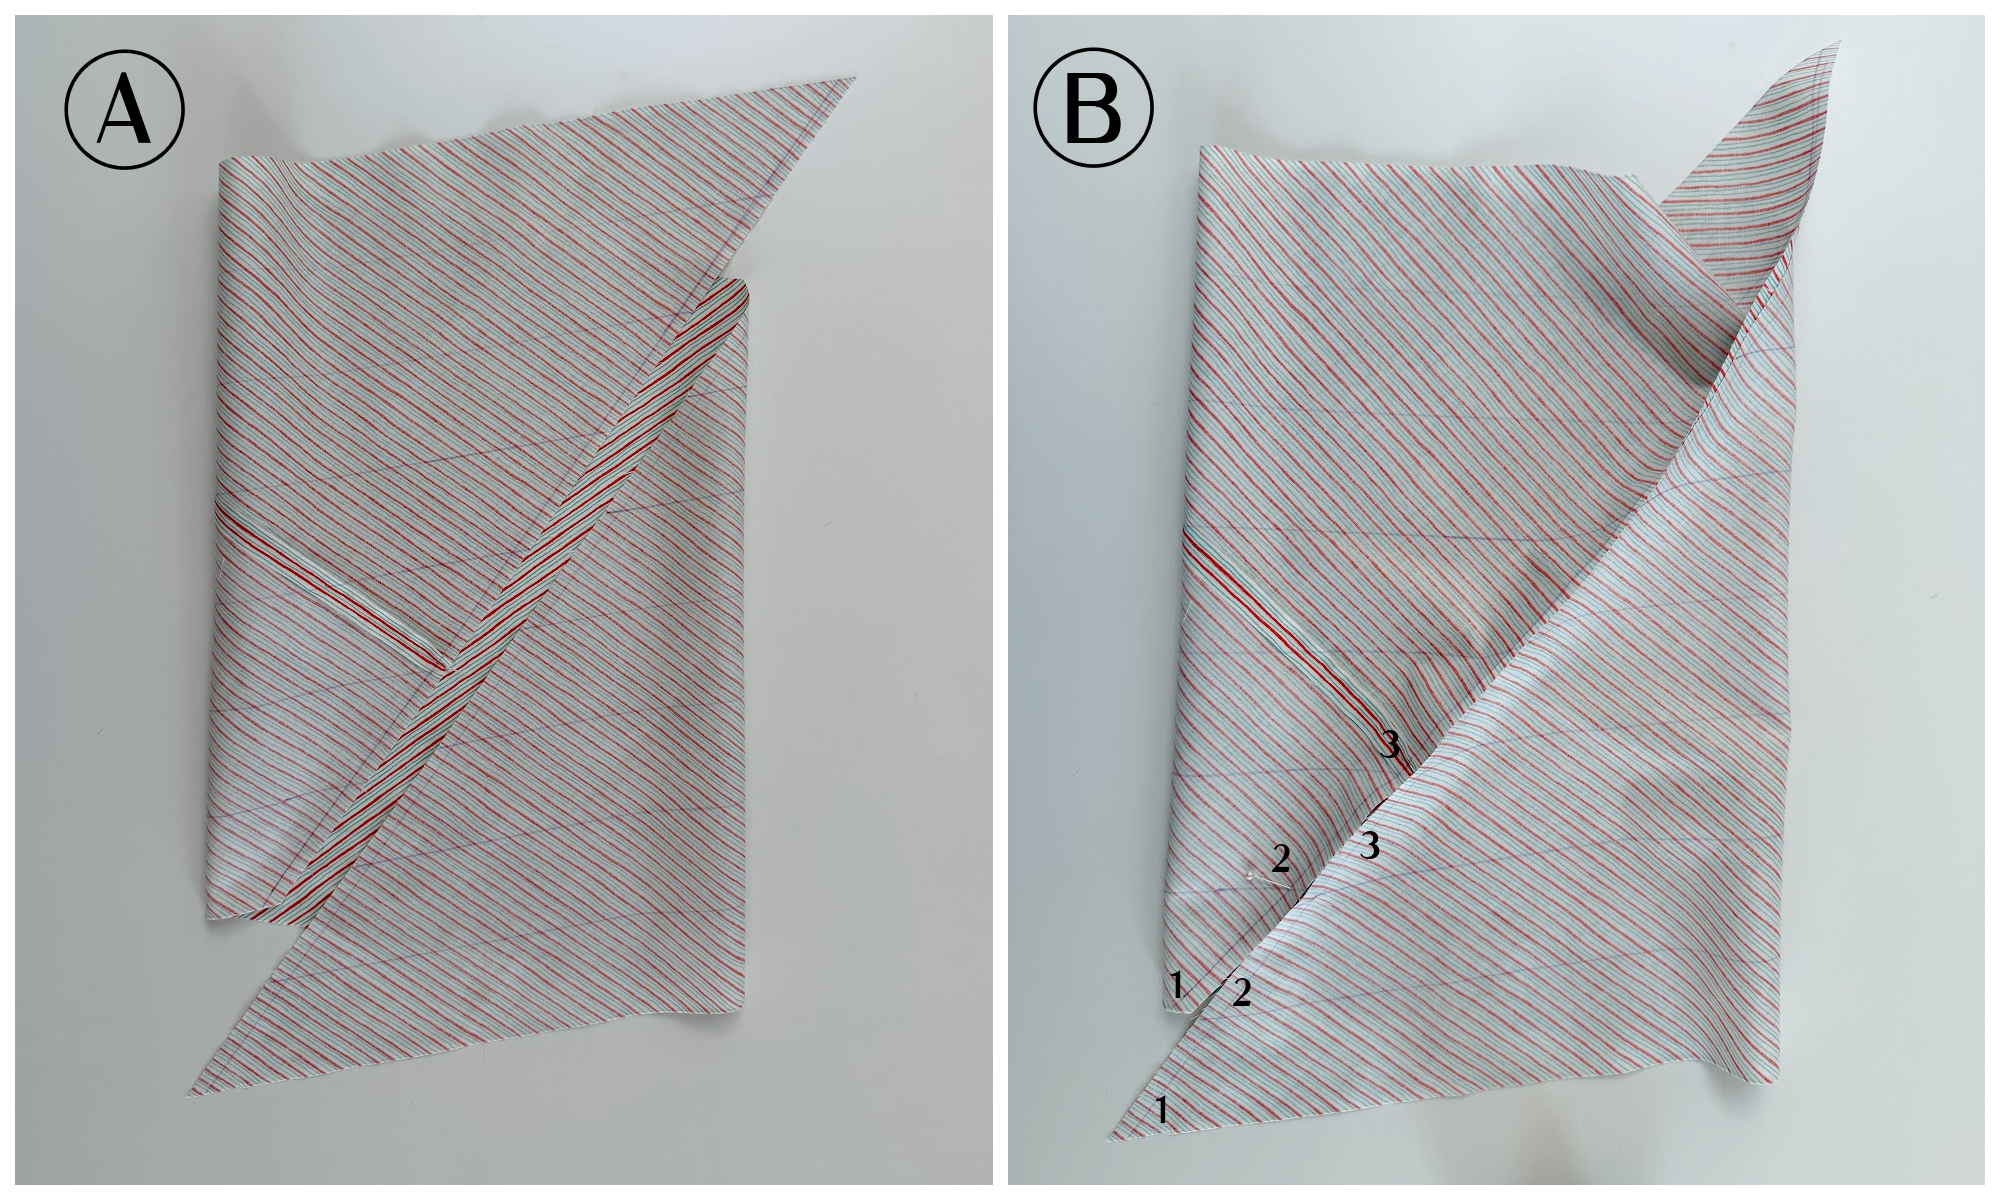
Step 7: Place the fabric right side up on a flat surface and bring the straight edges with the drawn seam allowance lines together (A). Offset your straight edges to match up your first line on one side with the second line on the other side(B).
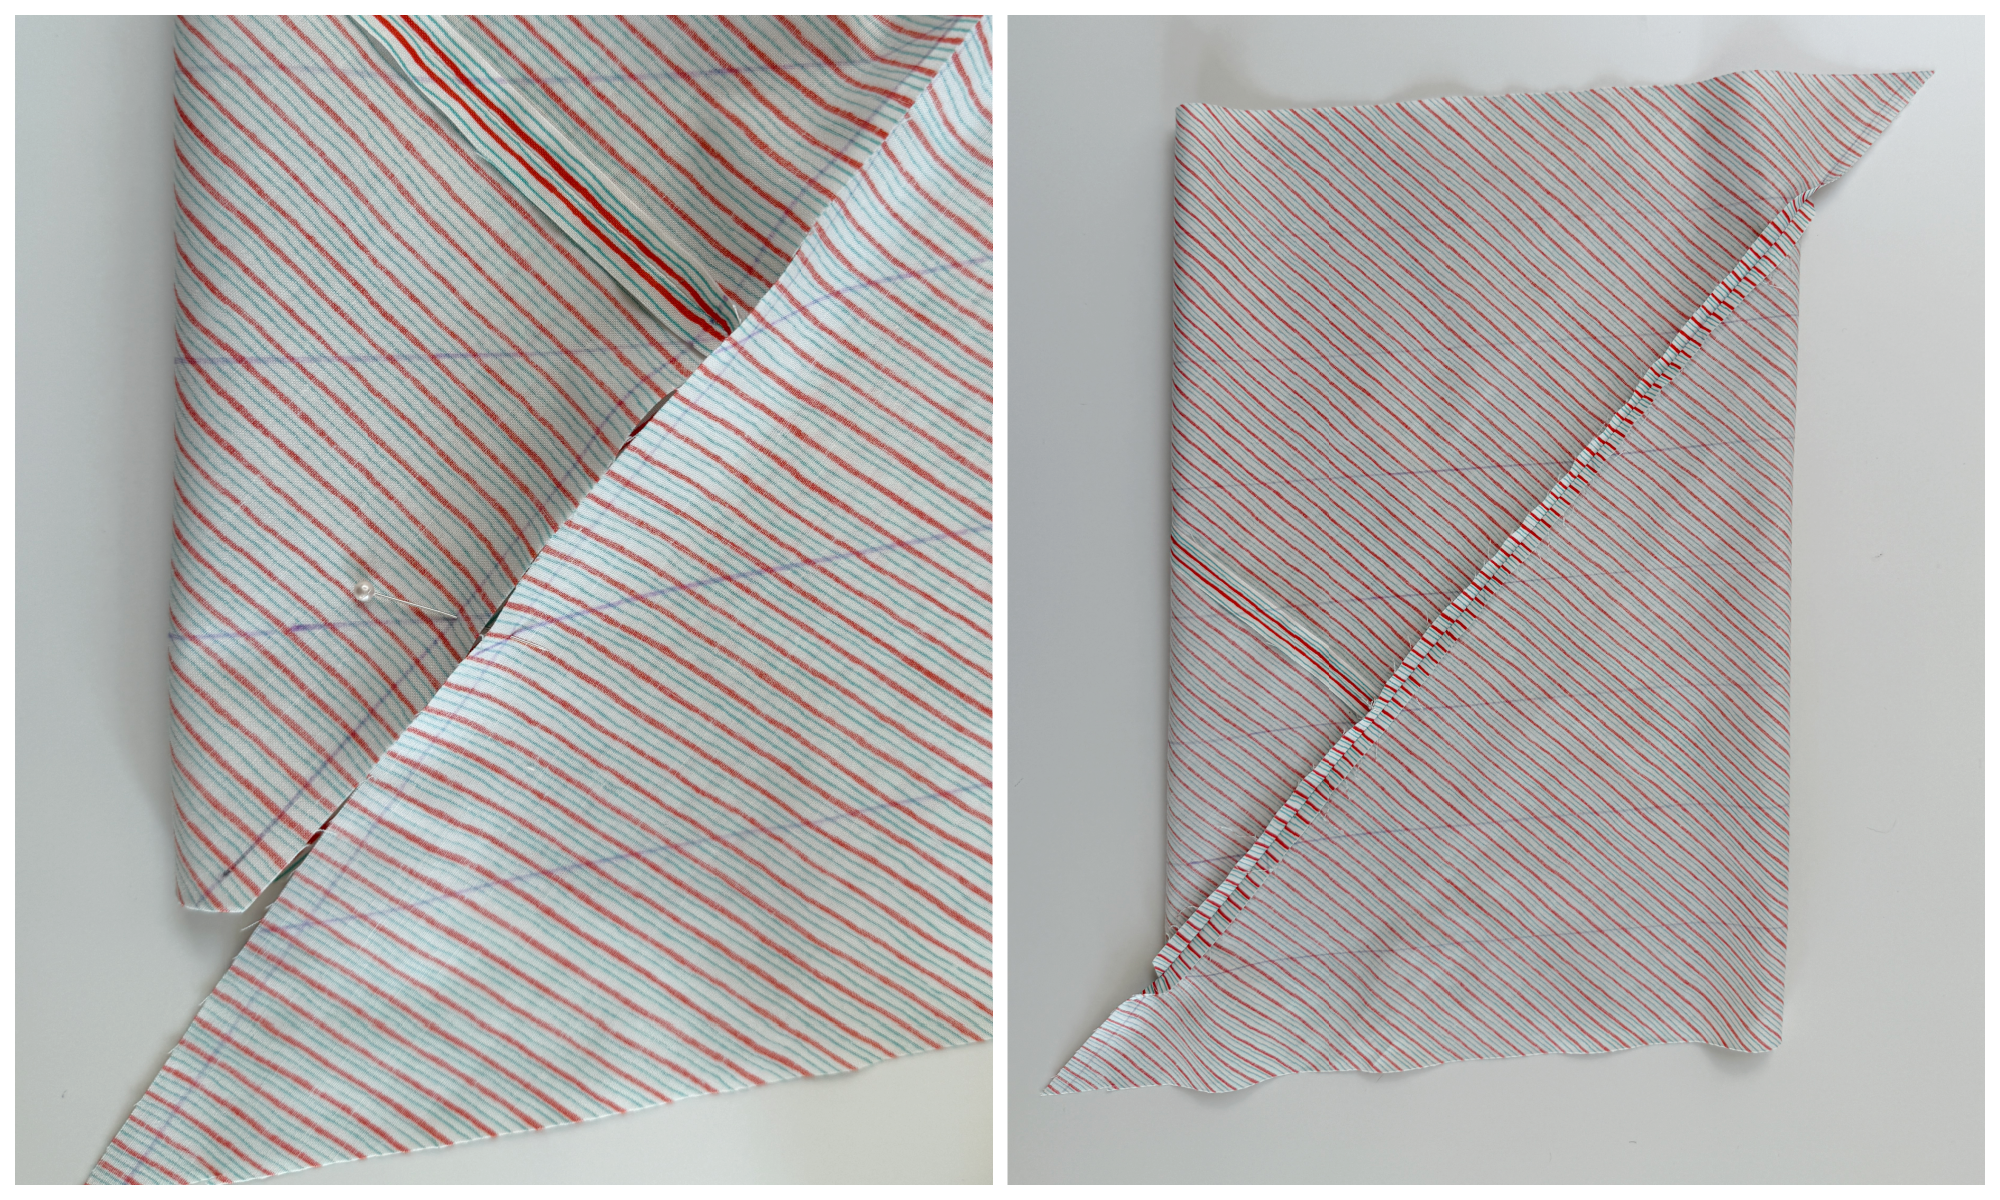
Step 8: Pin through the points where the diagonal lines cross the seam allowance lines to ensure everything matches up neatly. Use a 1/4’’ SA and a short stitch length (2 on my Juki sewing machine) to sew along the pinned line, backstitching at the beginning and end. Press the seam open. Your fabric now forms one continuous loop.
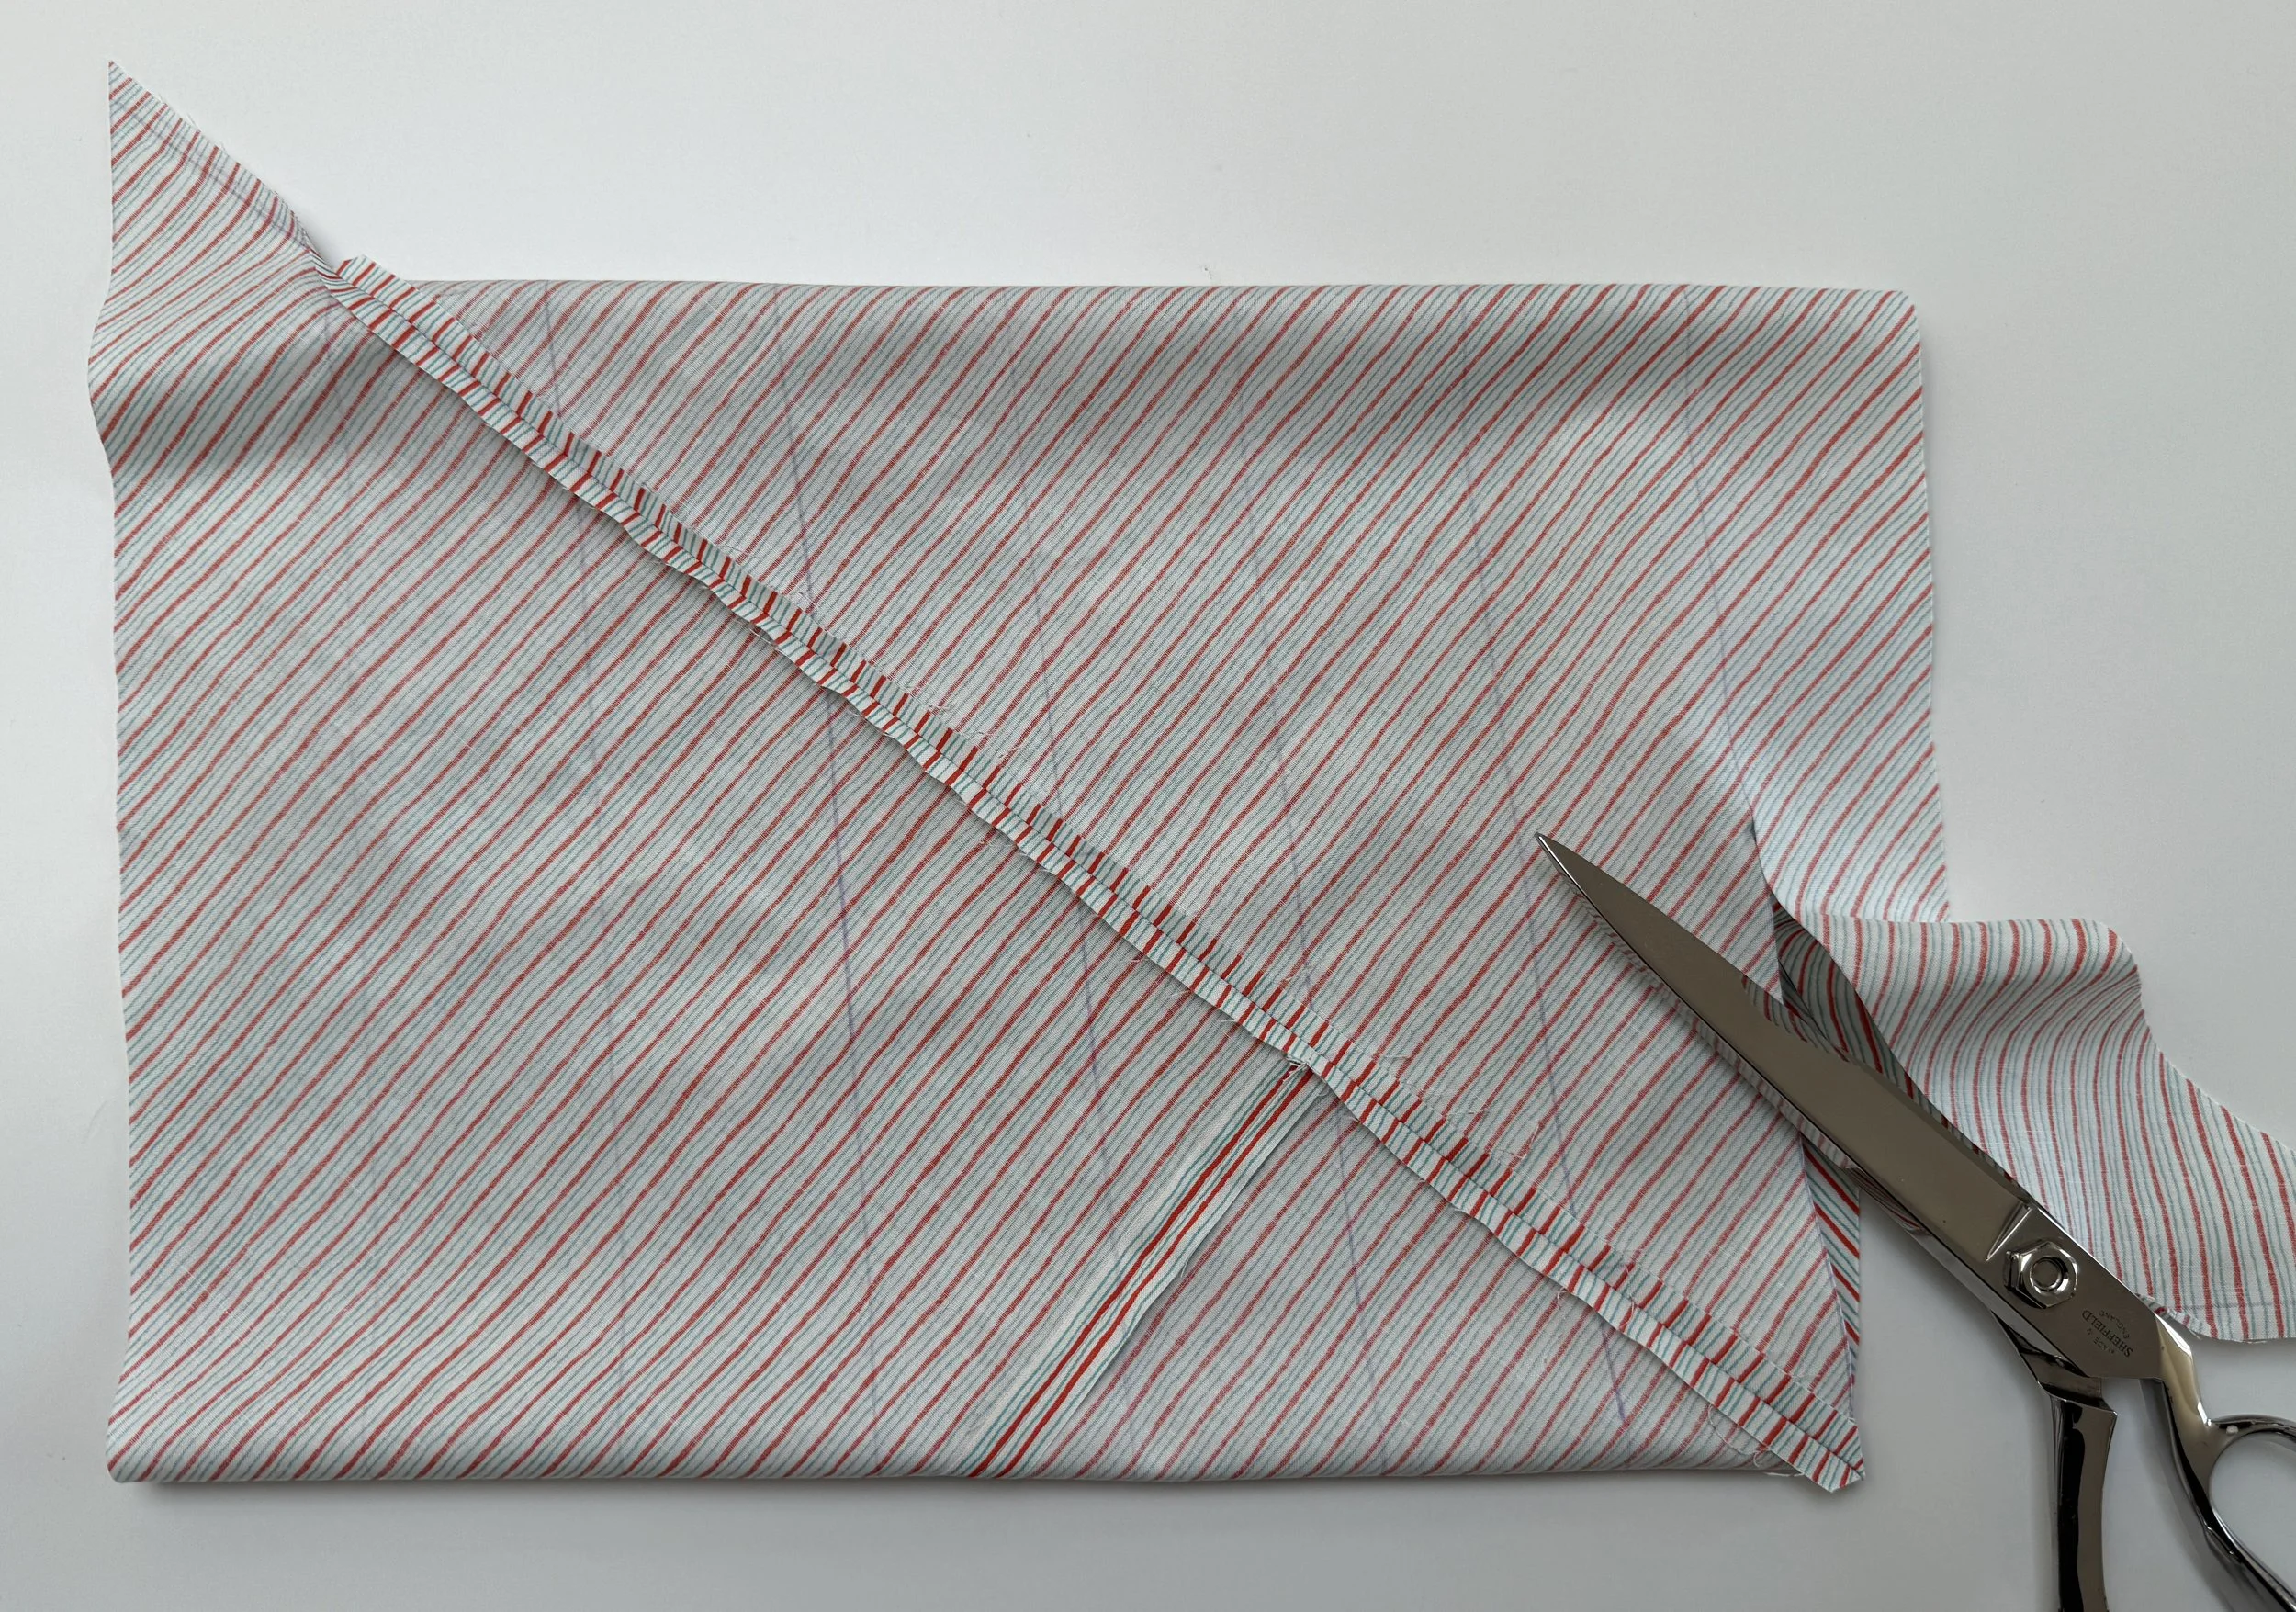
Step 9: Starting at one end of your marked line, carefully cut along the line, following it around the fabric tube. Keep cutting in one continuous motion. As you work your way around, the fabric will gradually open into one long strip of bias-cut fabric. Give your long strip a good press, making sure all the seams are pressed open.
Step 10: Fold and press the strip according to the type of bias tape you want to make.
Single-Fold bias tape - Fold the long raw edges towards the centre and press. The two folded edges should meet in the middle. A bias tape maker is especially useful for this step. Thread the long strip through the bias tape maker, move it slowly to the left along the strip, and keep pressing using a hot iron and lots of steam to create your 1’’ Single-Fold bias tape.
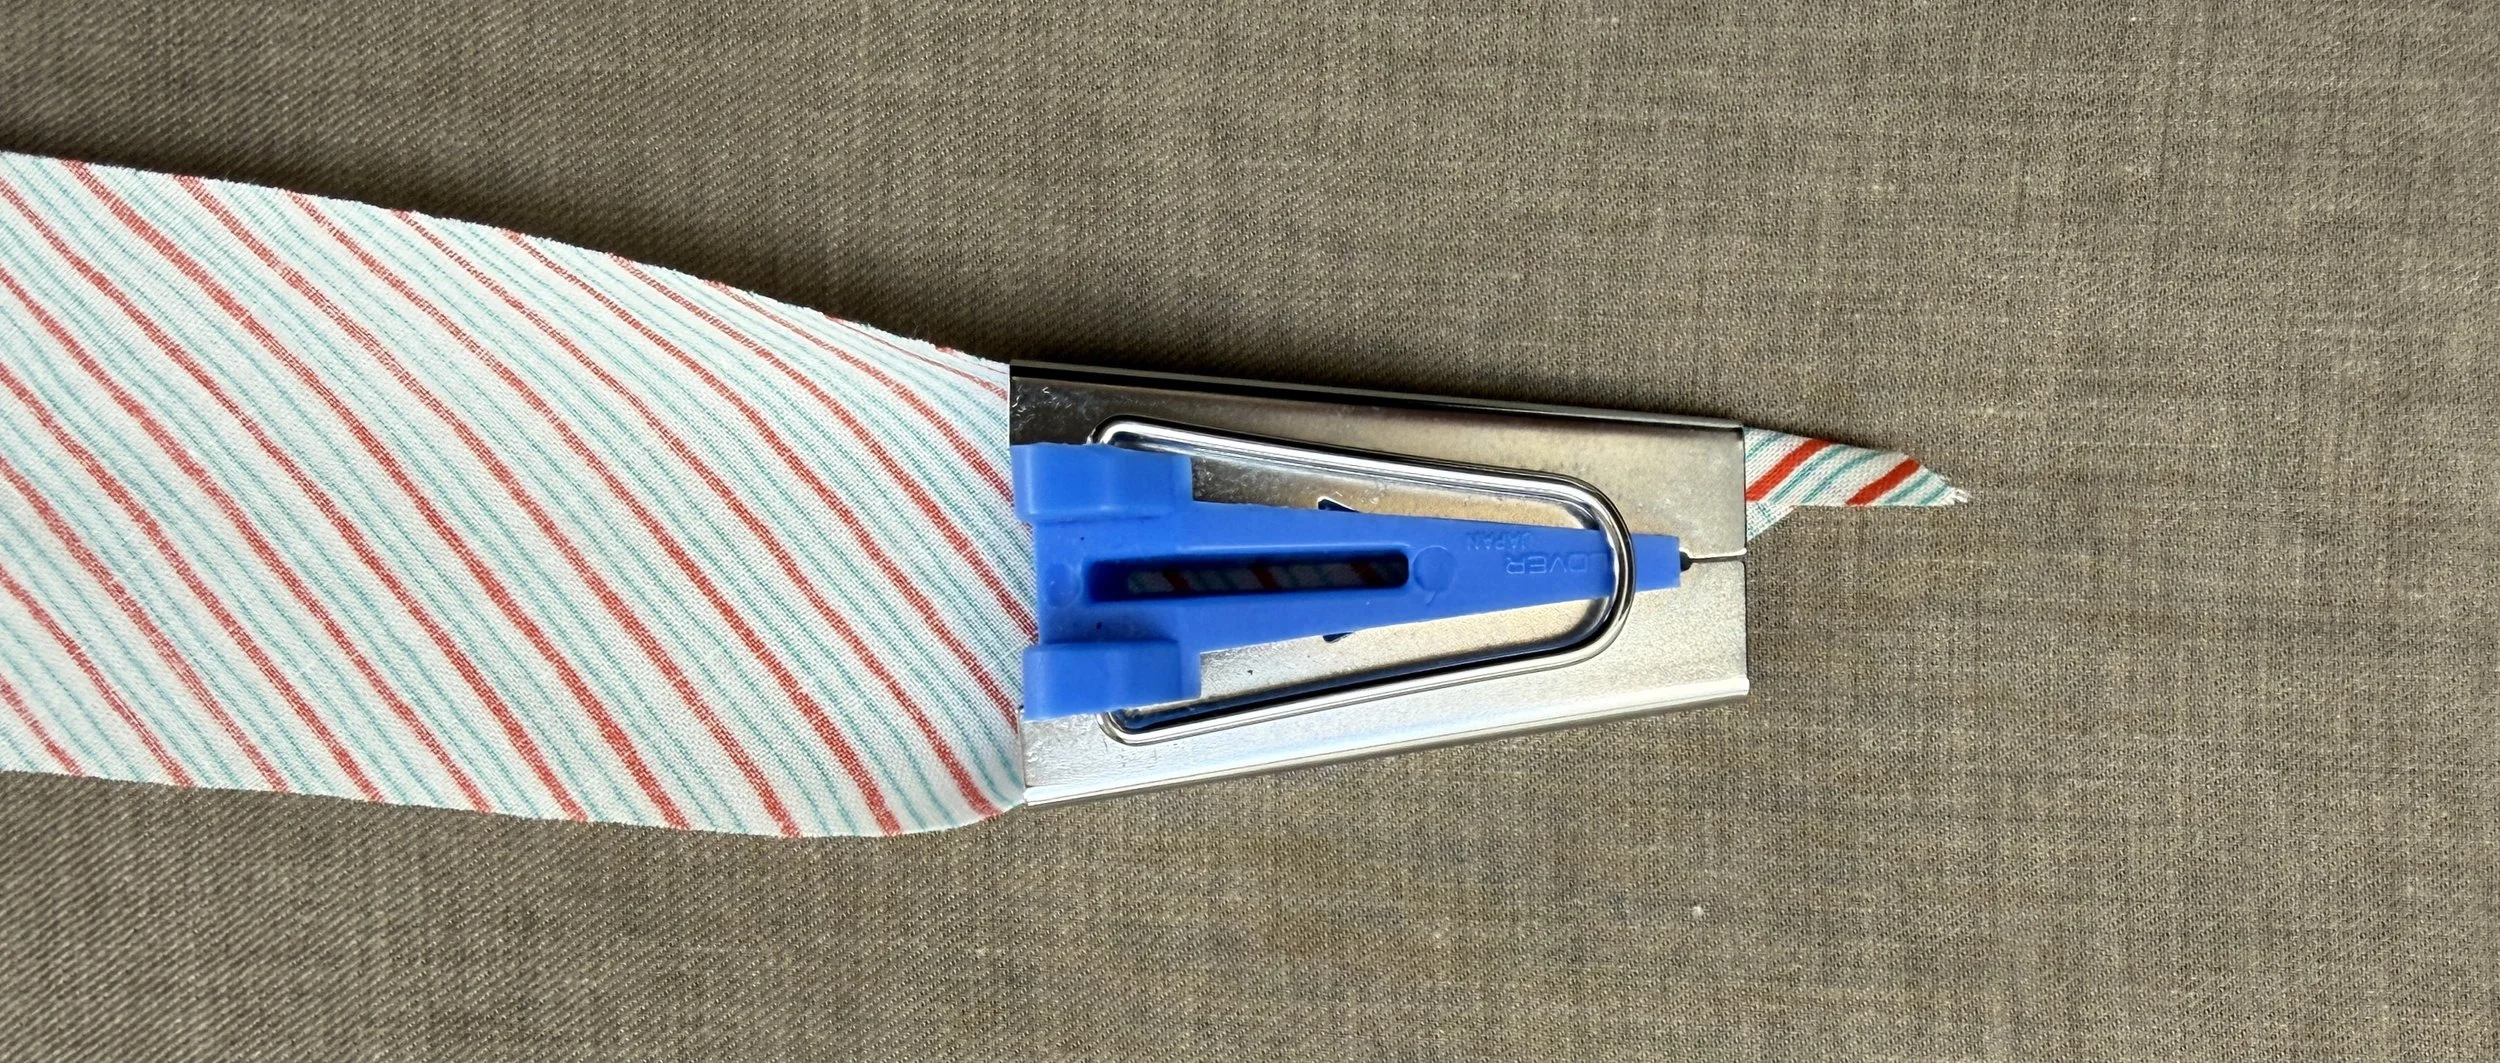
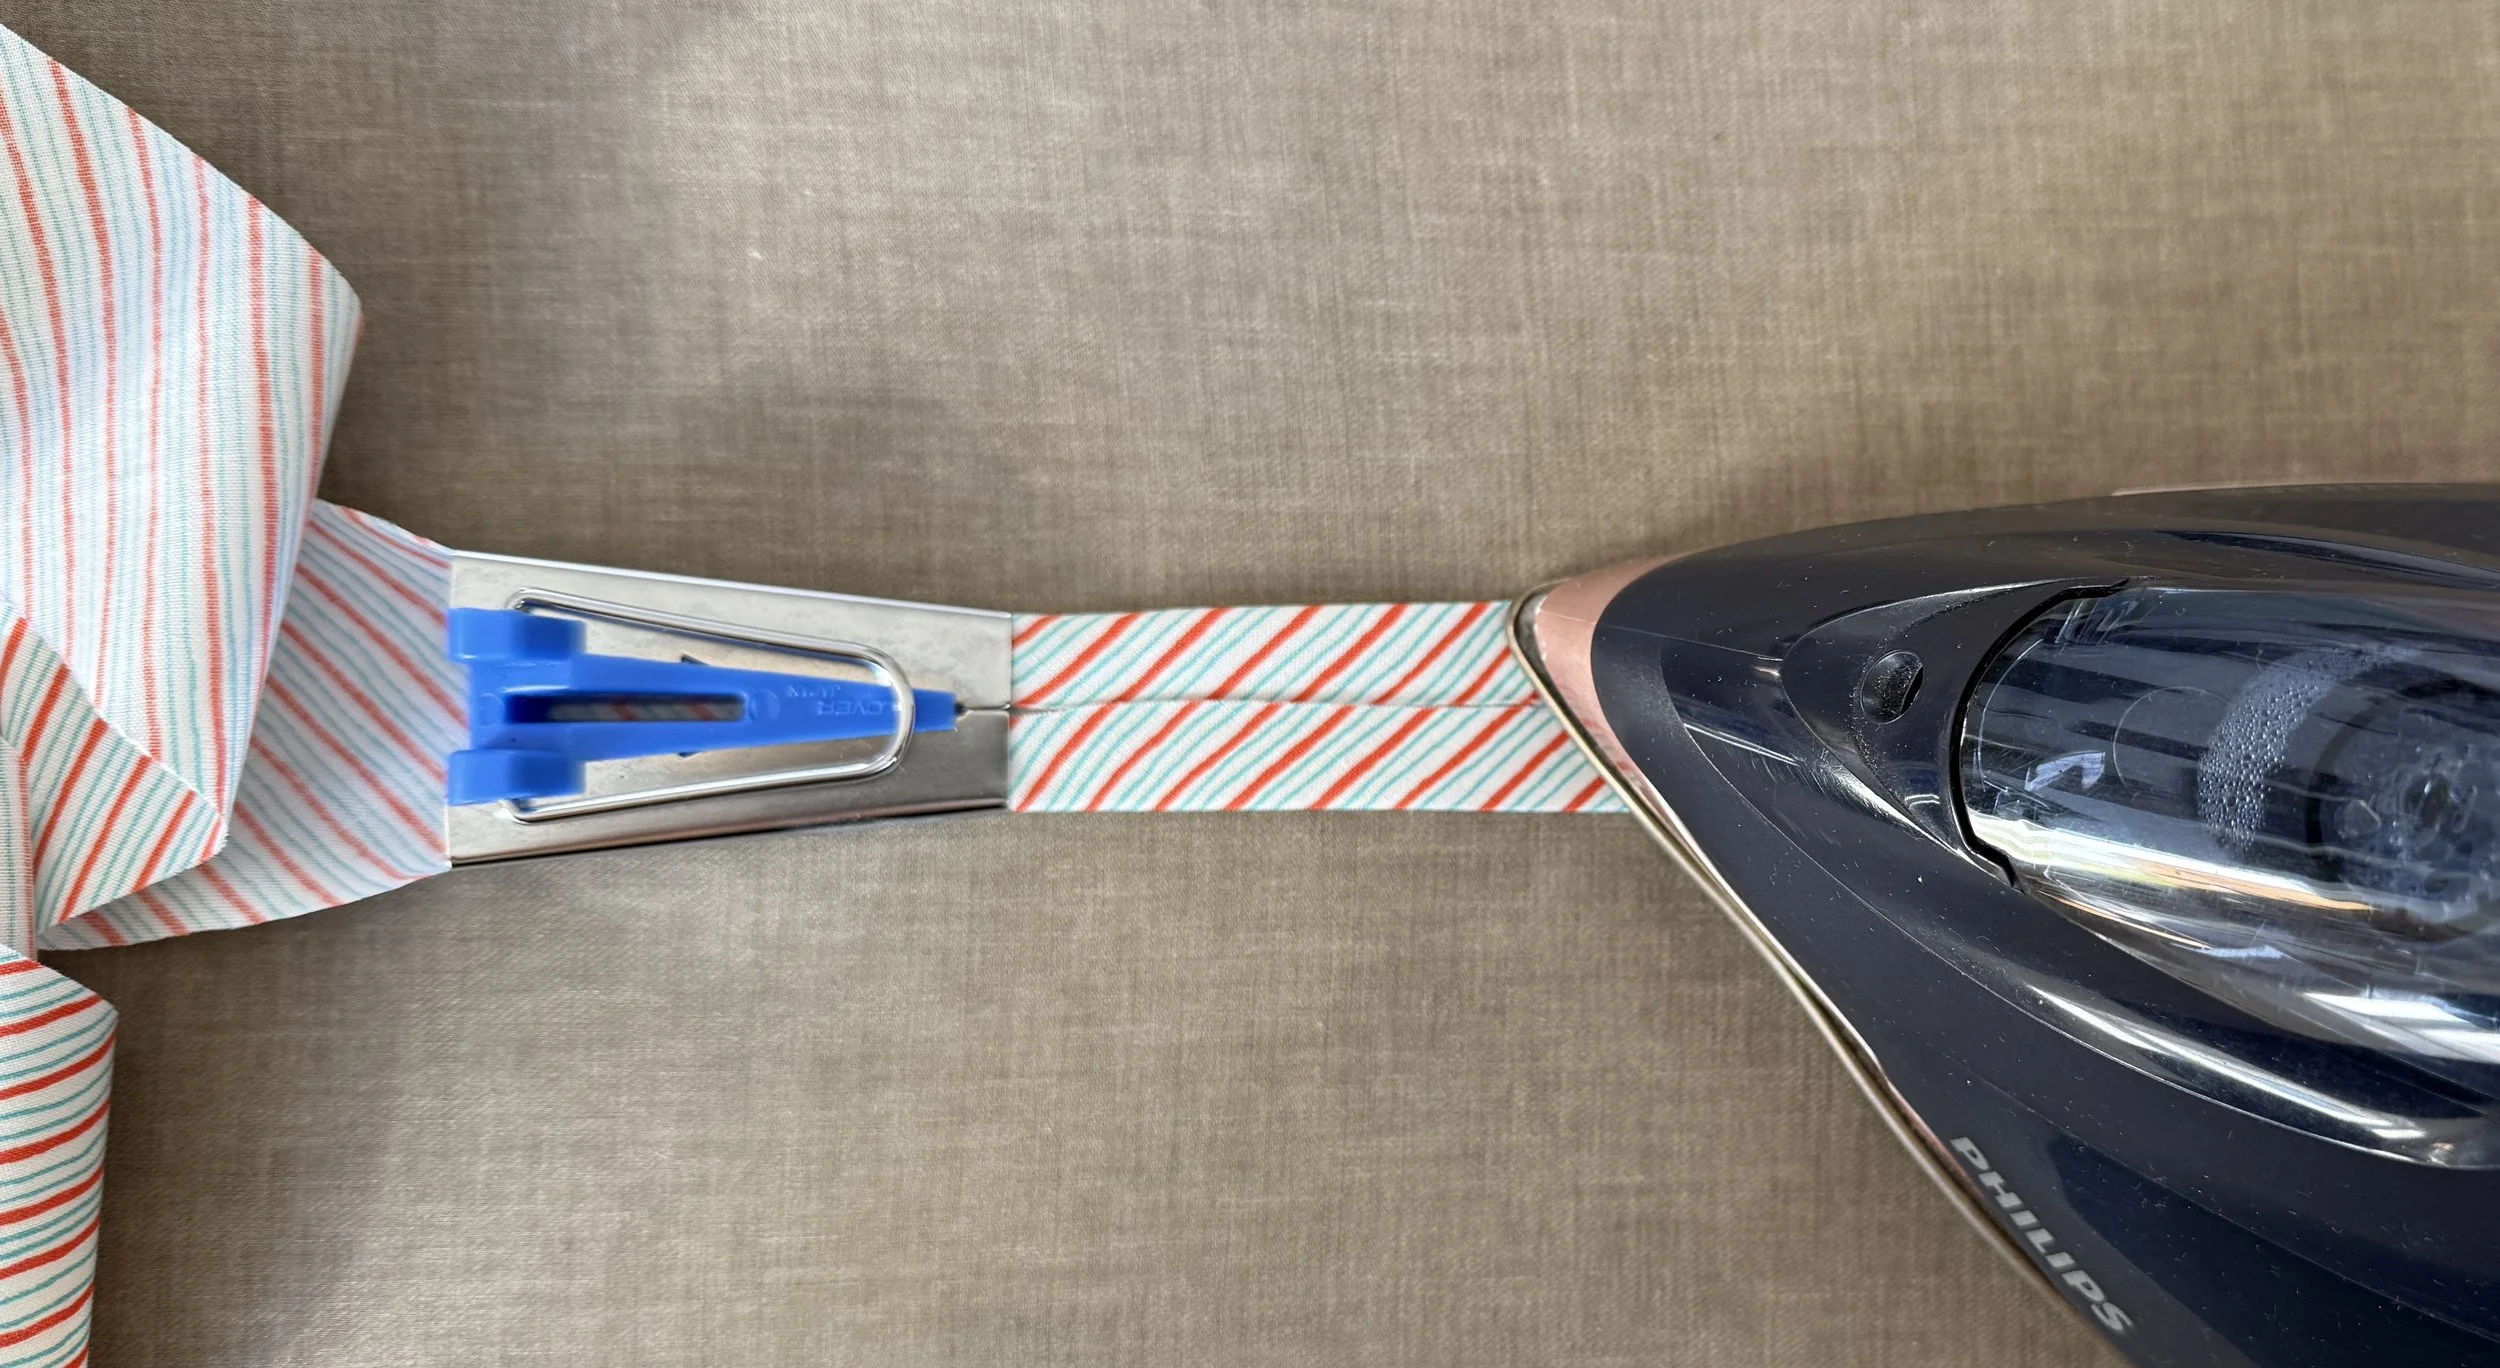
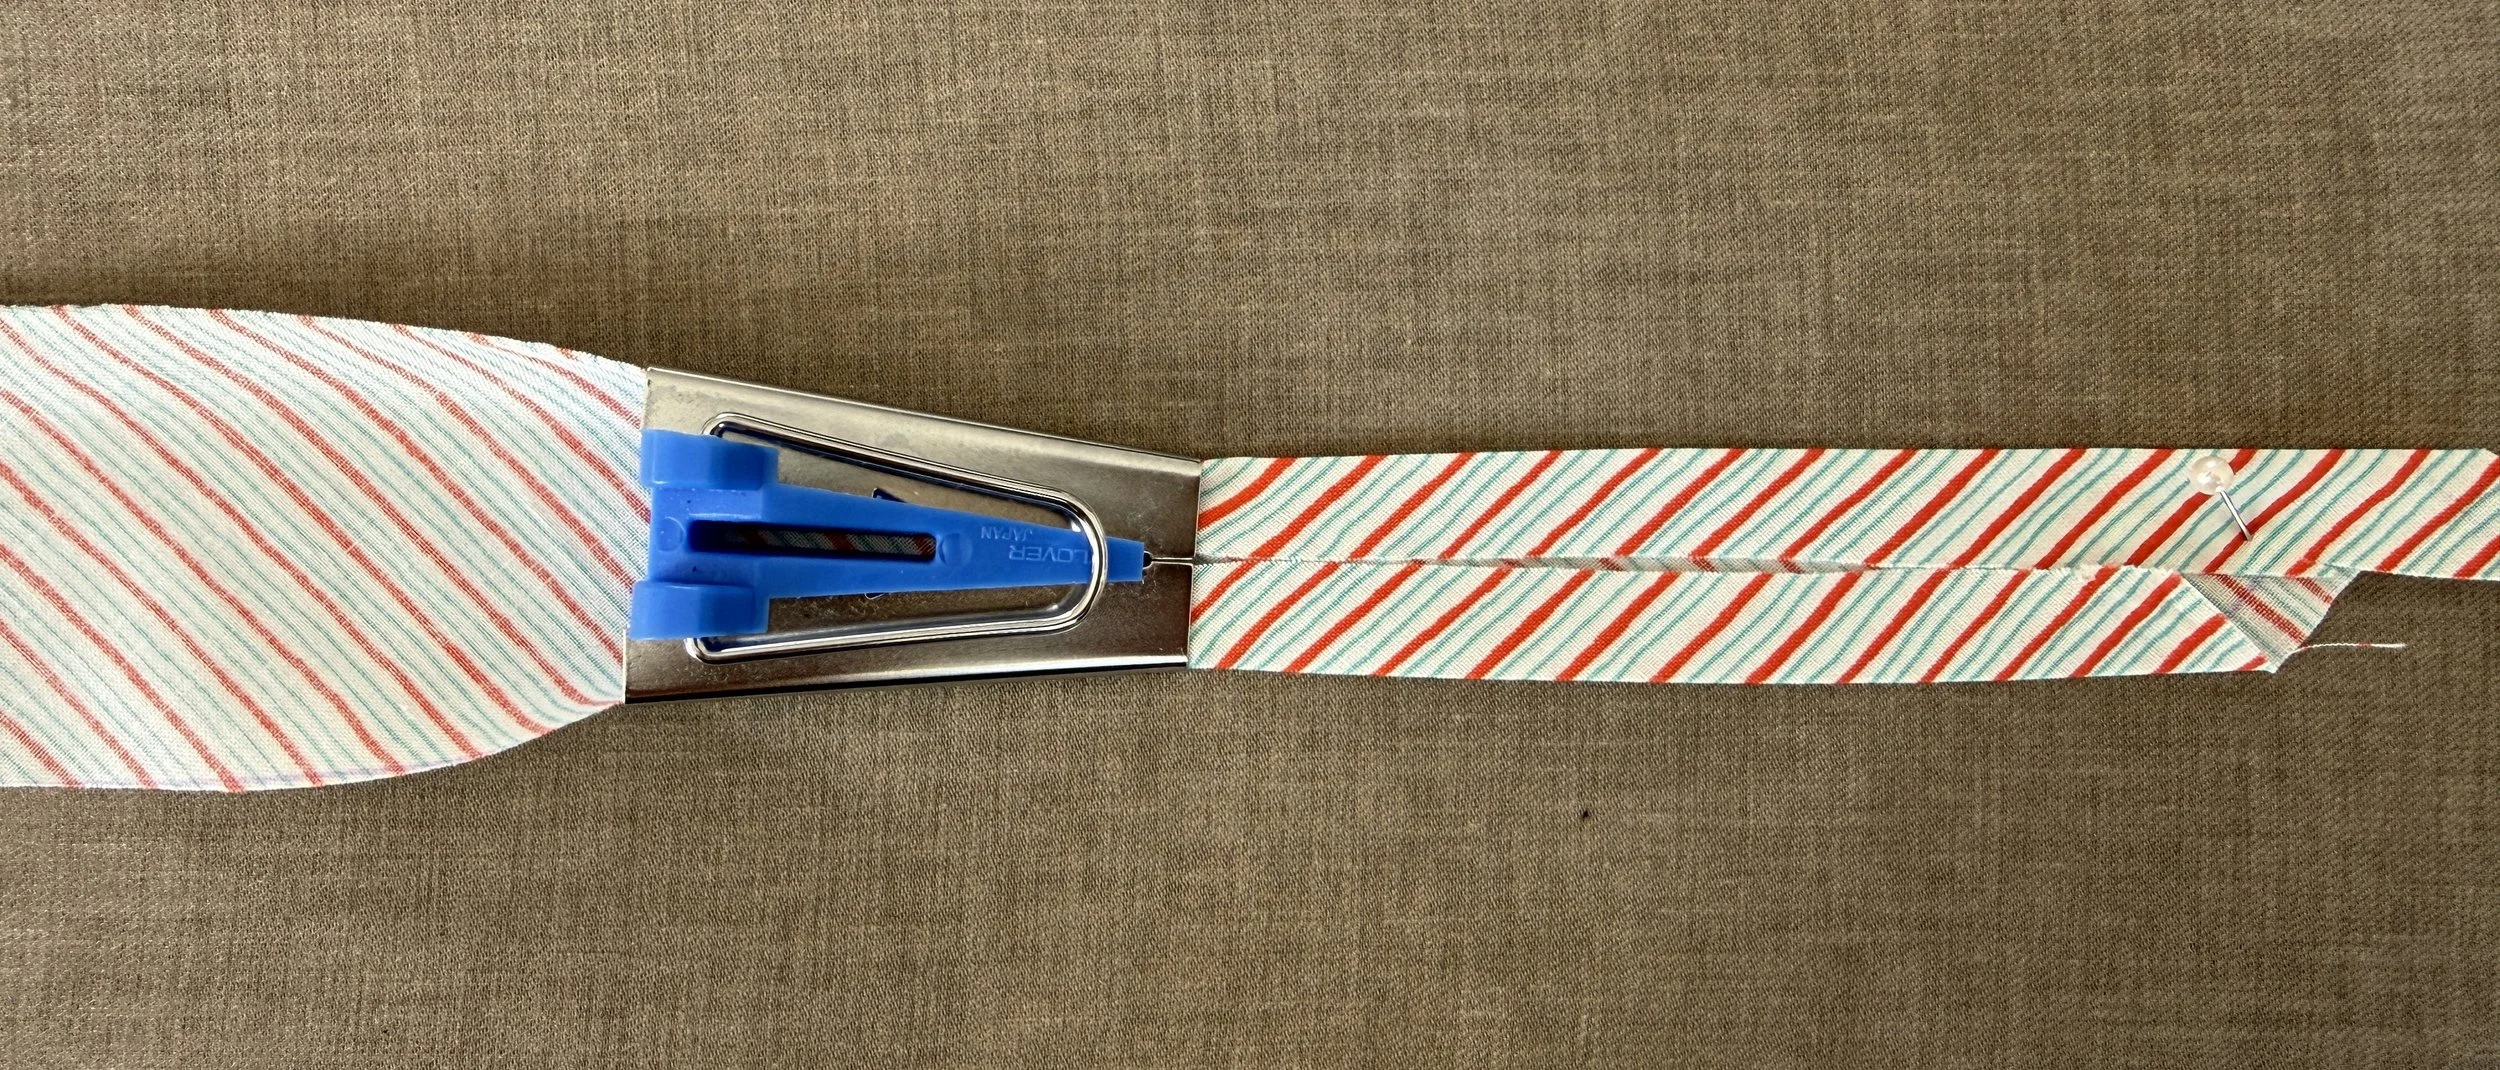
Double-Fold bias tape - Fold the 1’’ Single-Fold bias tape in half lengthwise, with the folded edges tucked inside, and press again to create your 1/2’’ Doble-Fold bias tape.
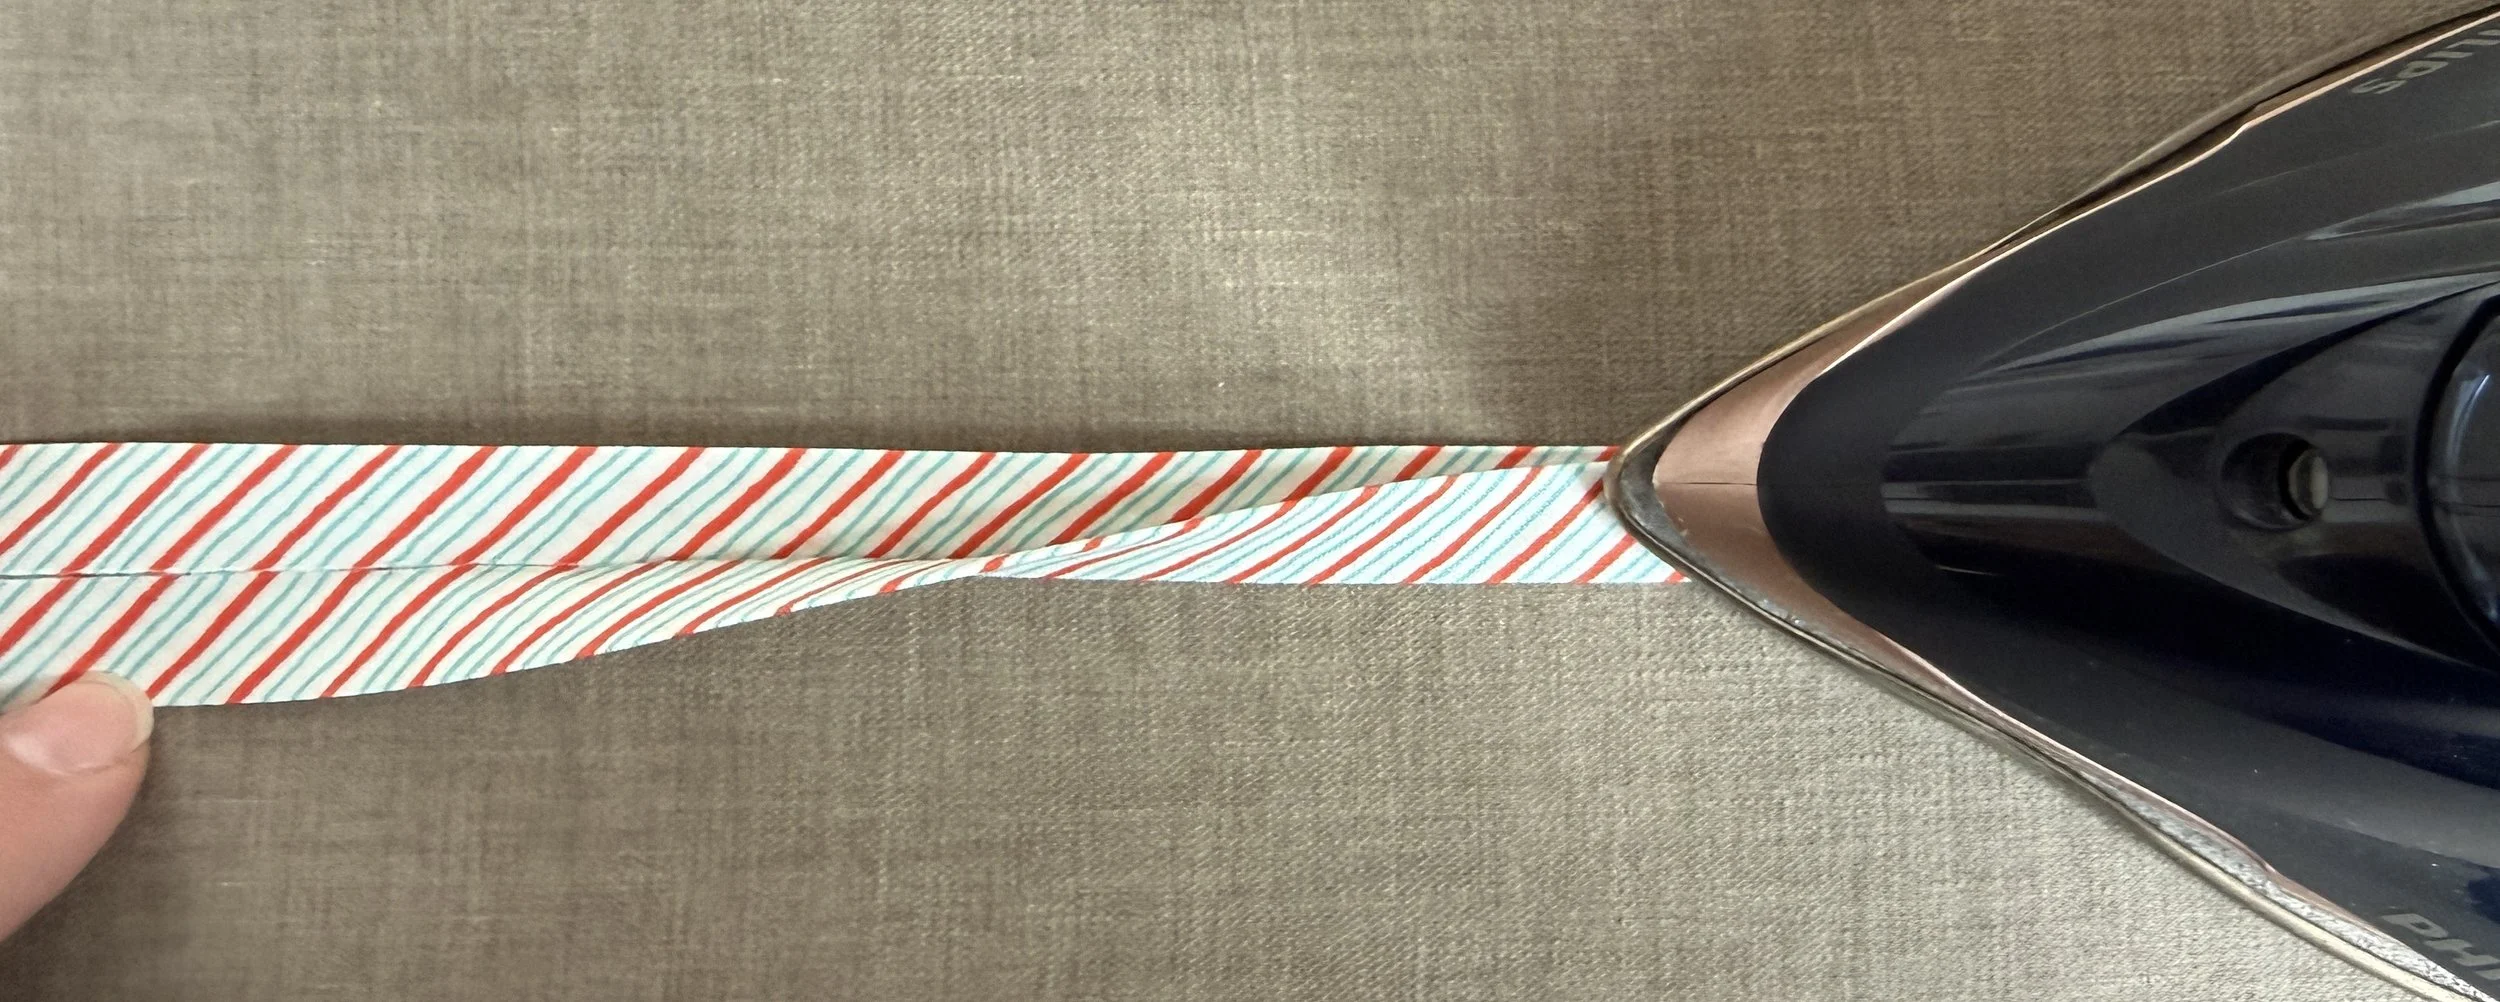
And there you have it! Your custom bias tape is ready to use. For easy storage, simply wrap the finished tape around strips of cardboard to keep it neat and tidy.
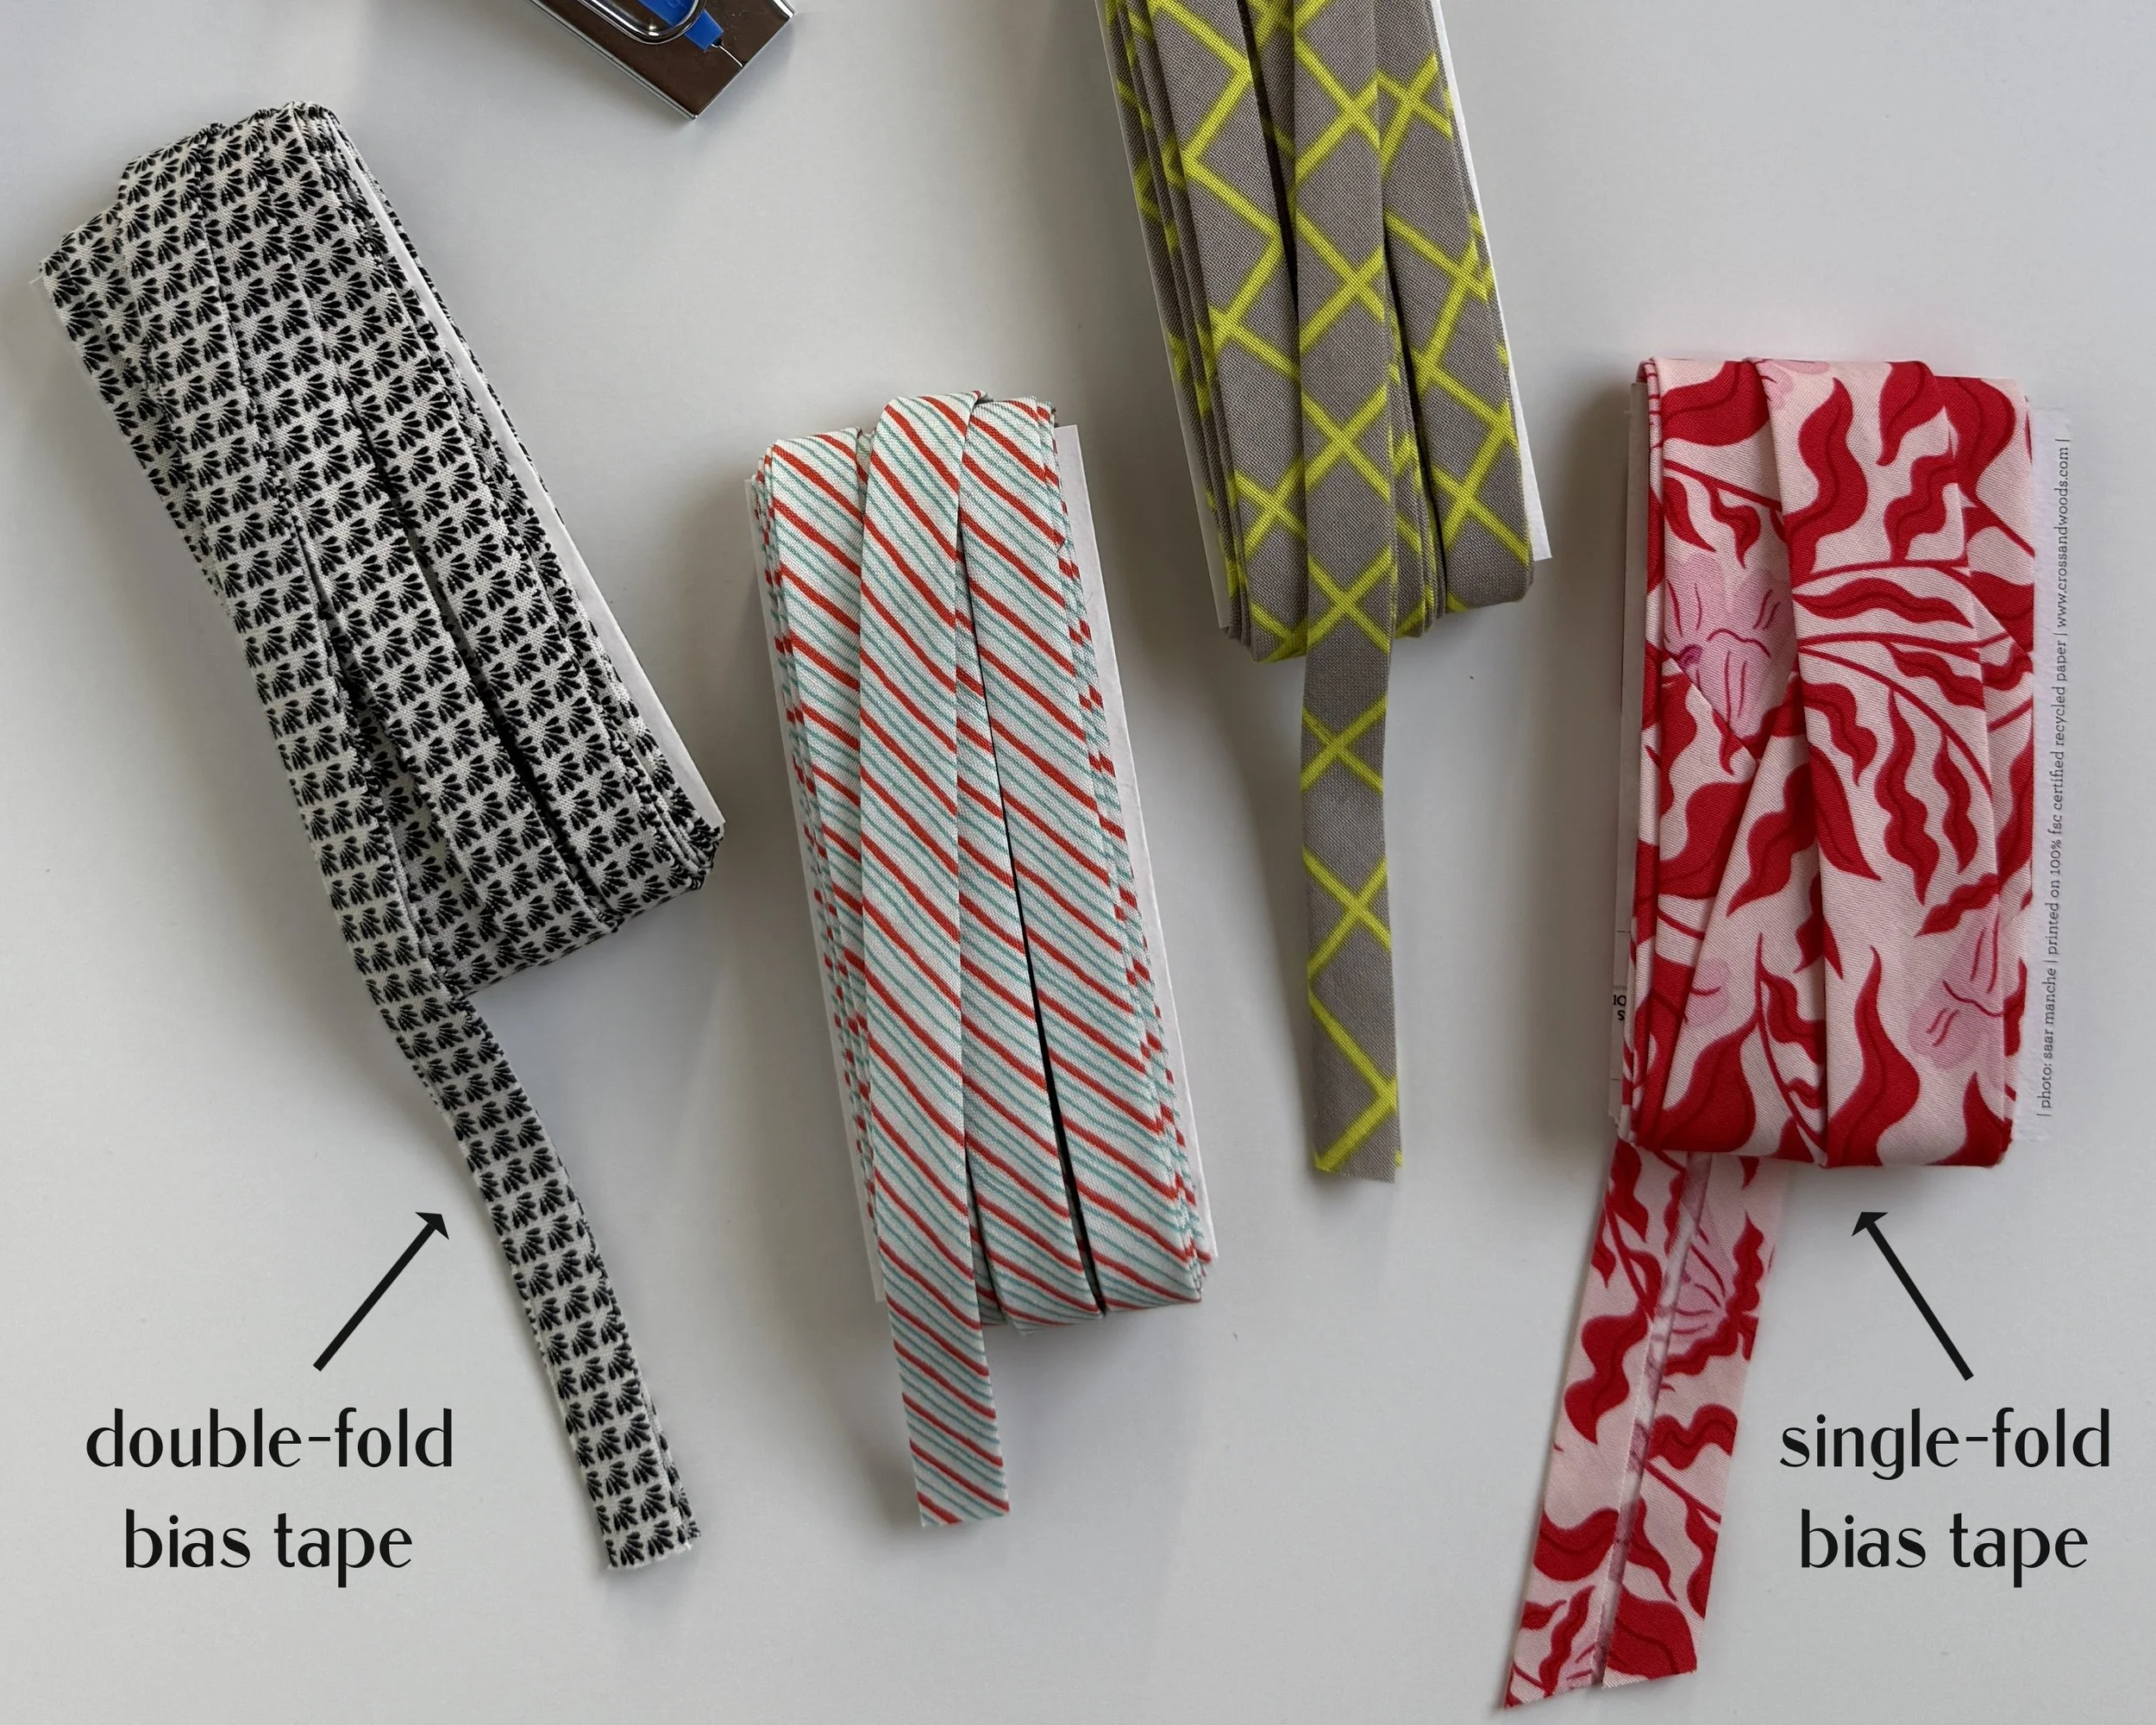
Whether you're finishing edges, adding a decorative touch, or giving your creations a lovely handmade detail, this little strip of fabric is sure to come in handy.
In the photos below, you can see how I used bias binding to finish the curved inner edges of my Fairfax Sling Bag.
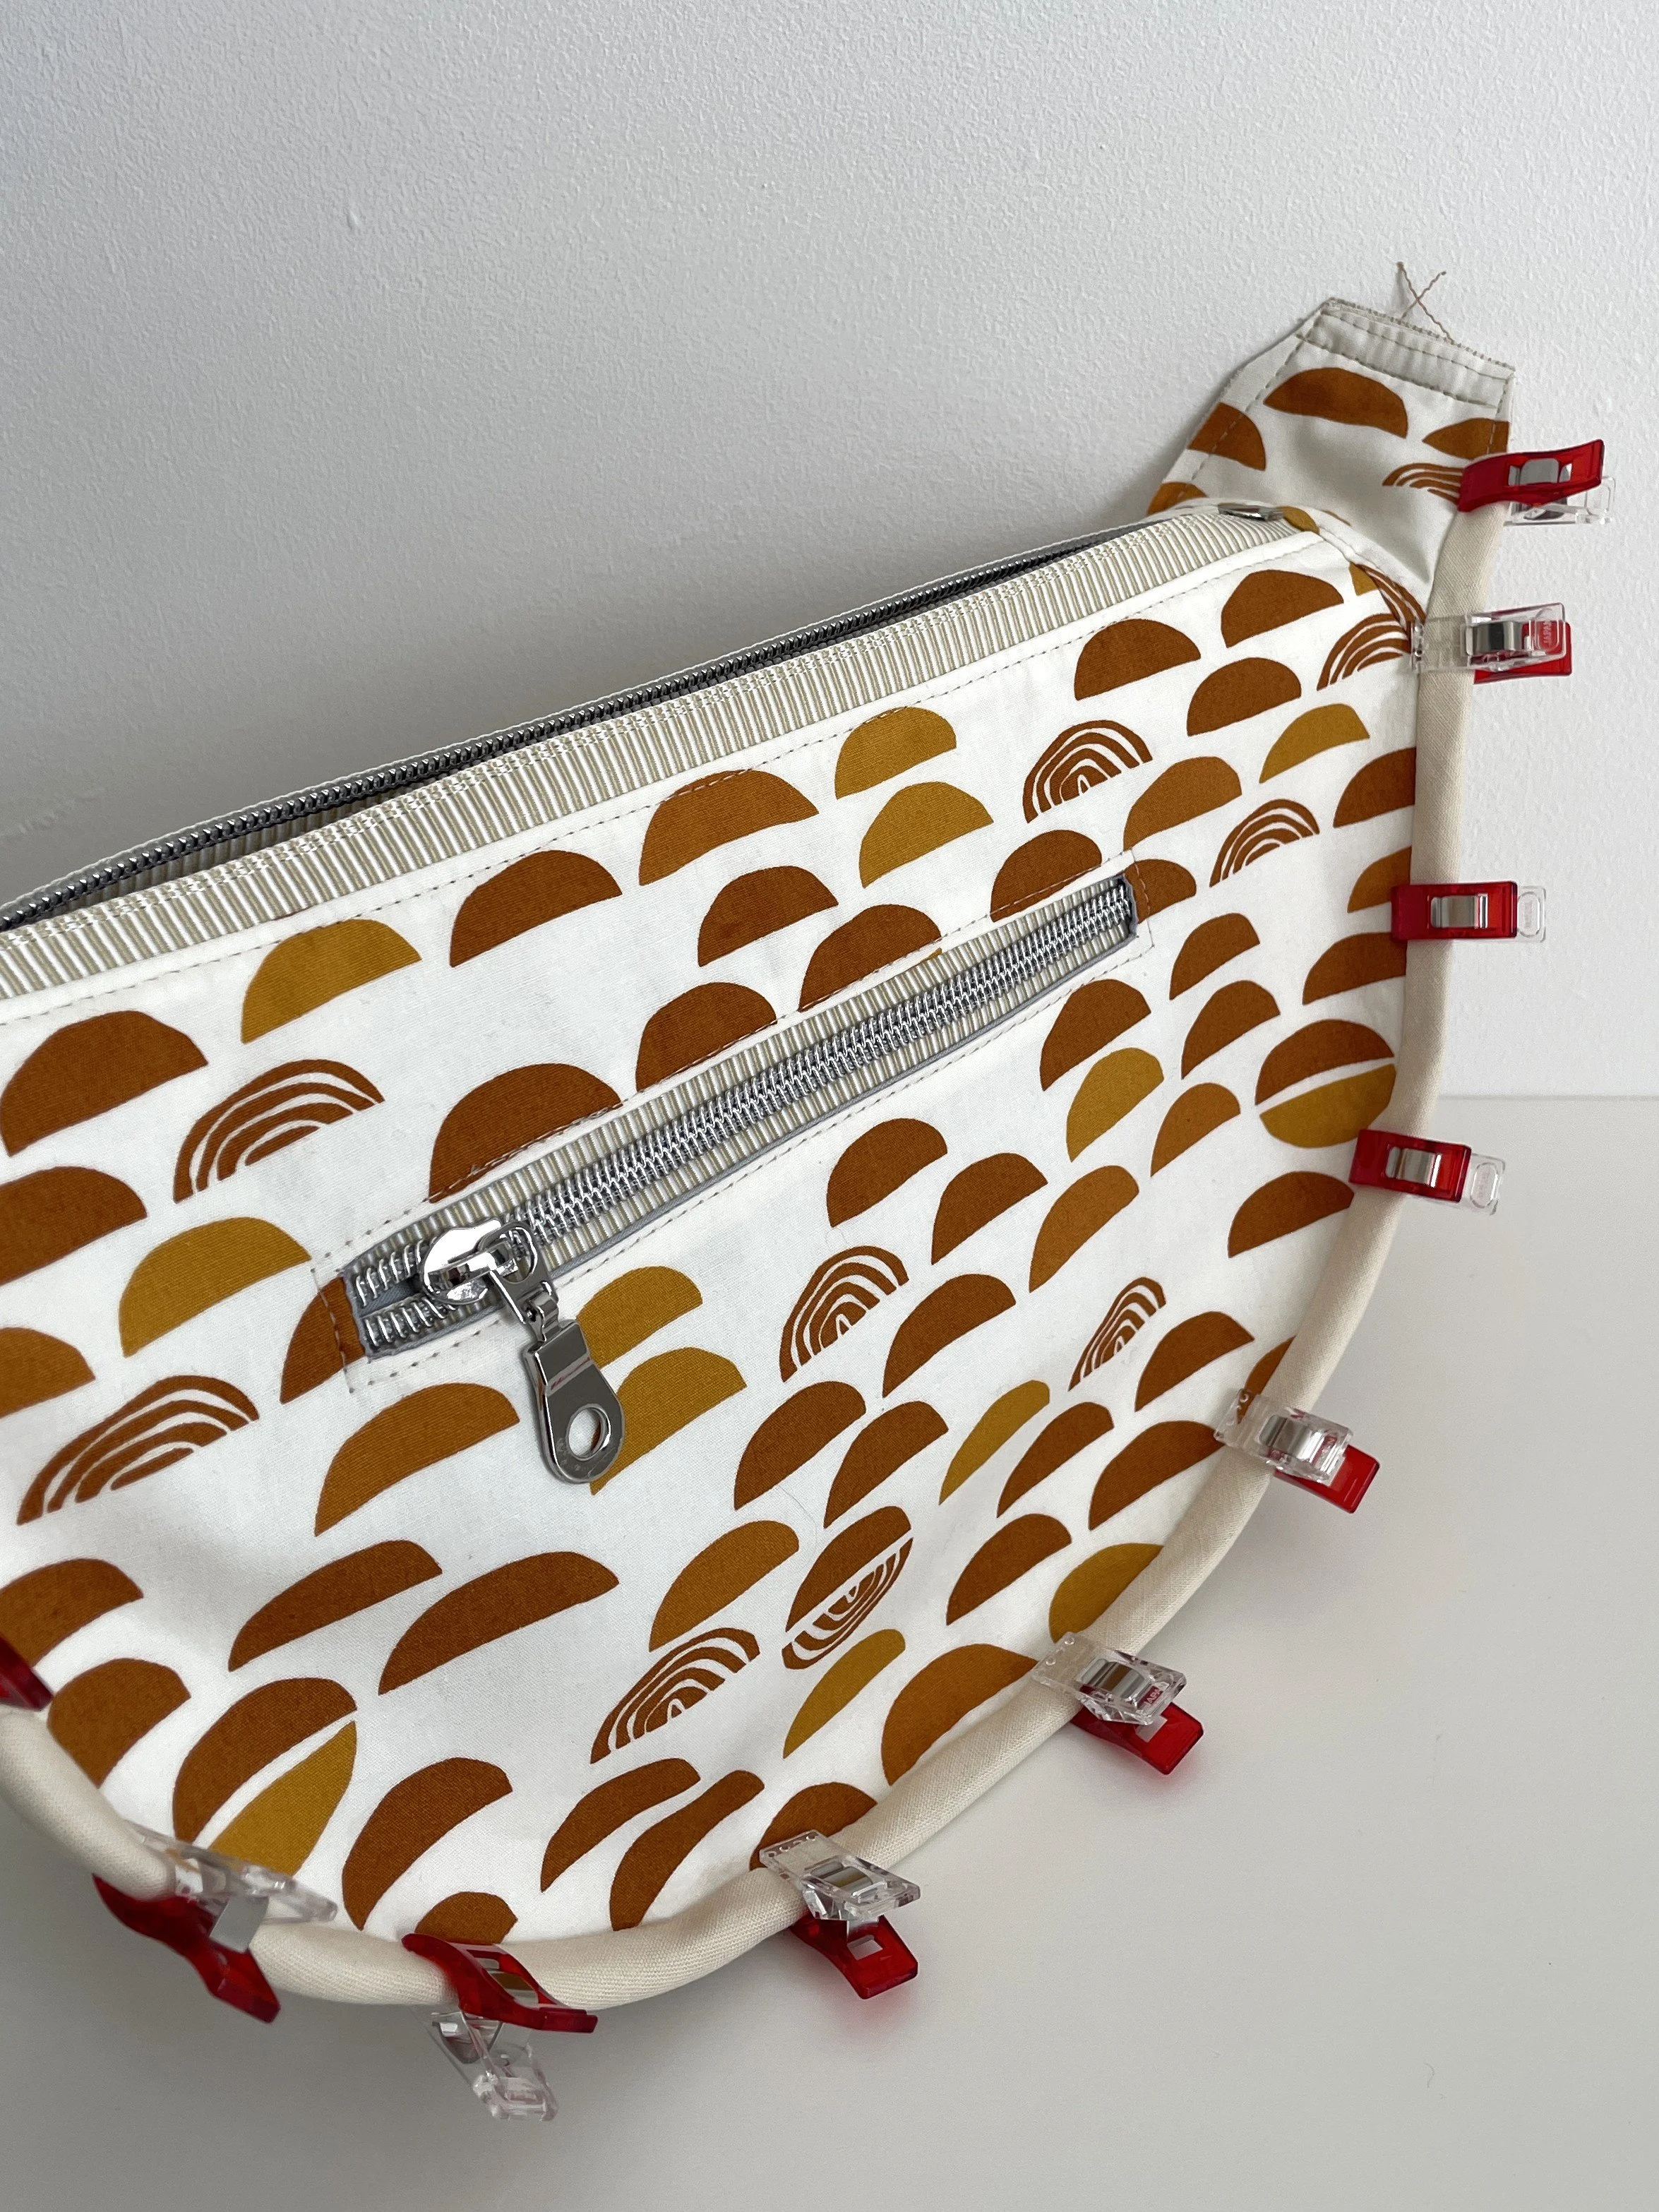
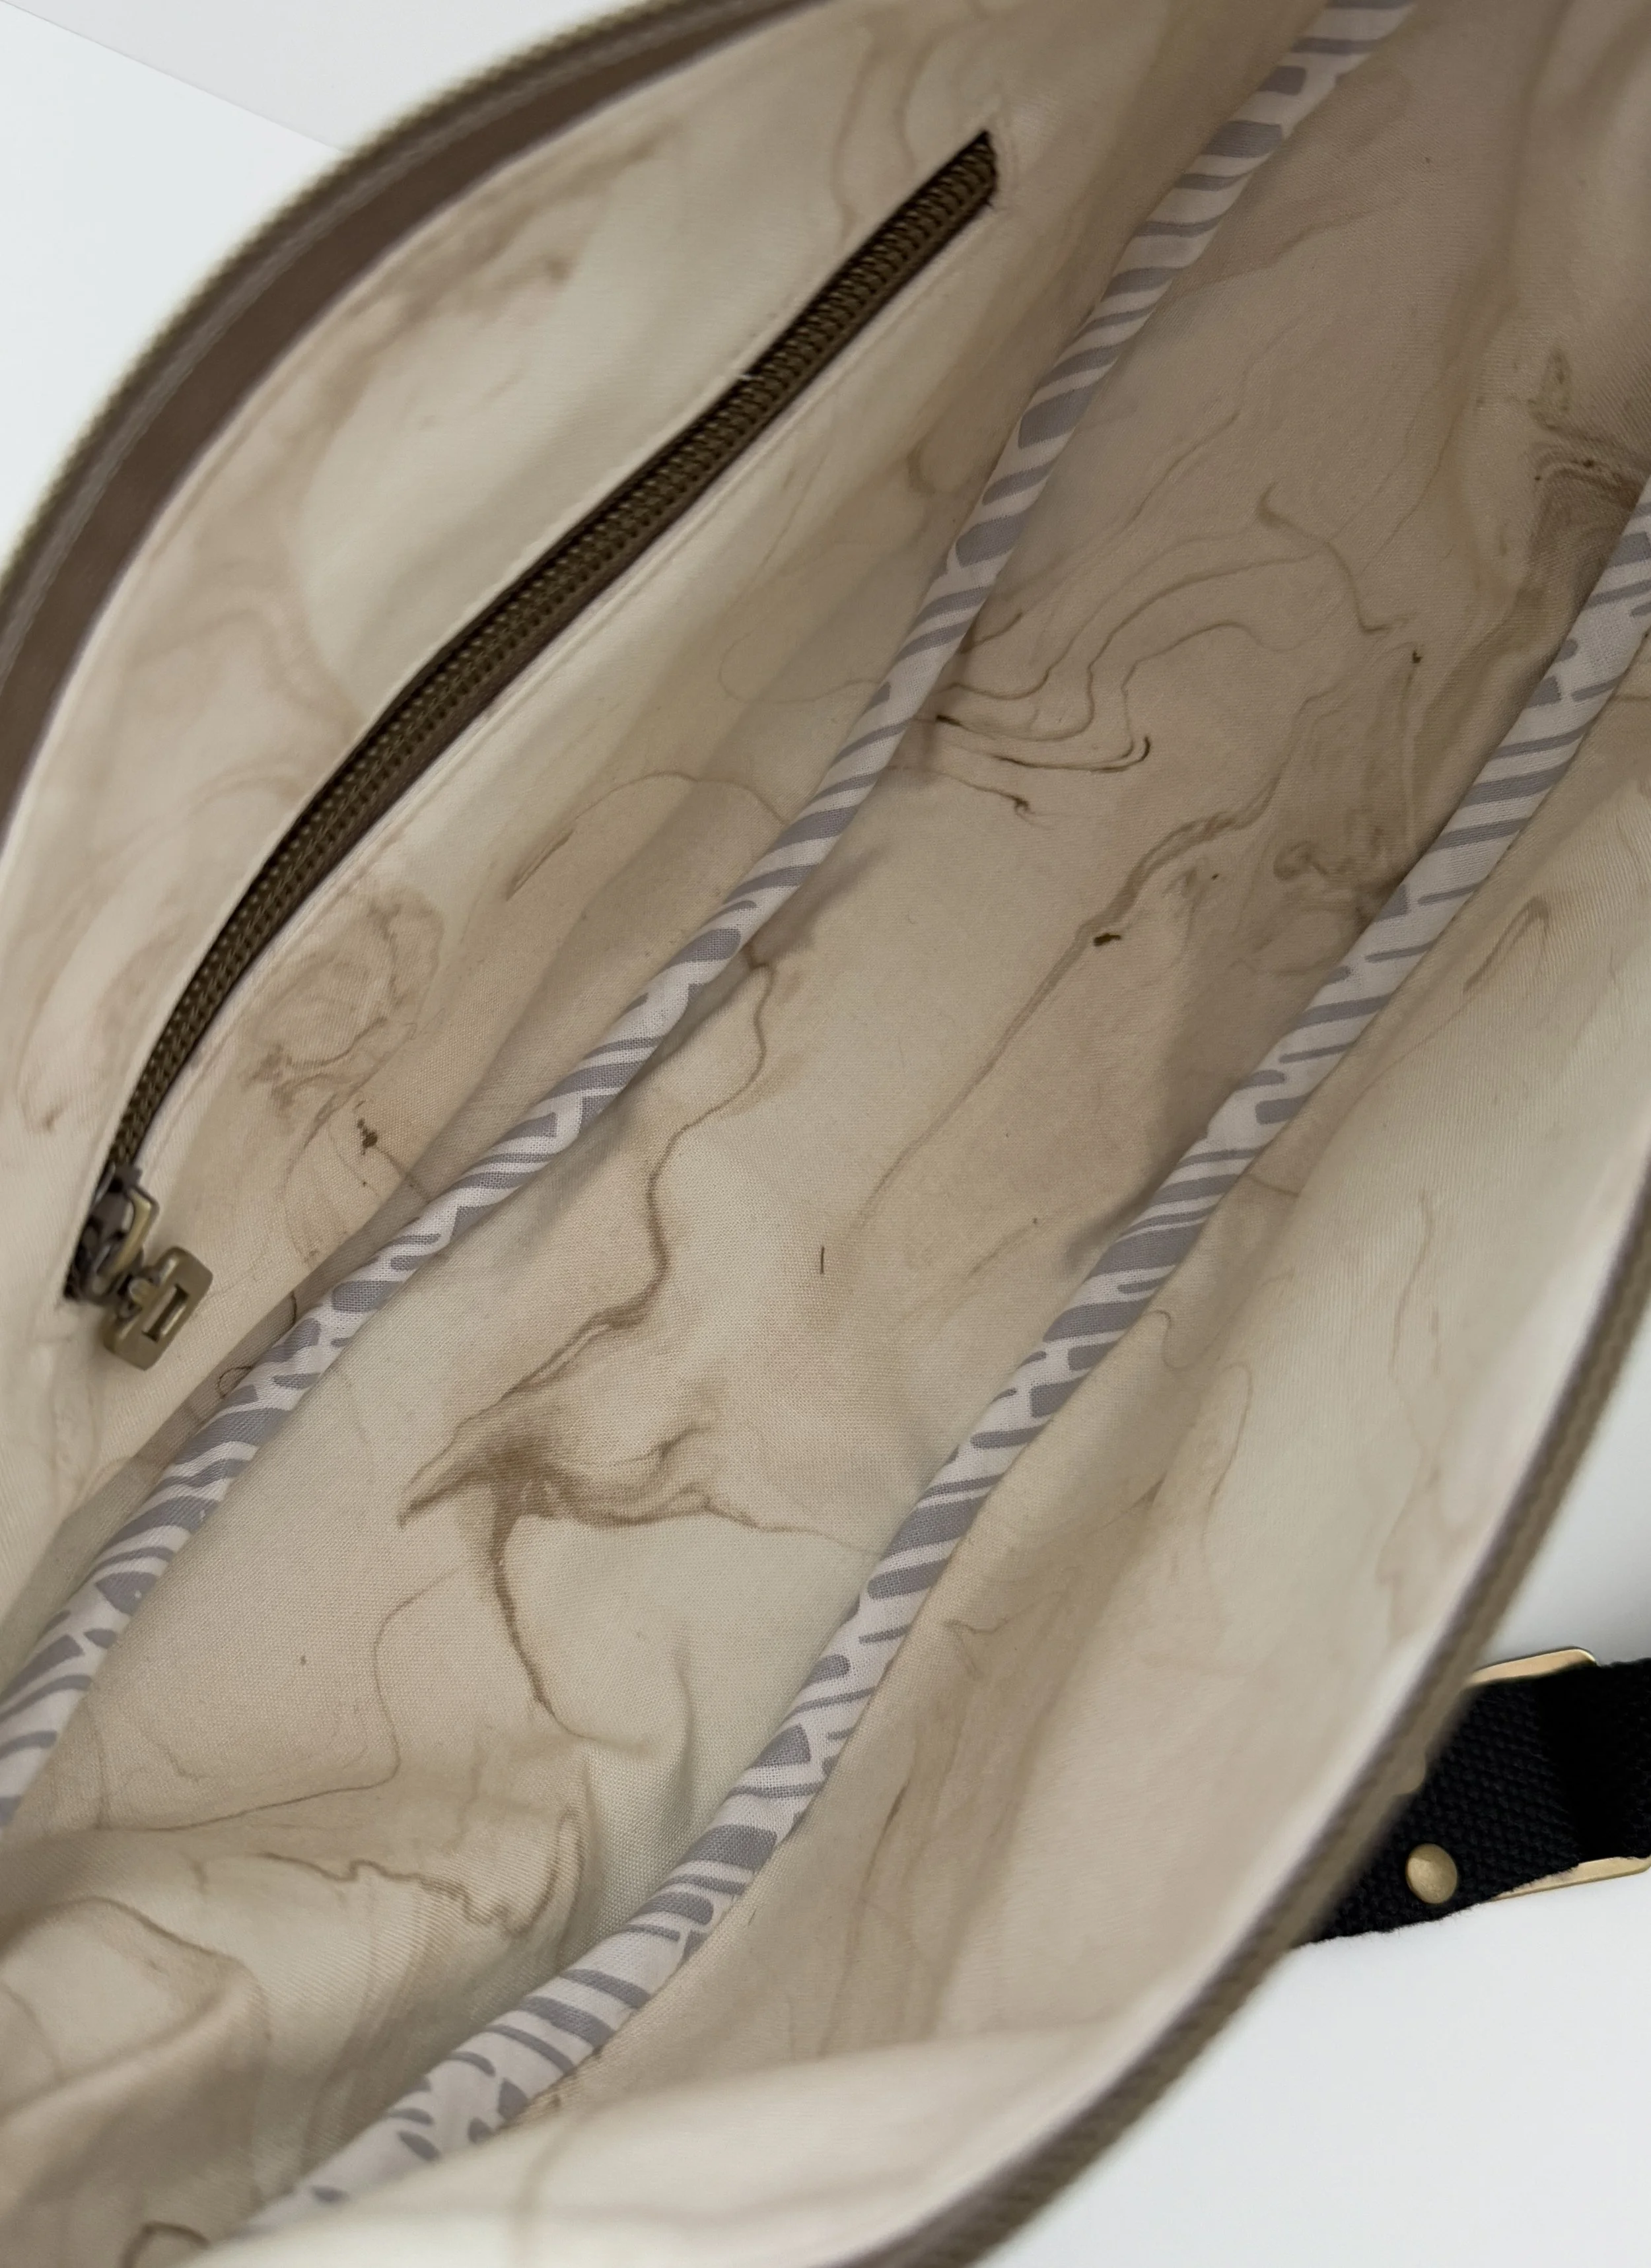
And if you need a little extra help, check out my video tutorial, where I walk you through the entire process of making this bias tape!
Happy sewing, friends!
Svetlana