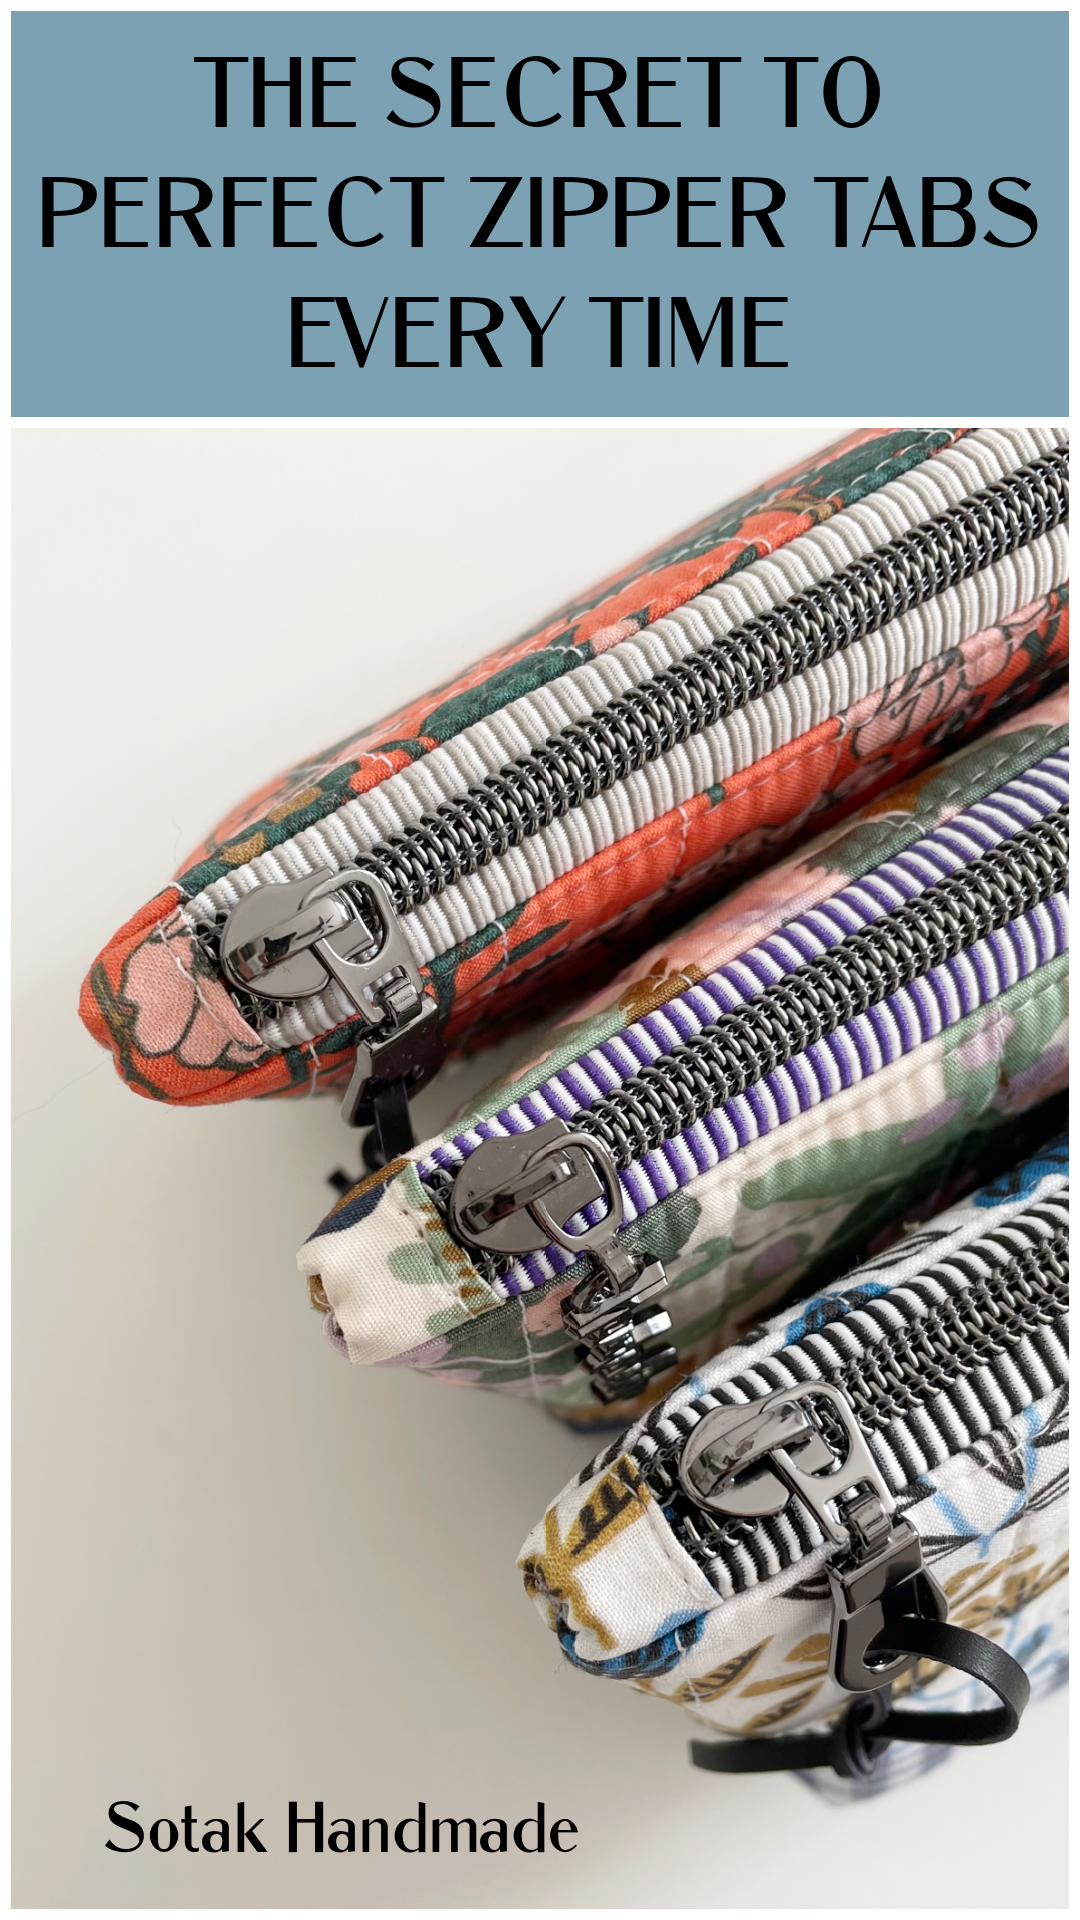
Have you ever spent time carefully sewing a zipper pouch, feeling like everything is going perfectly, only to turn it right side out and discover that the top corners are distorted, bulky, or sticking out in all the wrong places? It’s a frustrating moment, especially when the rest of your pouch looks just the way you imagined!
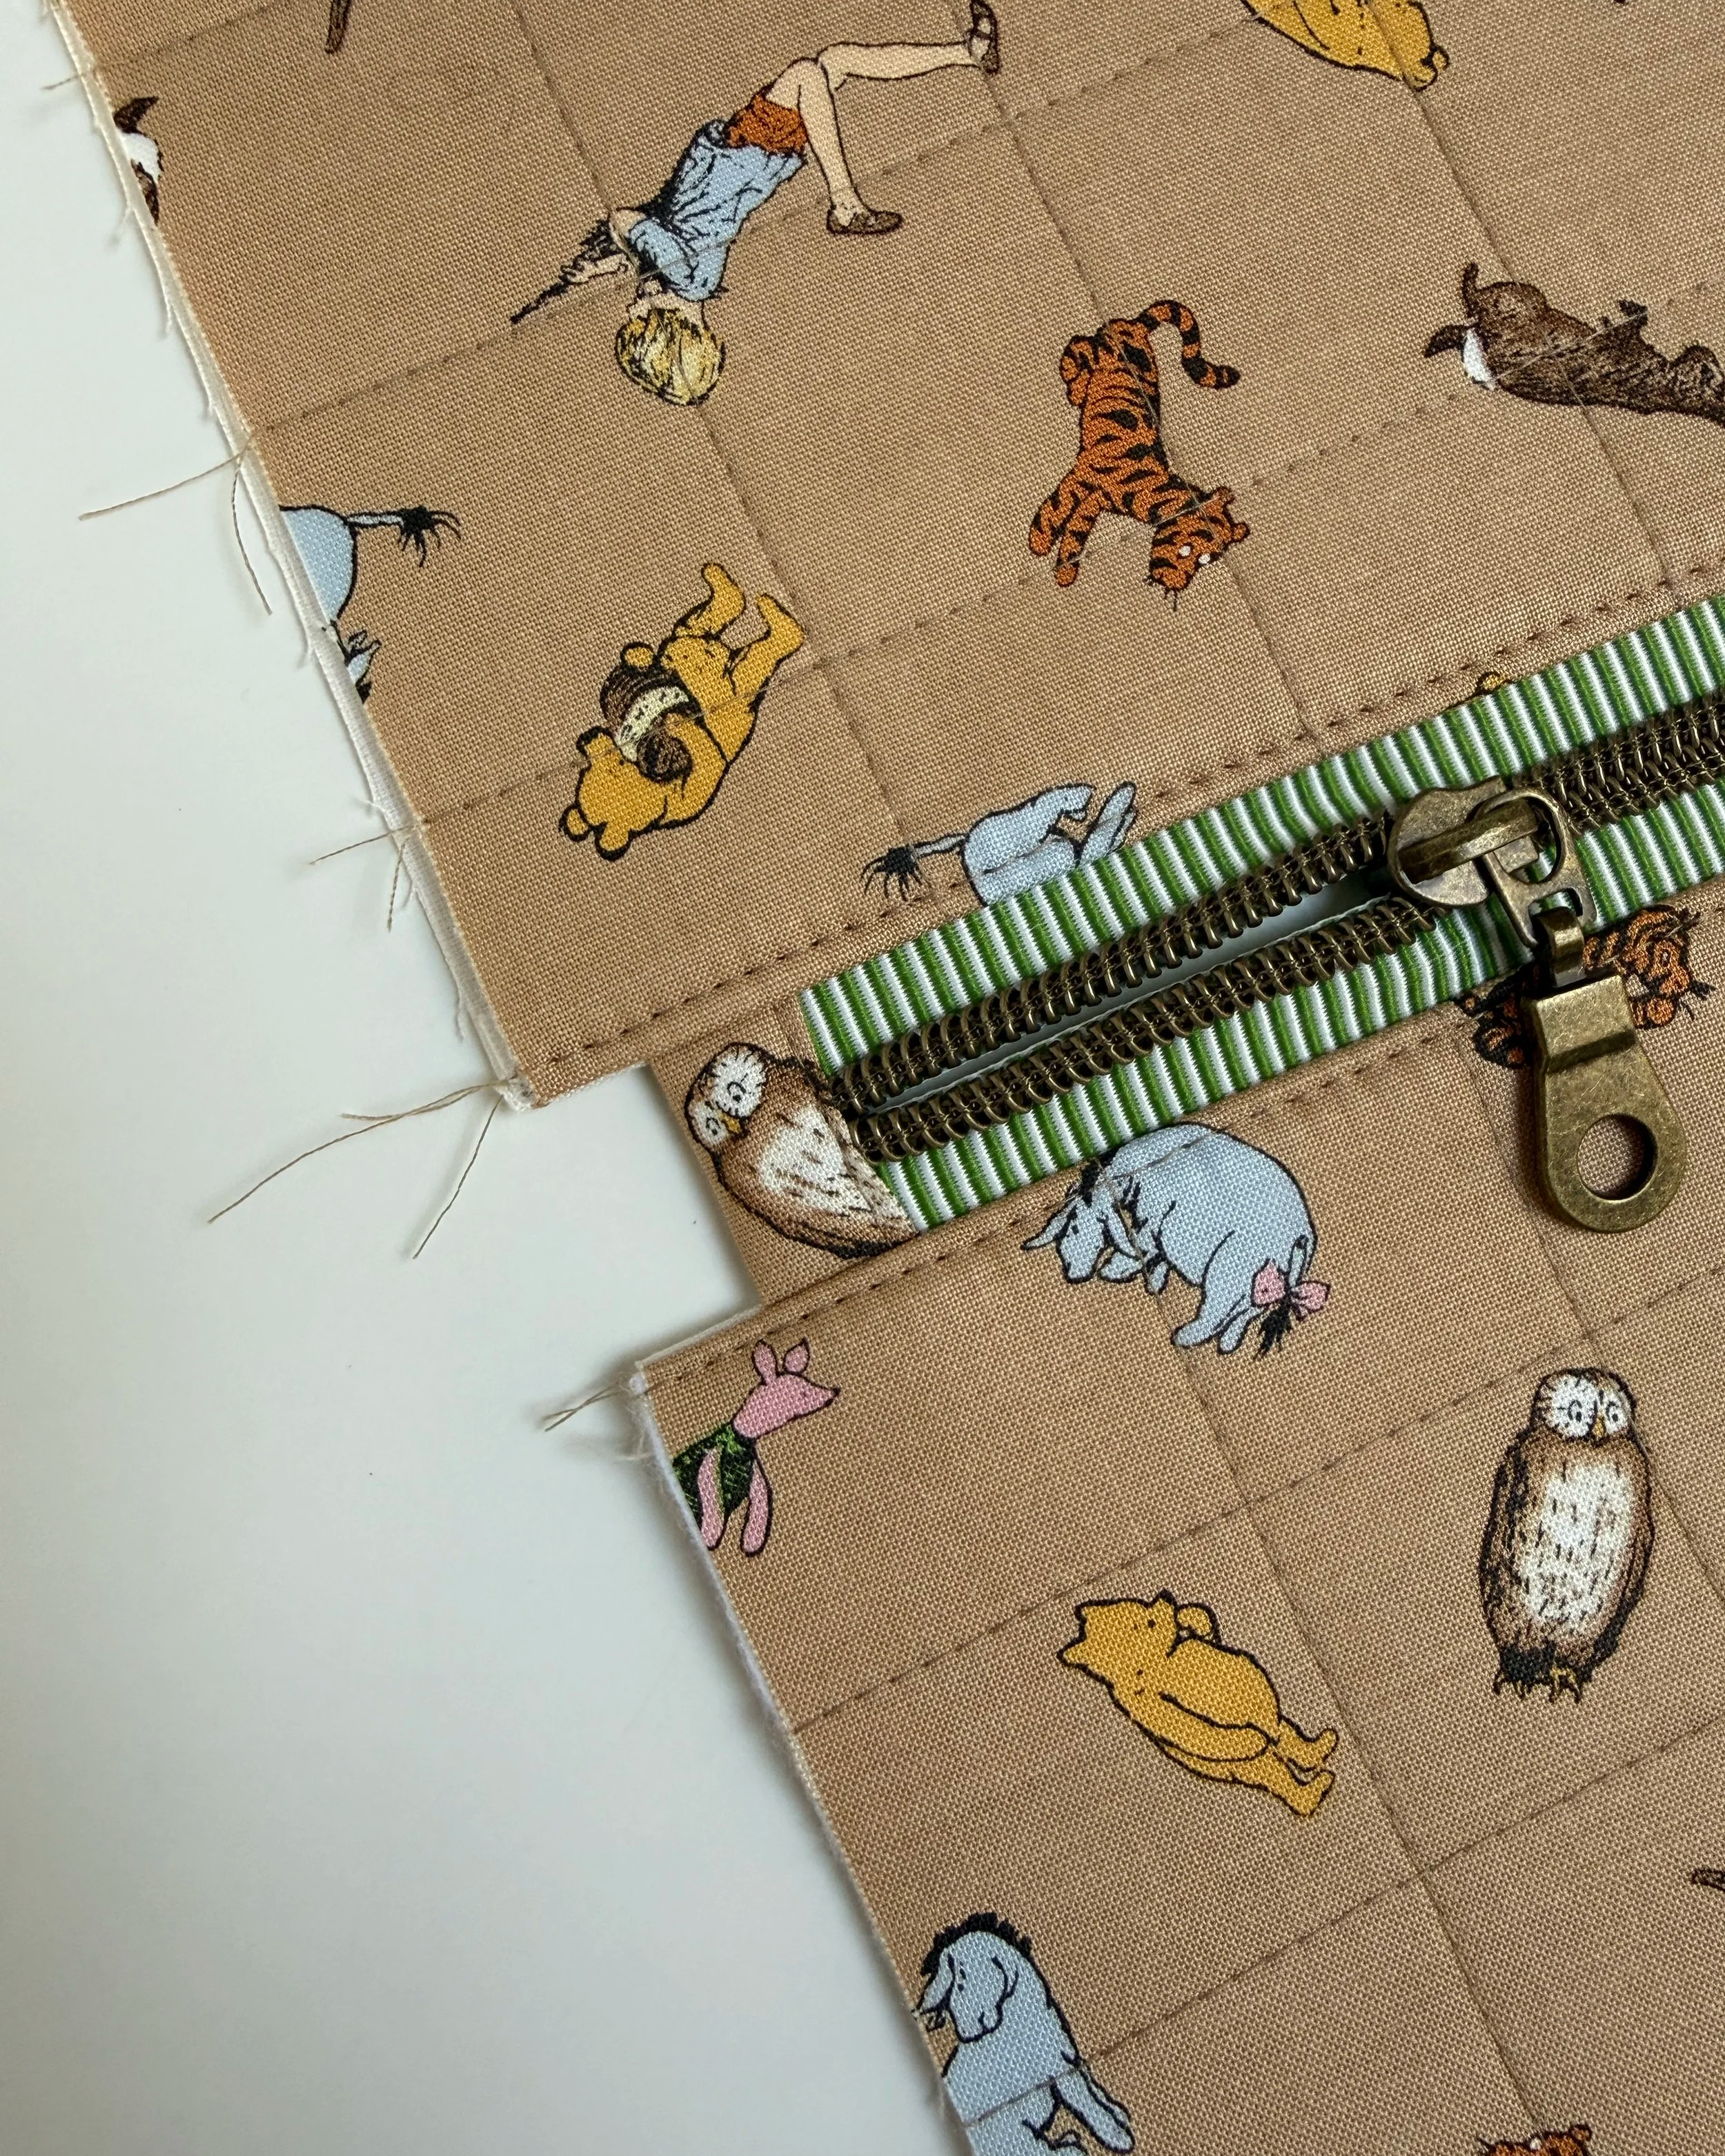
The good news is that a few simple techniques can make a big difference in how your finished pouch looks. I’ve been making zipper pouches for years, and along the way, I’ve picked up plenty of tips and tricks to help you achieve neat, professional-looking results. In this tutorial, I’ll walk you through my process for preparing and installing a zipper so that those pesky top corners look clean and polished.
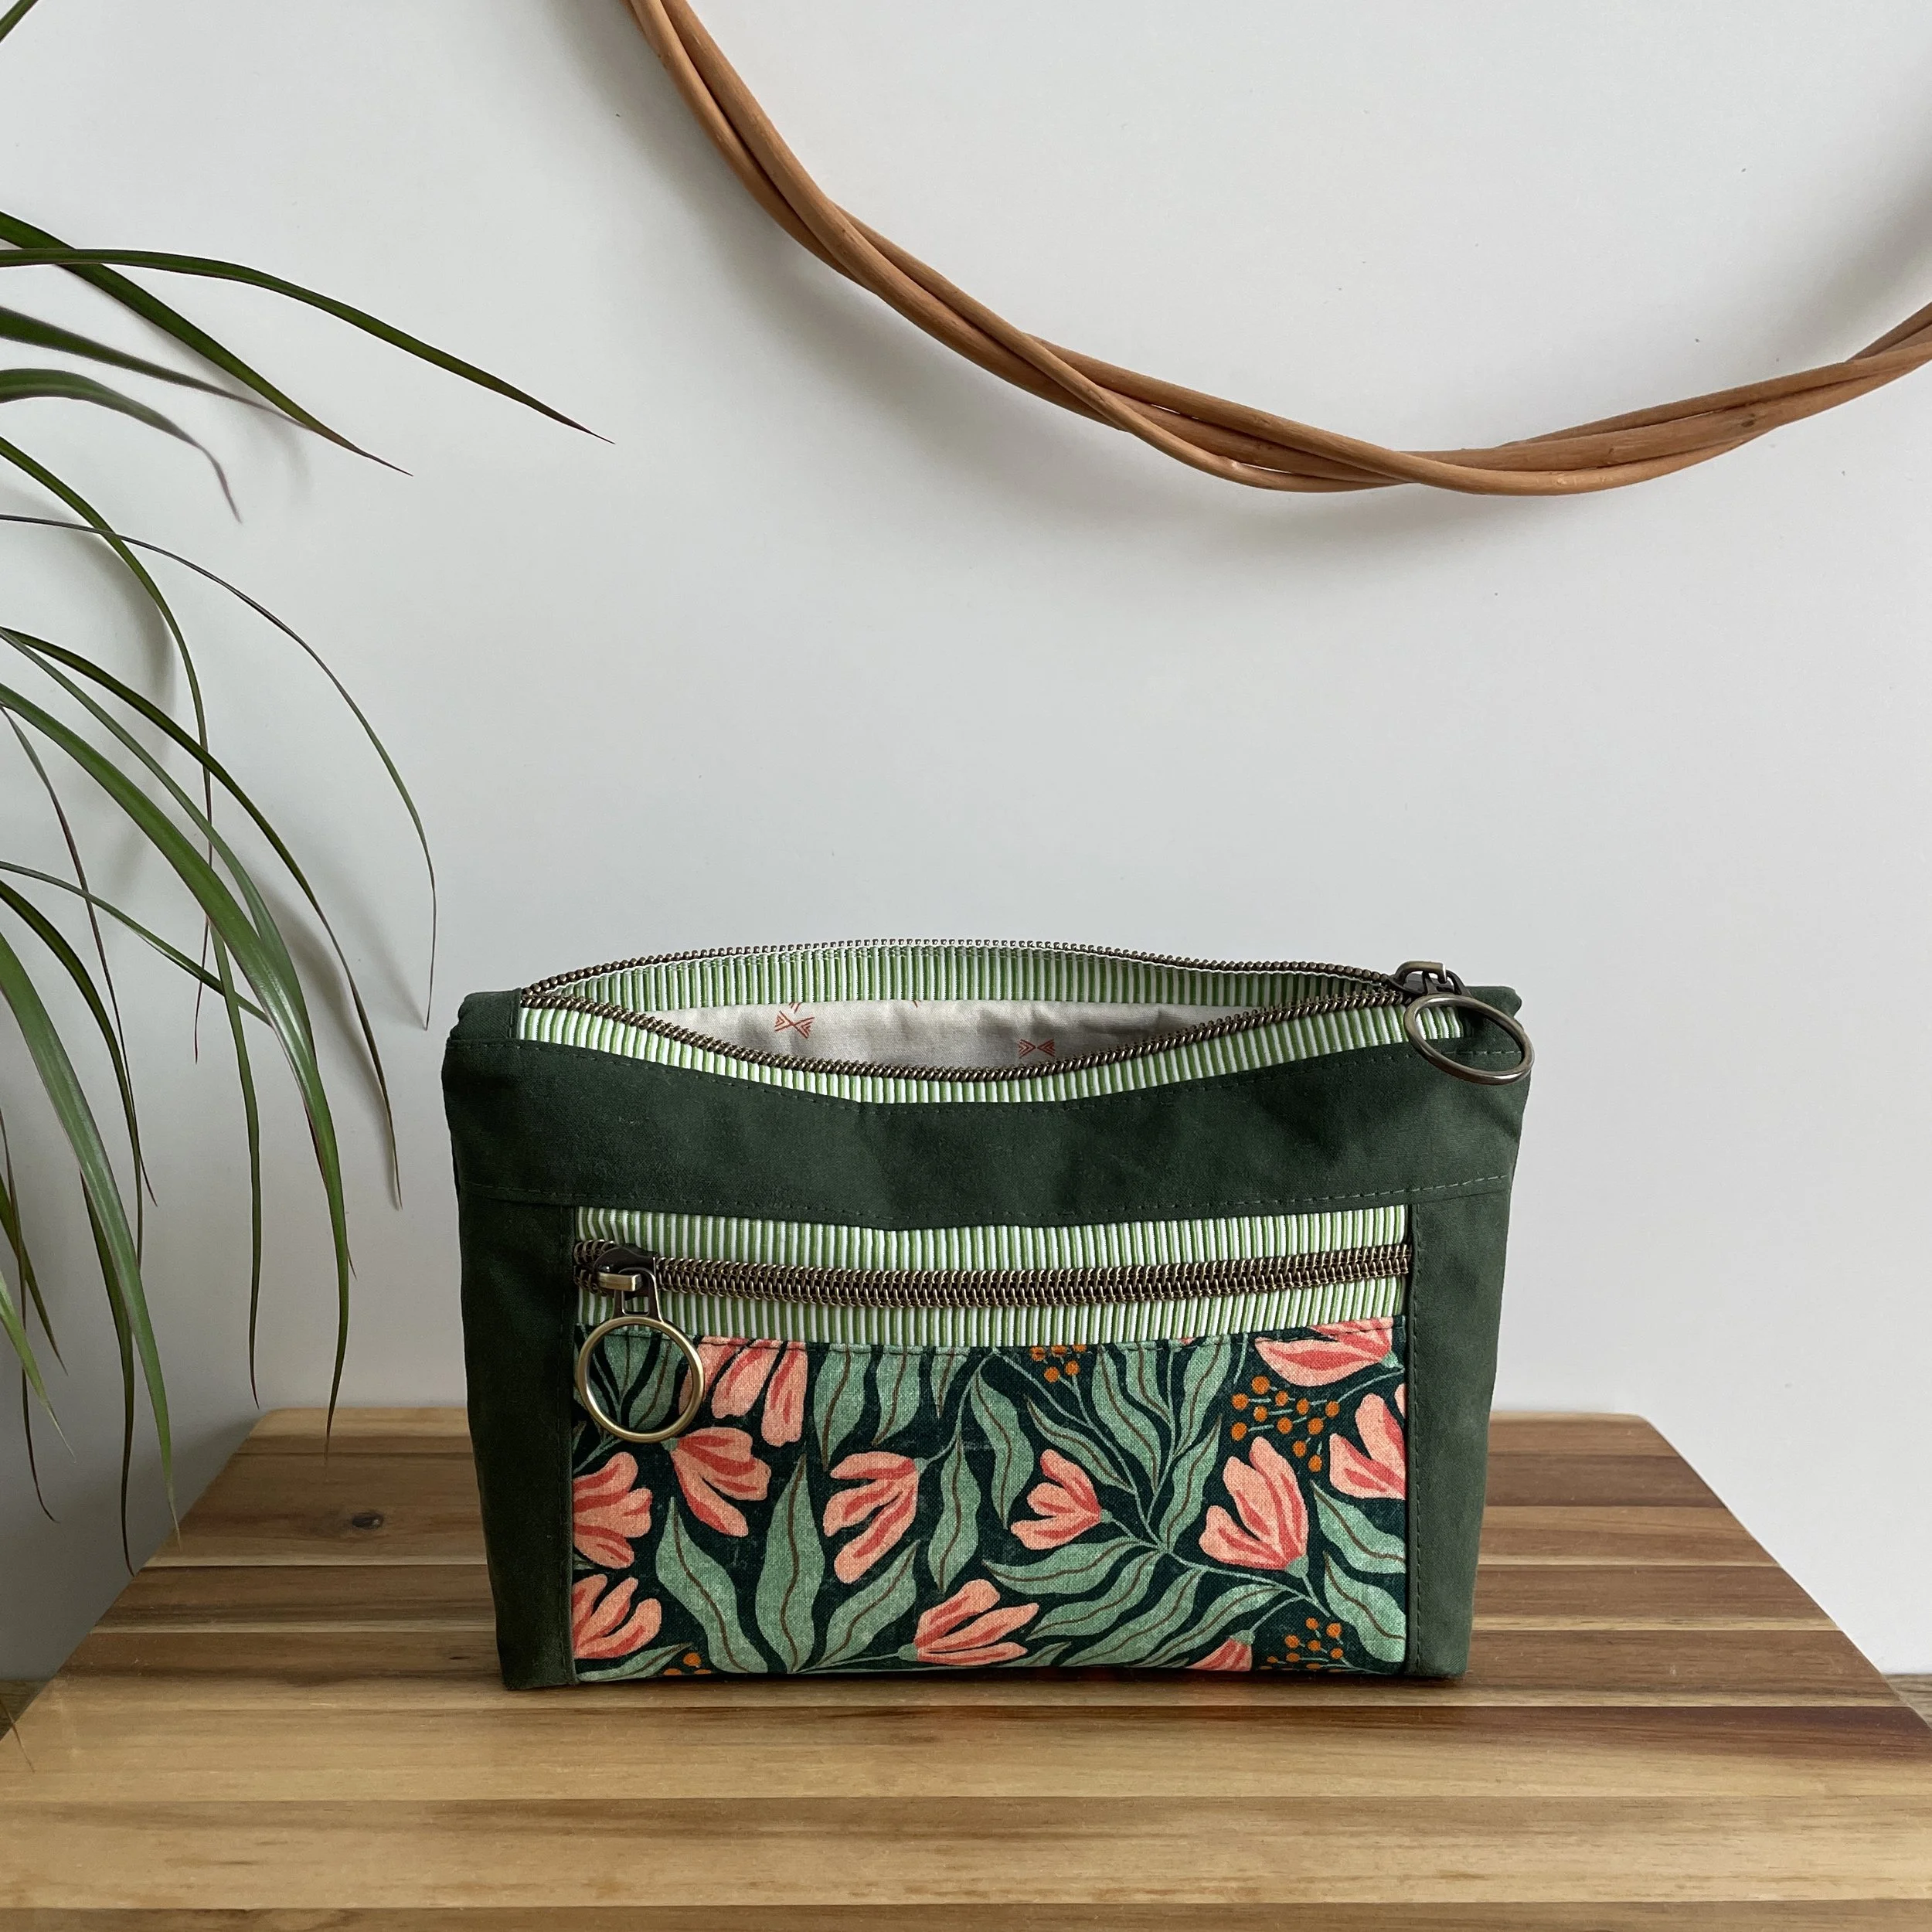
For this project, I’ll be using a nylon zipper by the foot/meter, which is easy to customize to any pouch size.
Let’s get to it, shall we?
⬩ Cut your zipper 1’’ shorter than the width of the pouch panels. So, if your pouch panels are 8’’ wide, your zipper will be 7’’ long.
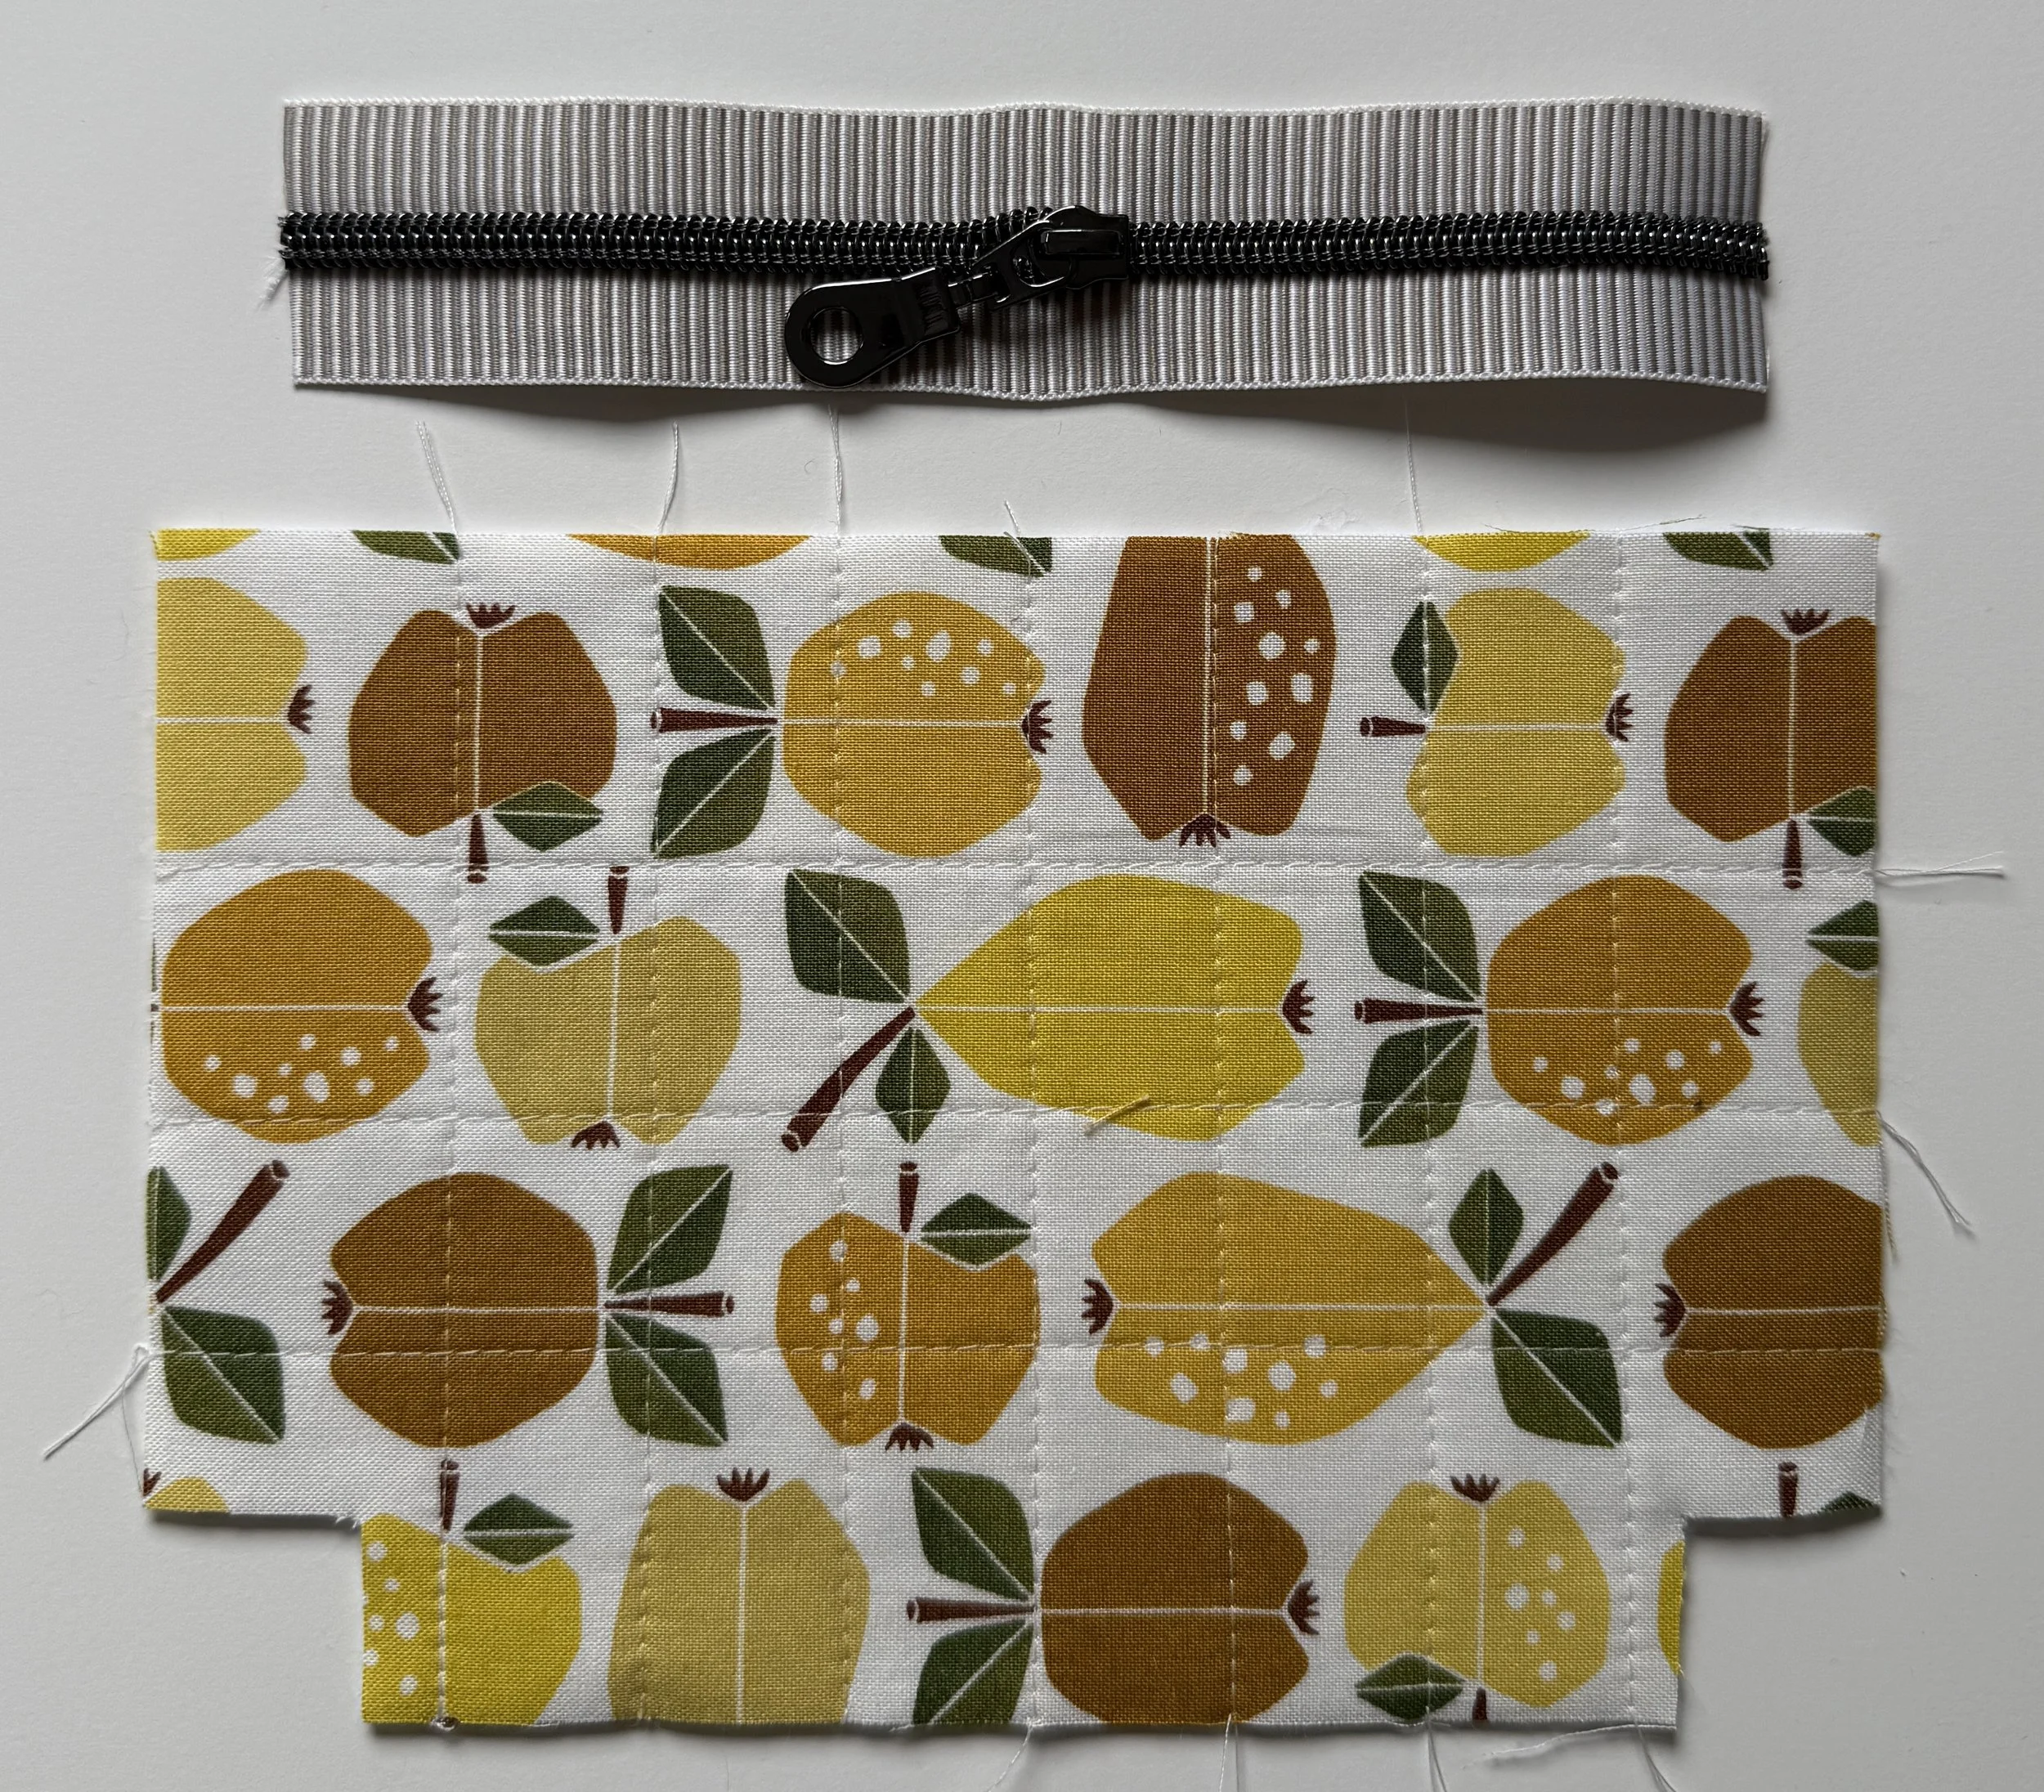
⬩ Next, add fabric tabs to neatly finish the zipper’s raw edges.
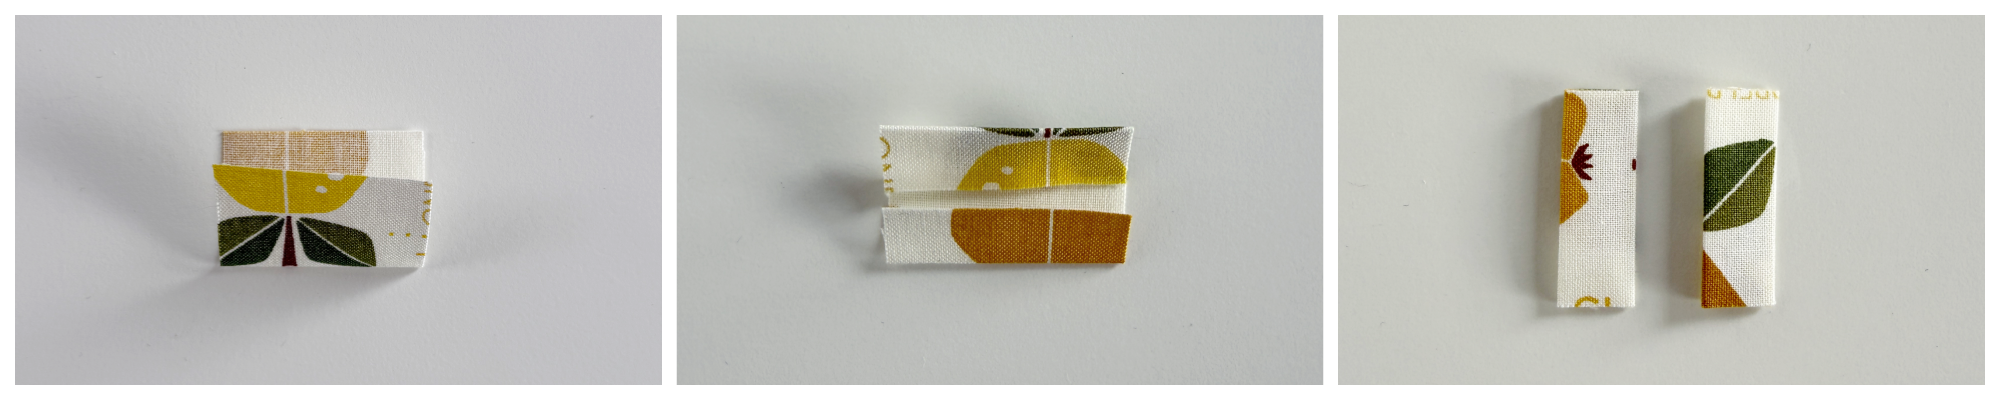
I like to cut two fabric tabs, each measuring 1.5″ × 2″. Here’s how to prepare them:
Fold each tab in half, bringing the two 1.5″ edges together, and press to create a center crease.
Open the fabric and fold the two short ends toward the center crease. Press again.
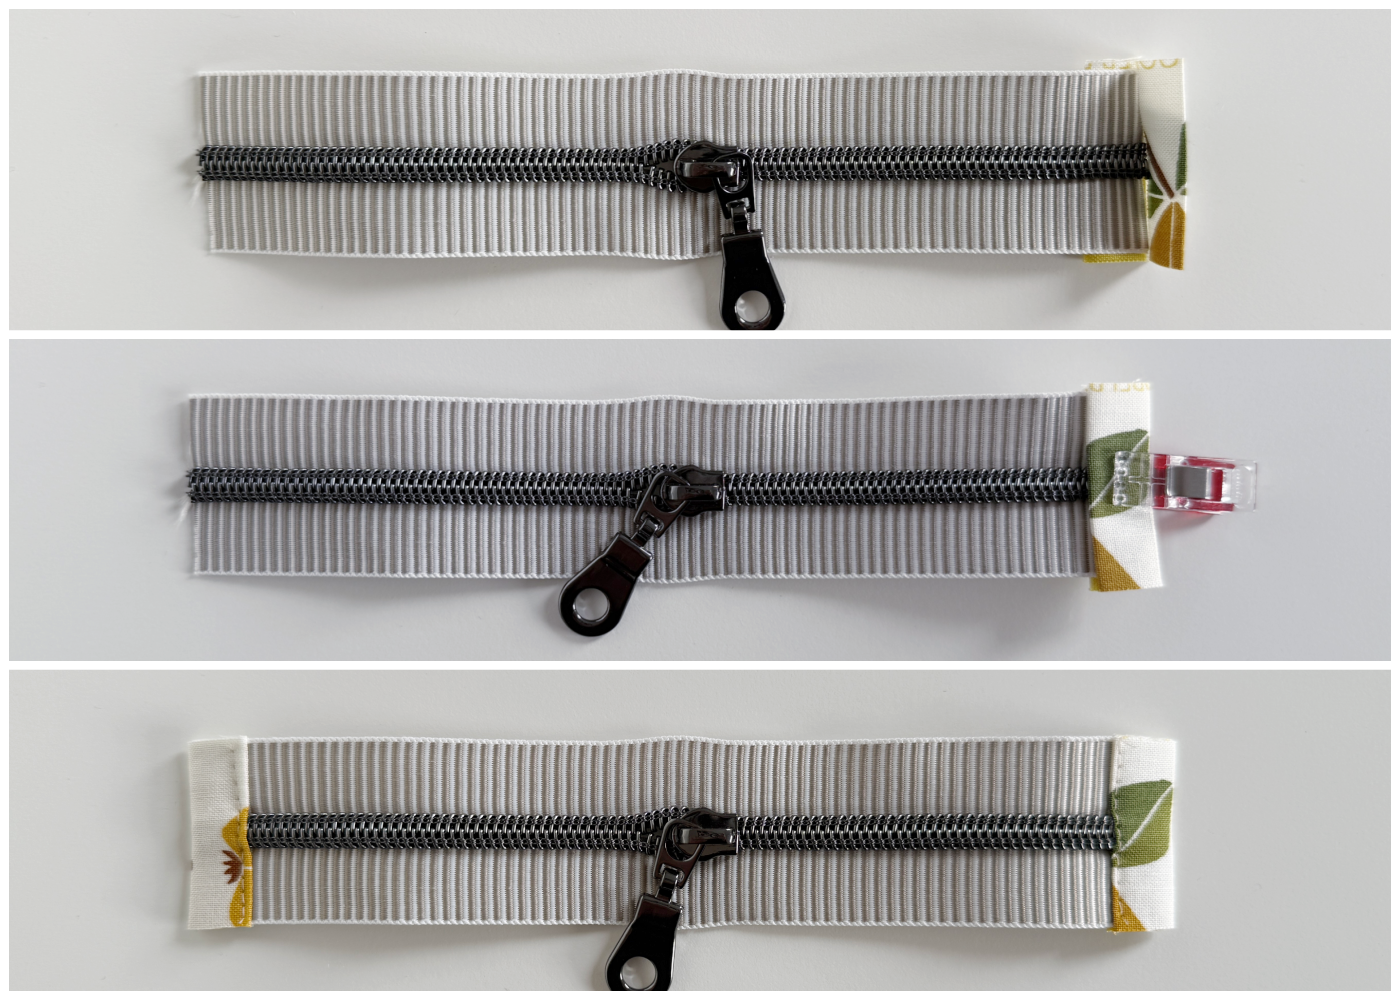
Place one end of the zipper inside the folded tab, making sure the zipper’s raw edge reaches all the way to the center fold.
Fold the tab over the zipper so that the zipper tape is sandwiched neatly between the layers of fabric.
Sew across the tab close to the folded edge, using a 1/8″ seam allowance to secure everything in place.
Repeat these steps for the other end of the zipper.
Trim the tab edges flush with the zipper sides.
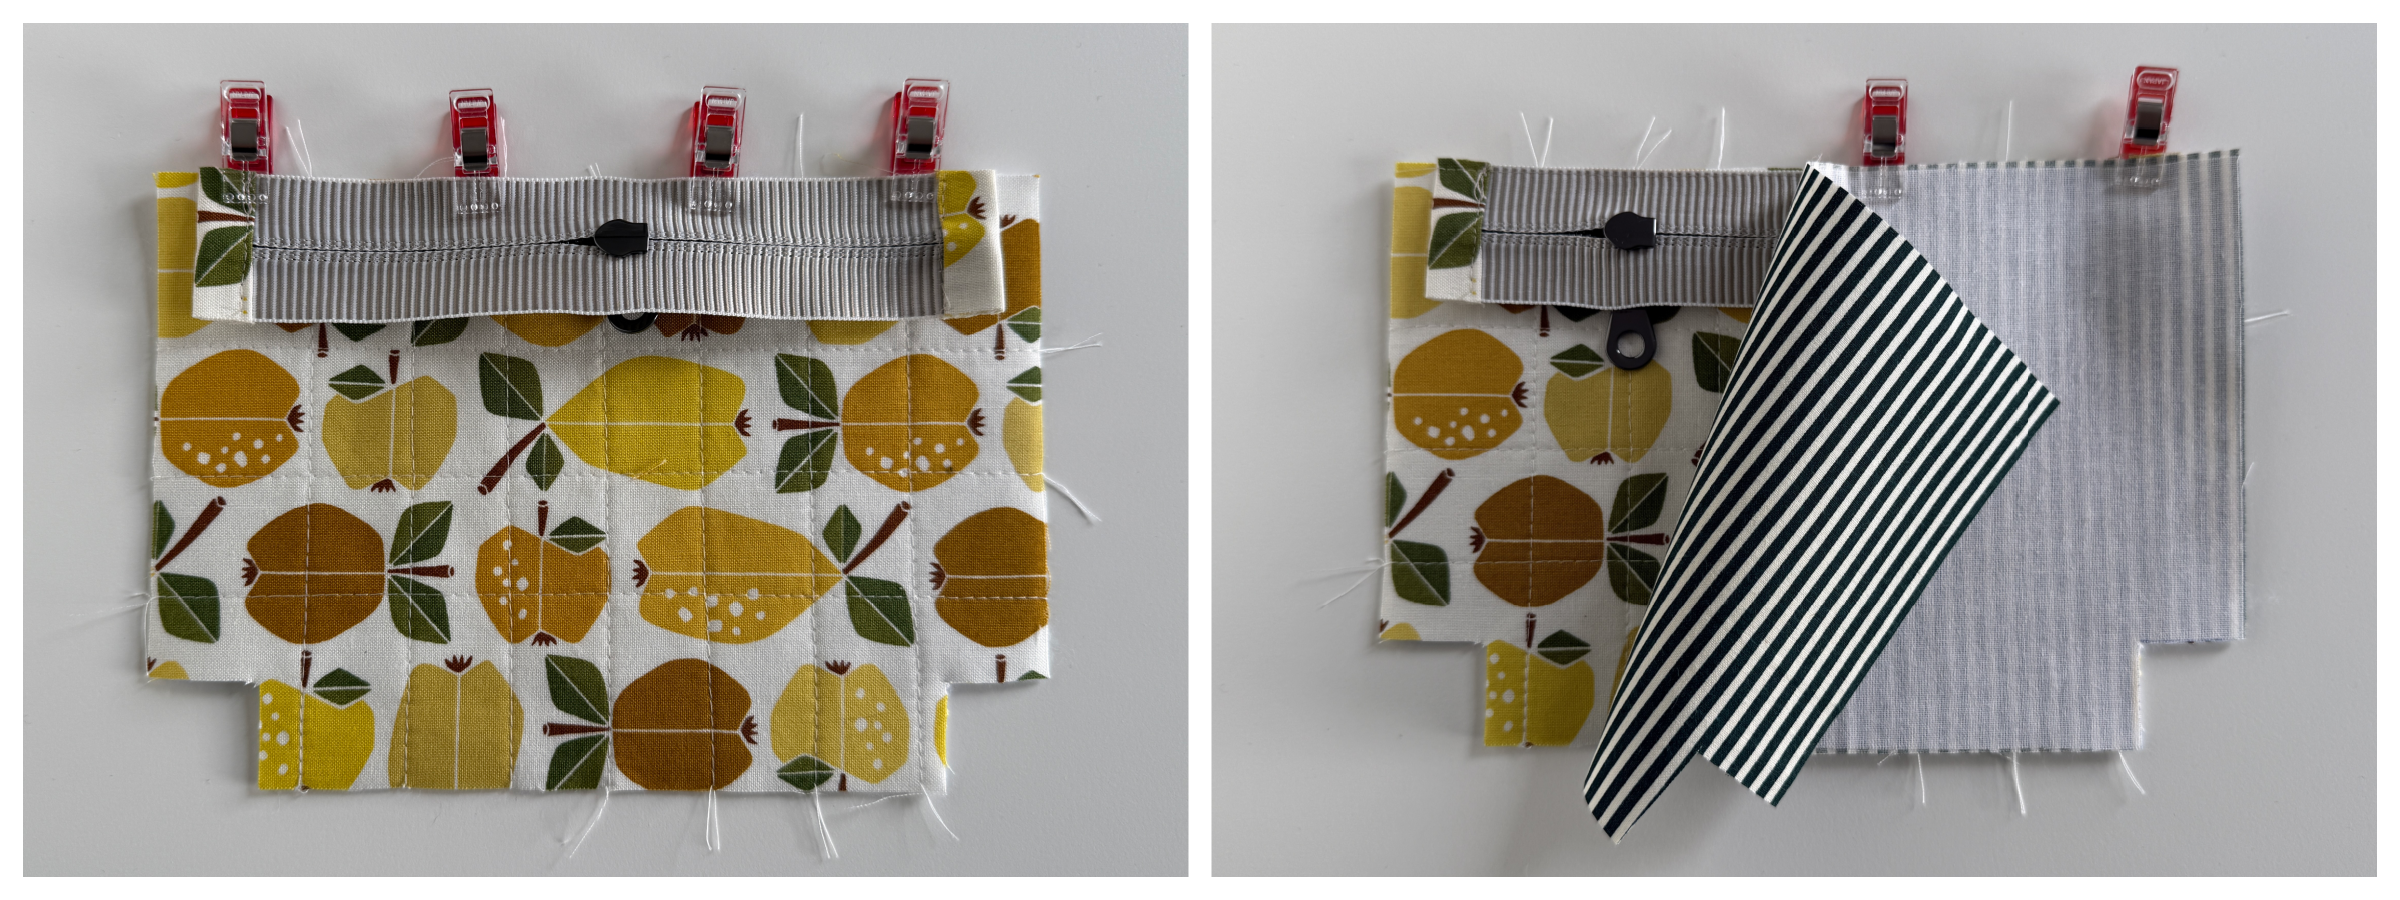
⬩ When adding the zipper to the pouch panels, work with one panel at a time. First, center the zipper along the top edge of the exterior panel and stitch it in place using a 1/8’’ seam allowance (SA). Next, place the lining panel on top, sandwiching the zipper between the exterior and lining, and sew along the top edge using a 1/4’’ SA. This two-step process helps keep the zipper straight and prevents the layers from shifting as you sew.
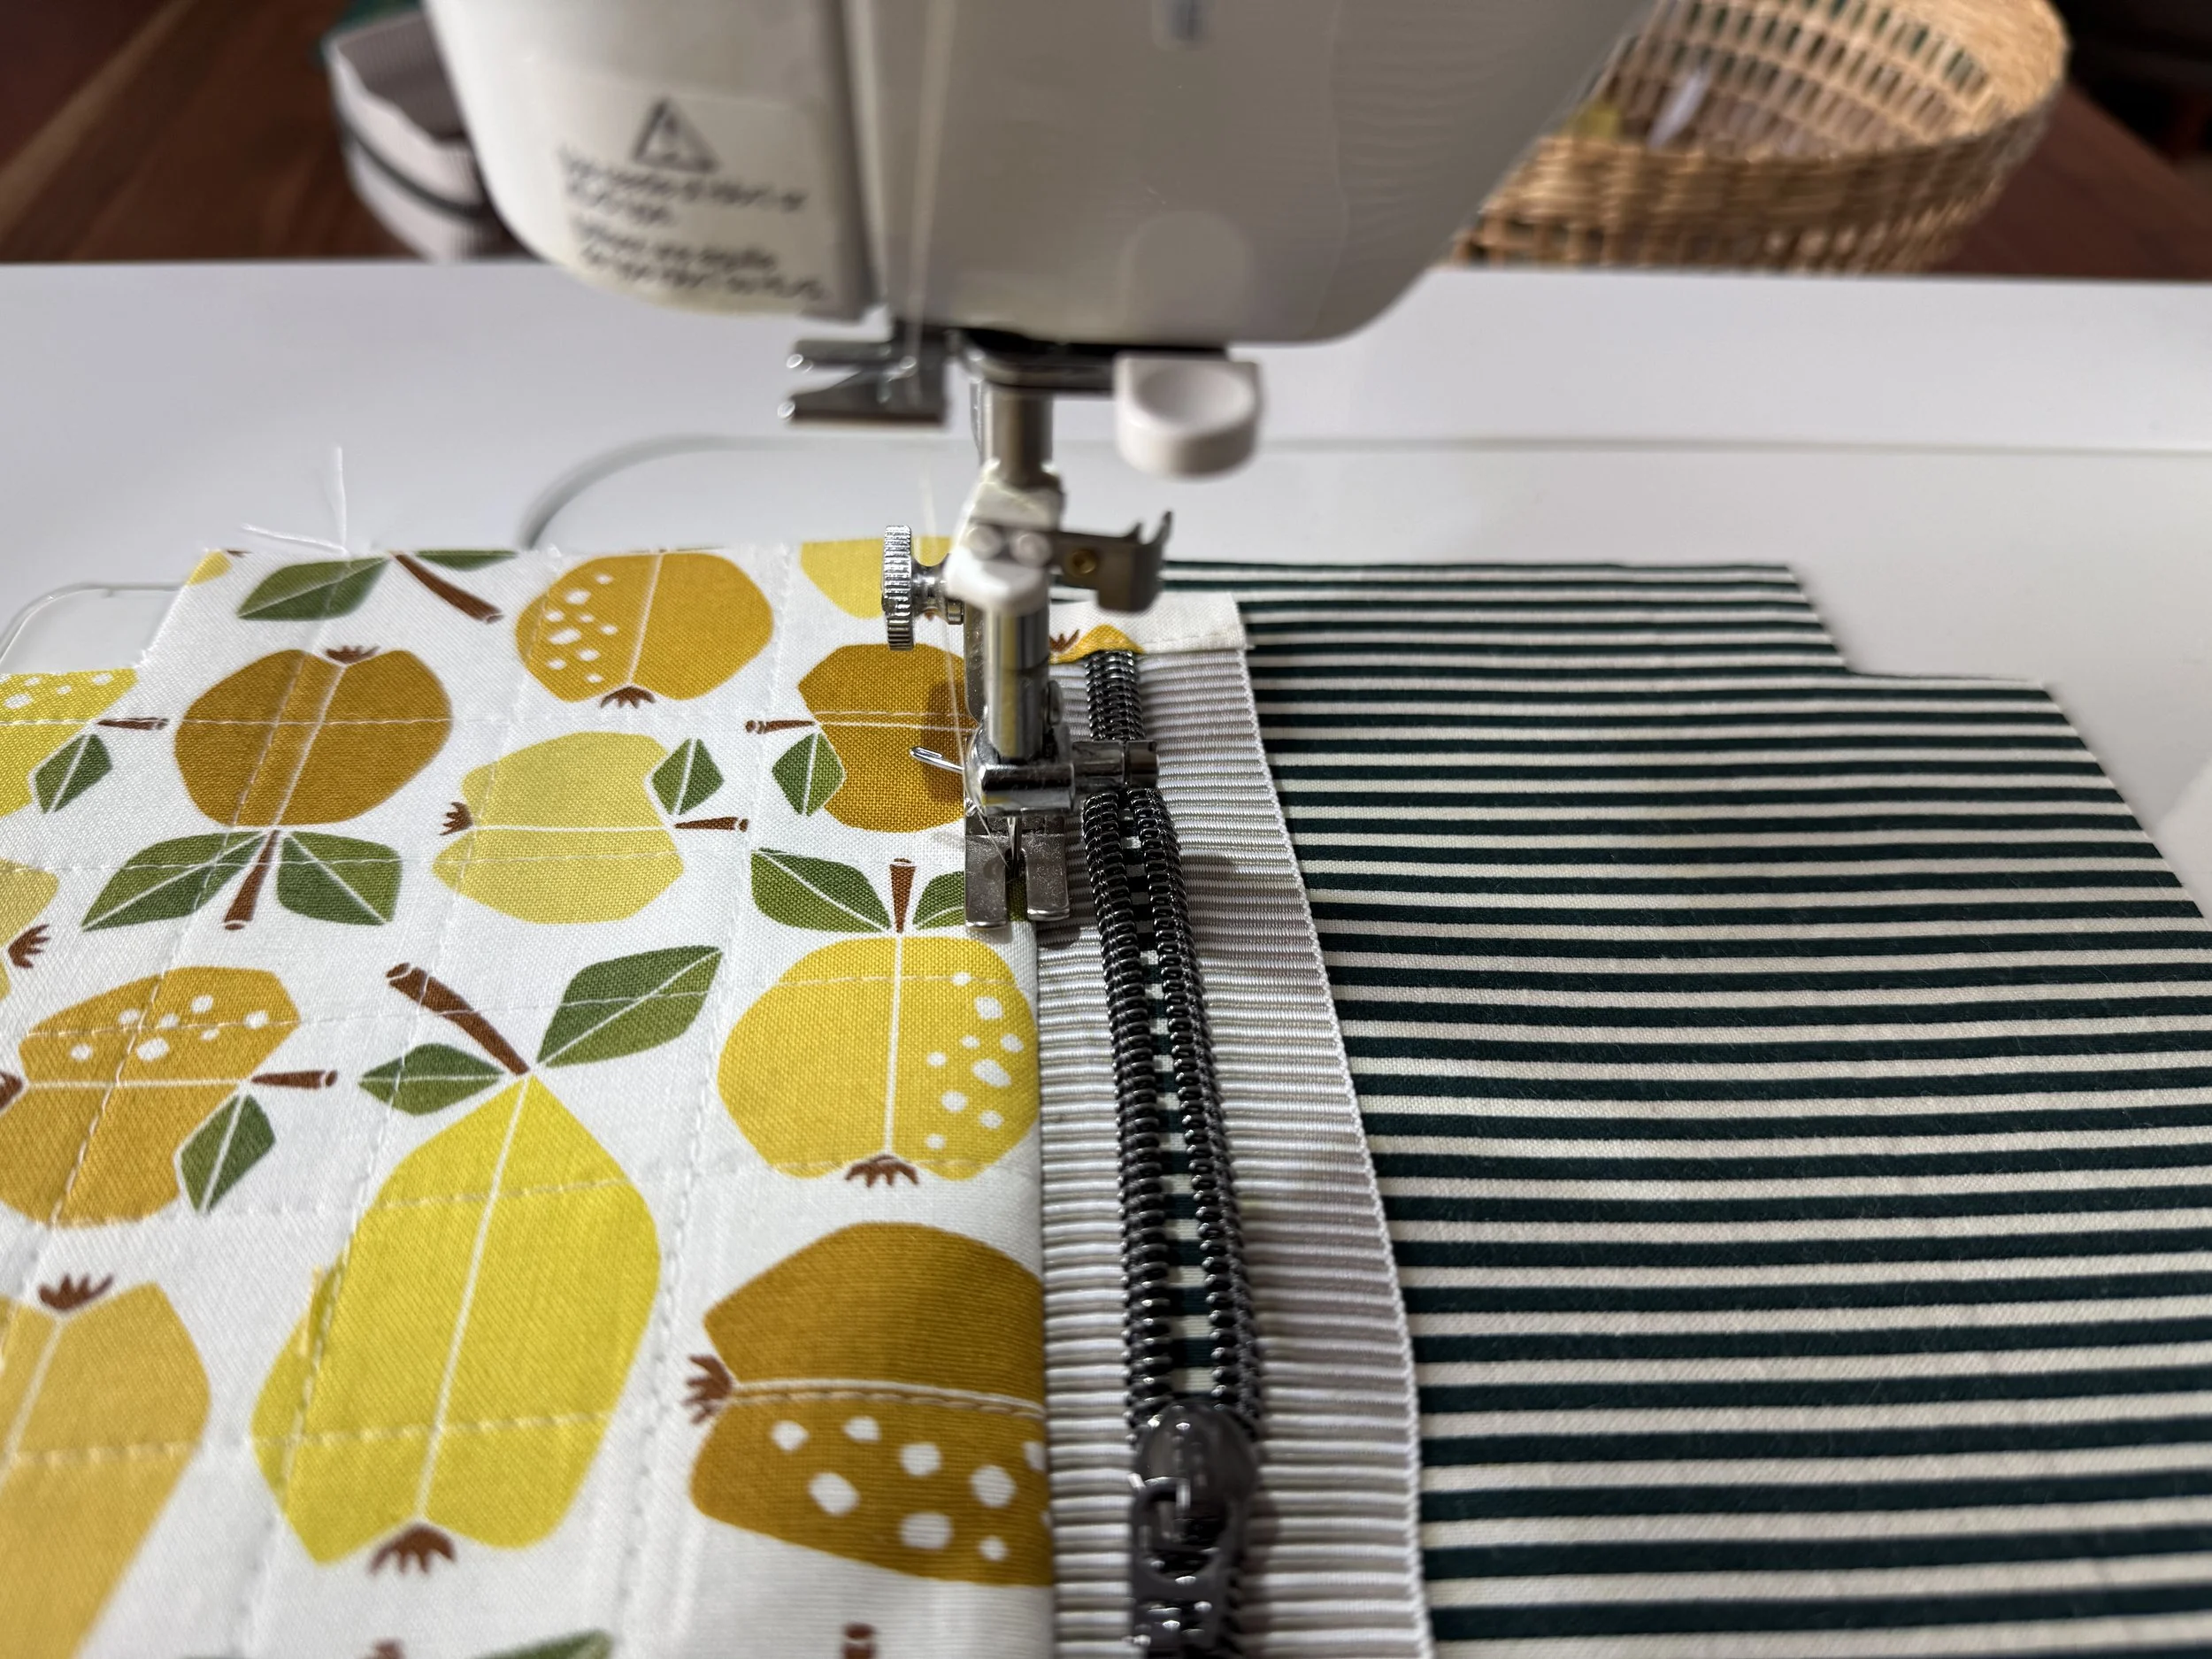
⬩ This next tip is crucial for achieving straight, neat edges and crisp corners and tabs. Press the exterior panel away from the zipper, then topstitch 1/8’’ SA along the zipper edge, stitching through the exterior panel only, NOT through the lining. Follow the same directions for your second exterior and lining panels.
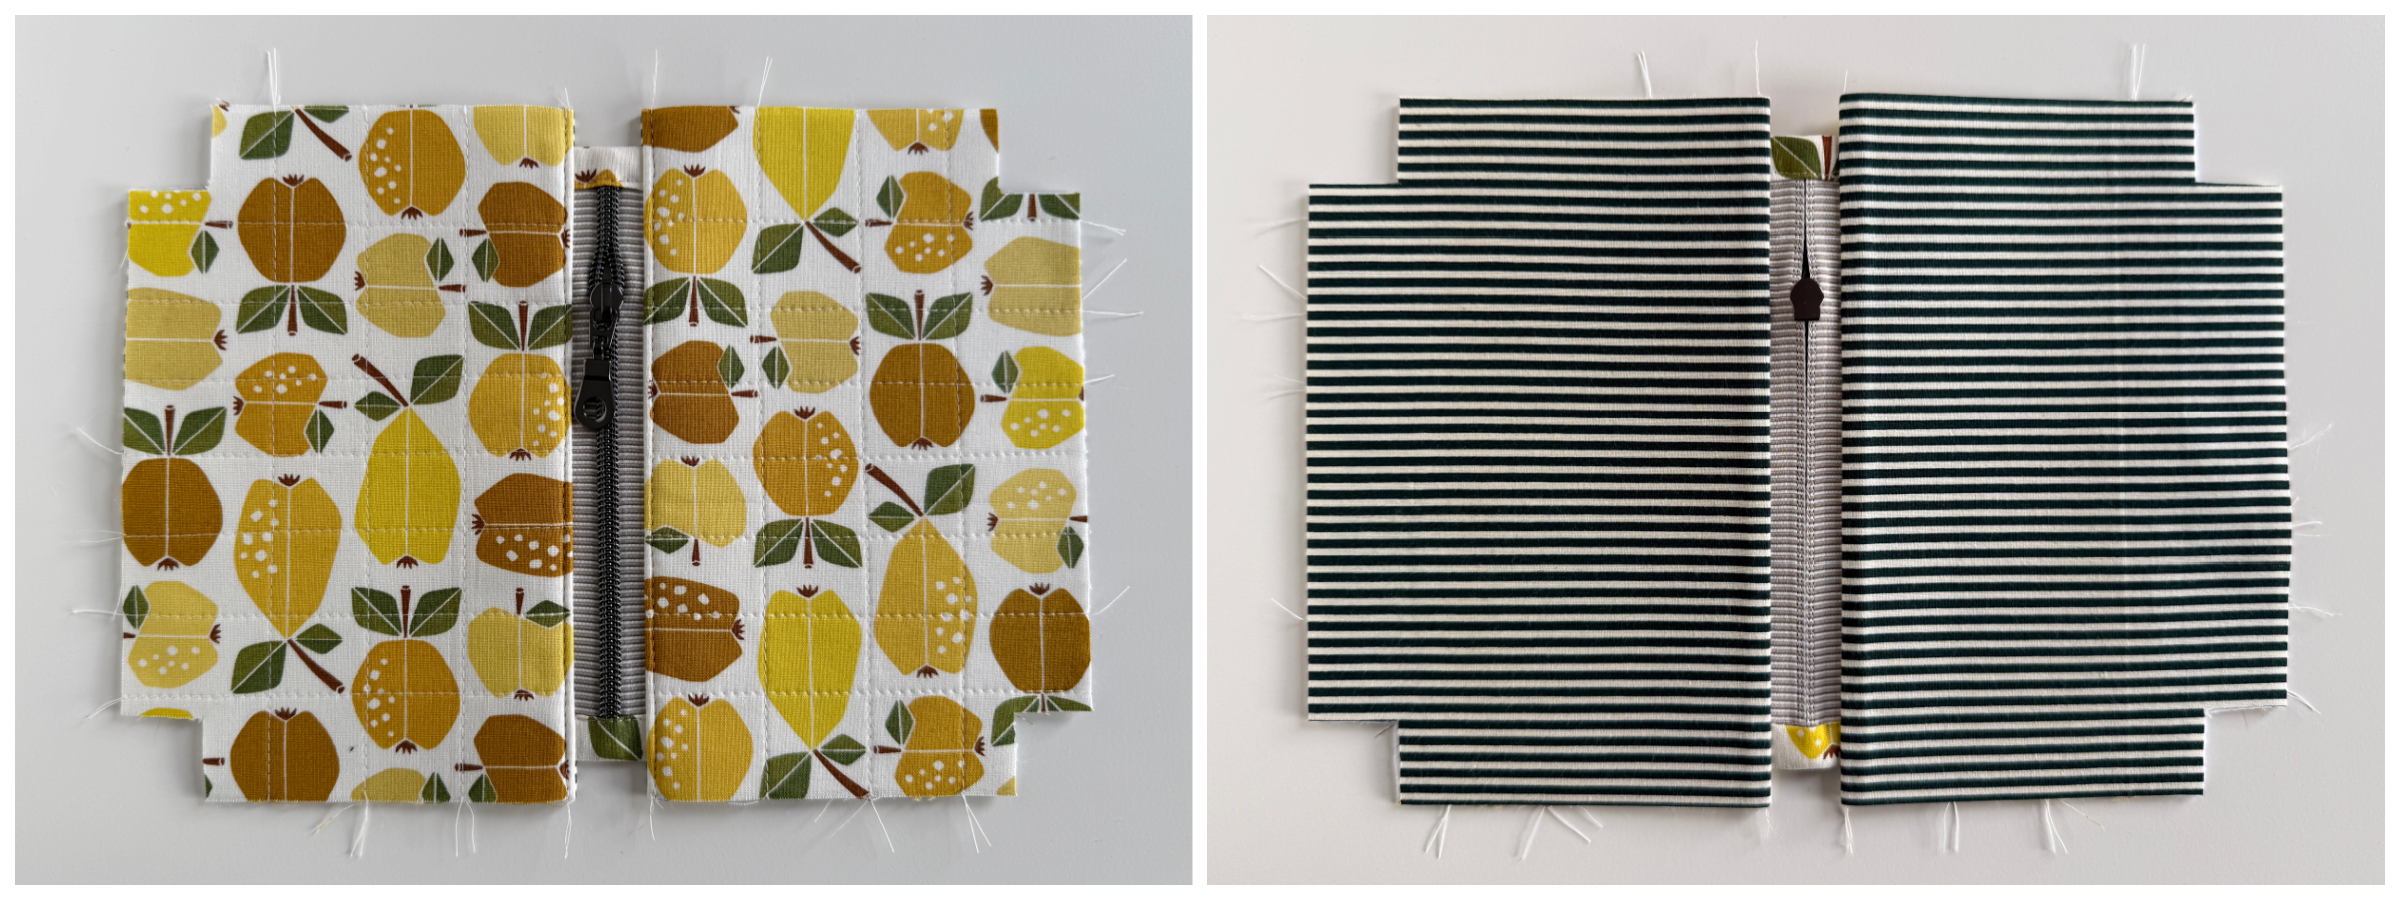
⬩ This is what your pouch should look like at this point. Notice how the zipper is centered and slightly shorter than the pouch panels on both sides.
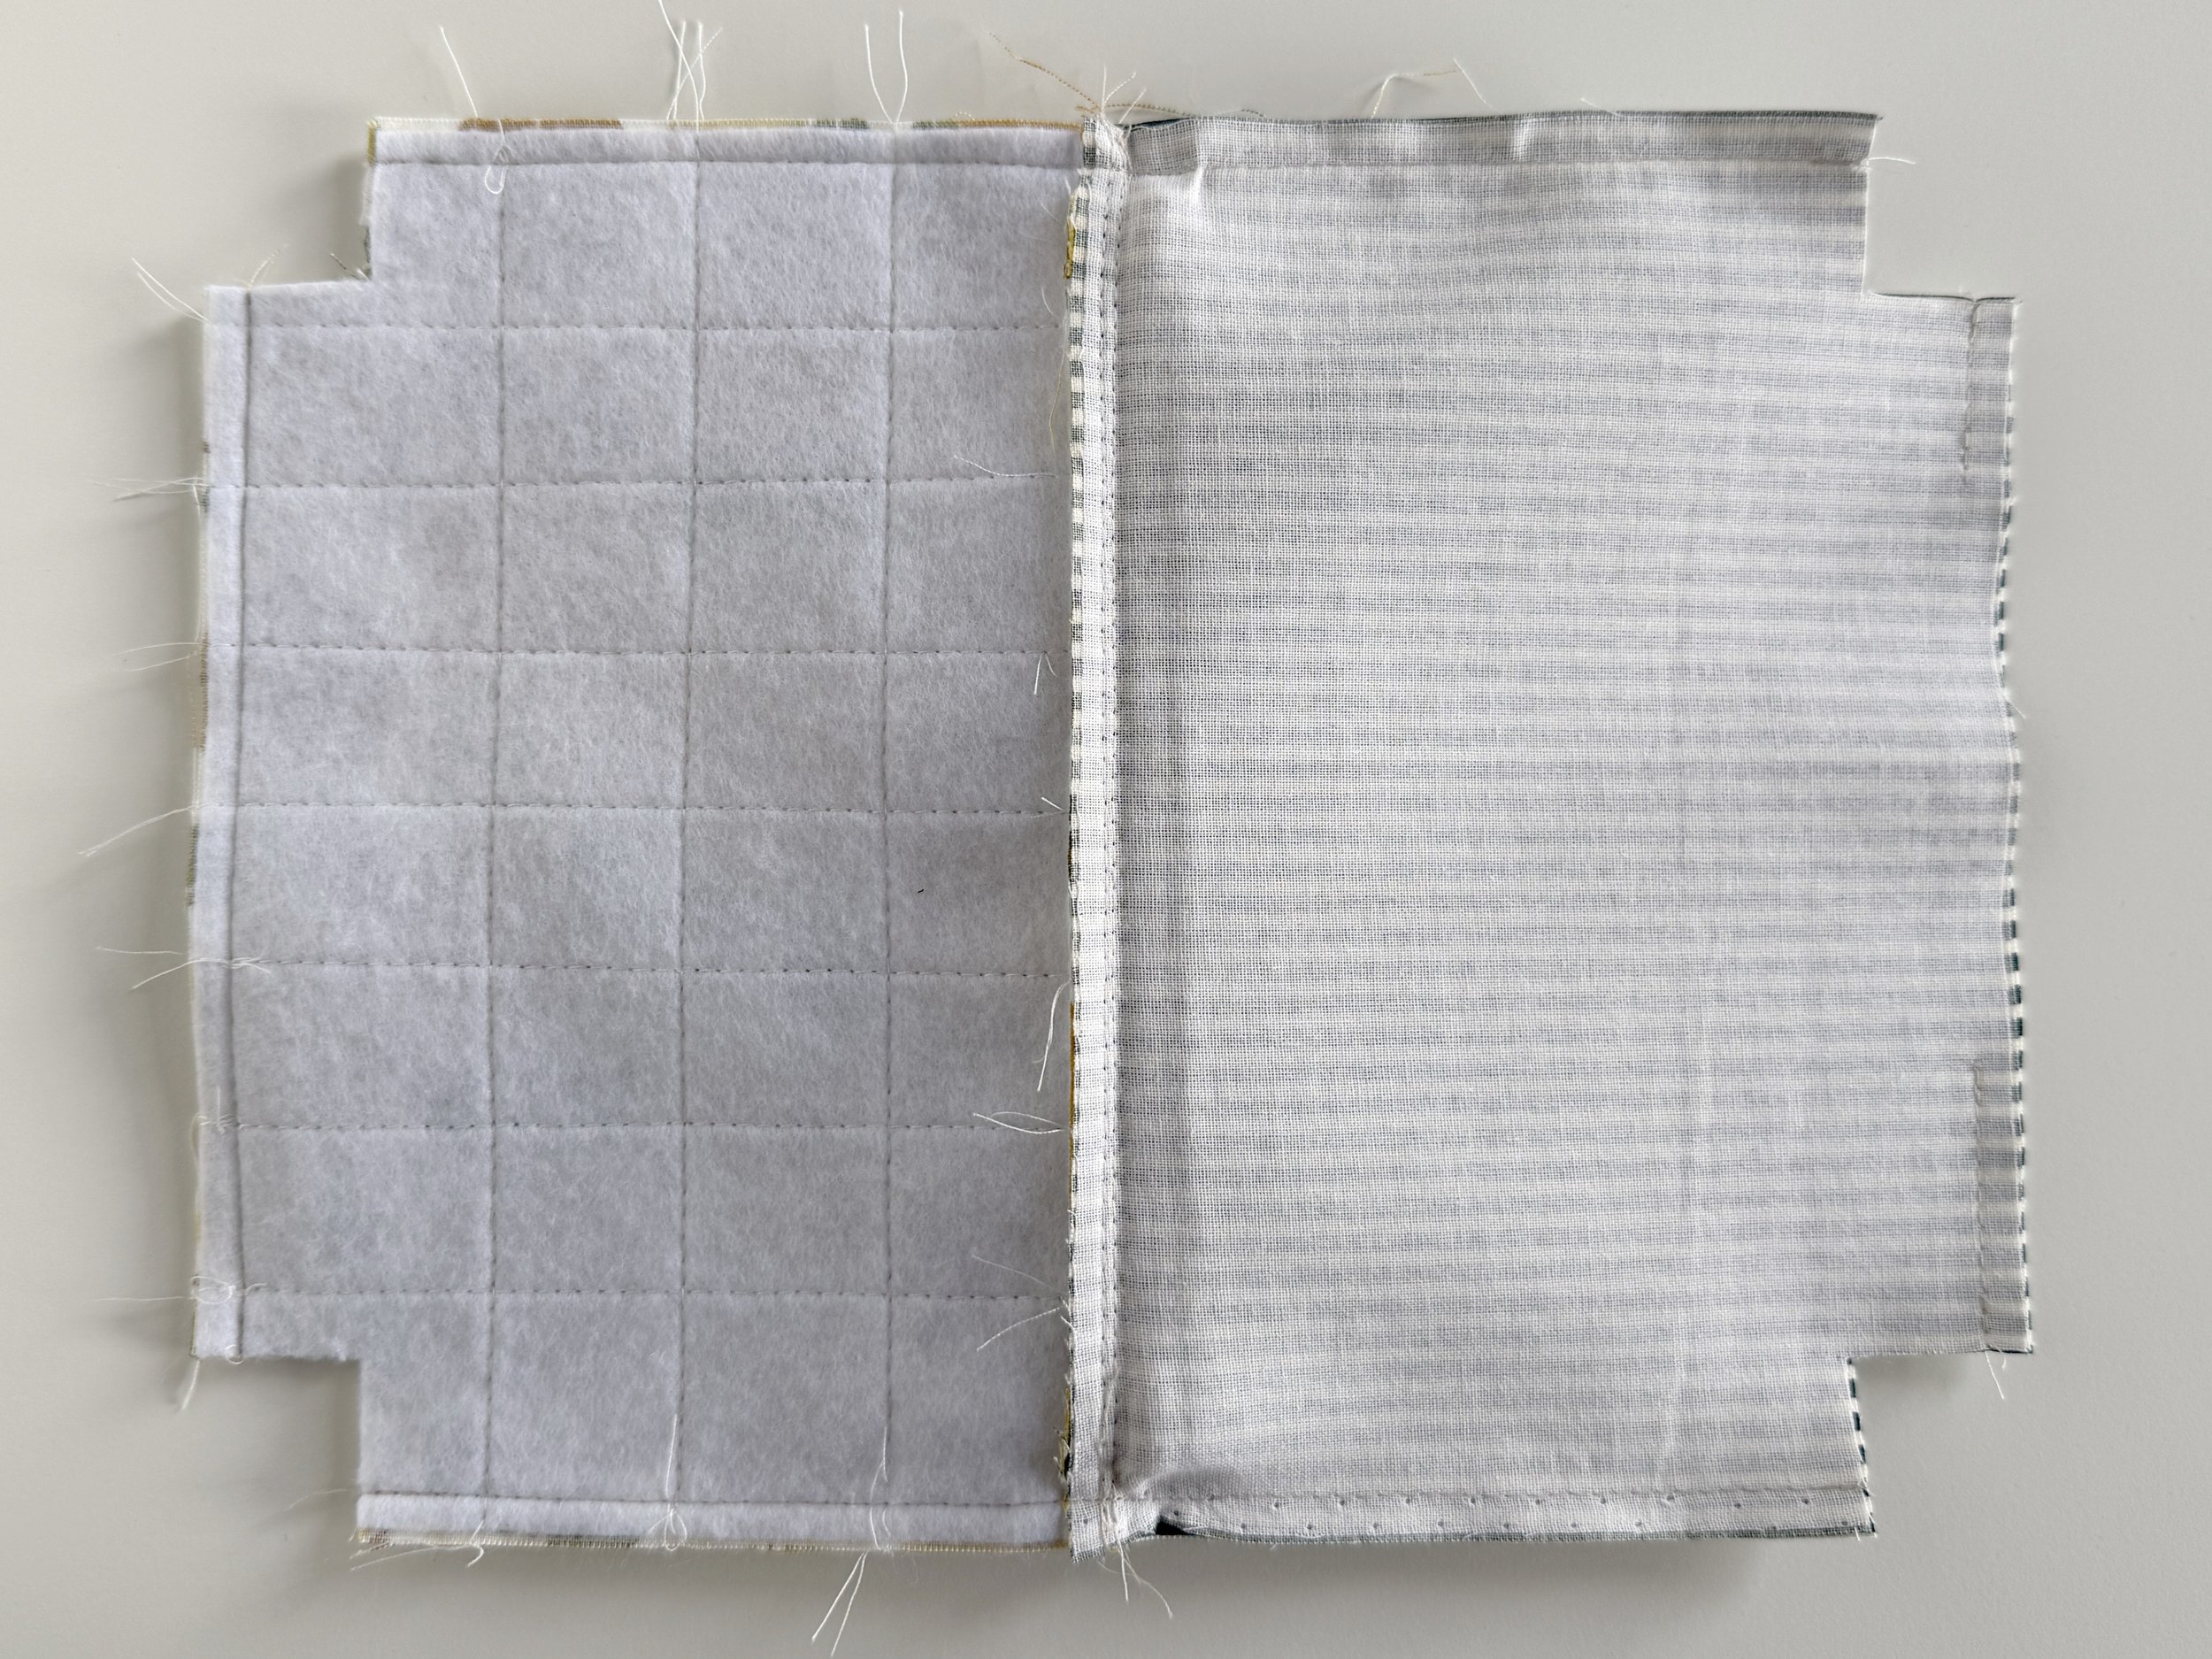
⬩ Time to assemble the pouch! Open the zipper about ¾ of the way. Bring the exterior panels right sides together and lining panels right sides together (seams around the zipper point to the exterior panels, zipper tabs point toward the lining).
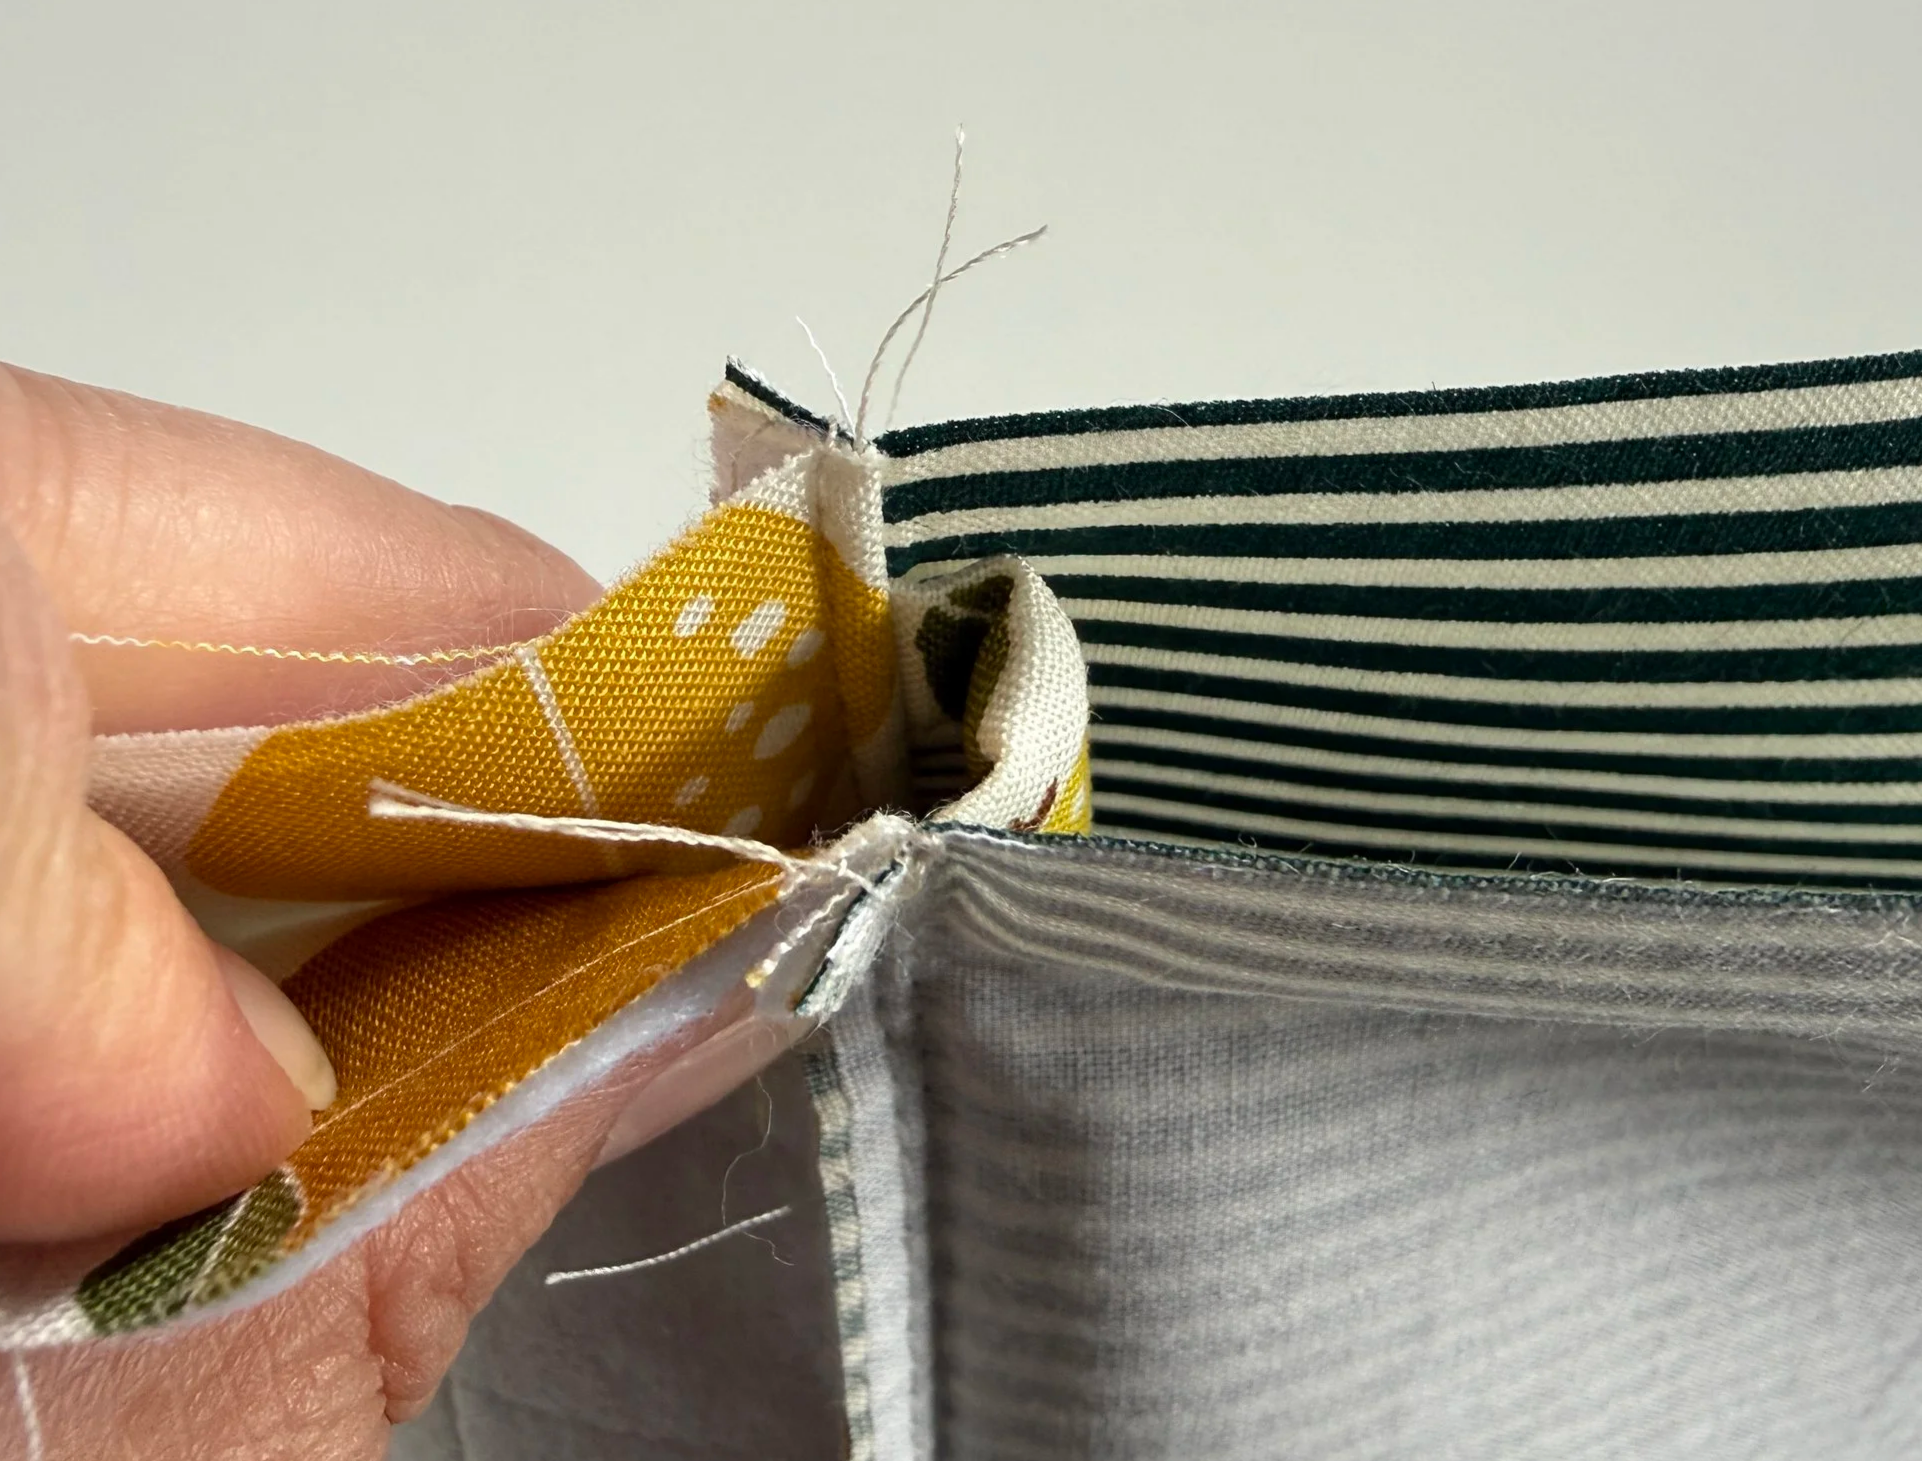
⬩ Pin or clip the panels together, then sew along the pinned or clipped edges using a 1/4’’ SA. When stitching along side seams, pay attention to sew as close to the fabric zipper tabs as possible, but NOT OVER THEM. You don't want your tabs to be caught in the stitches.
⬩ Press the seams open and sew the gussets (bottom edges) of the pouch closed. Turn the pouch right side out through the opening in the lining’s bottom edge. Reach inside the pouch through the opening in the lining and gently push the top corners/ zipper tabs out, shaping them neatly.
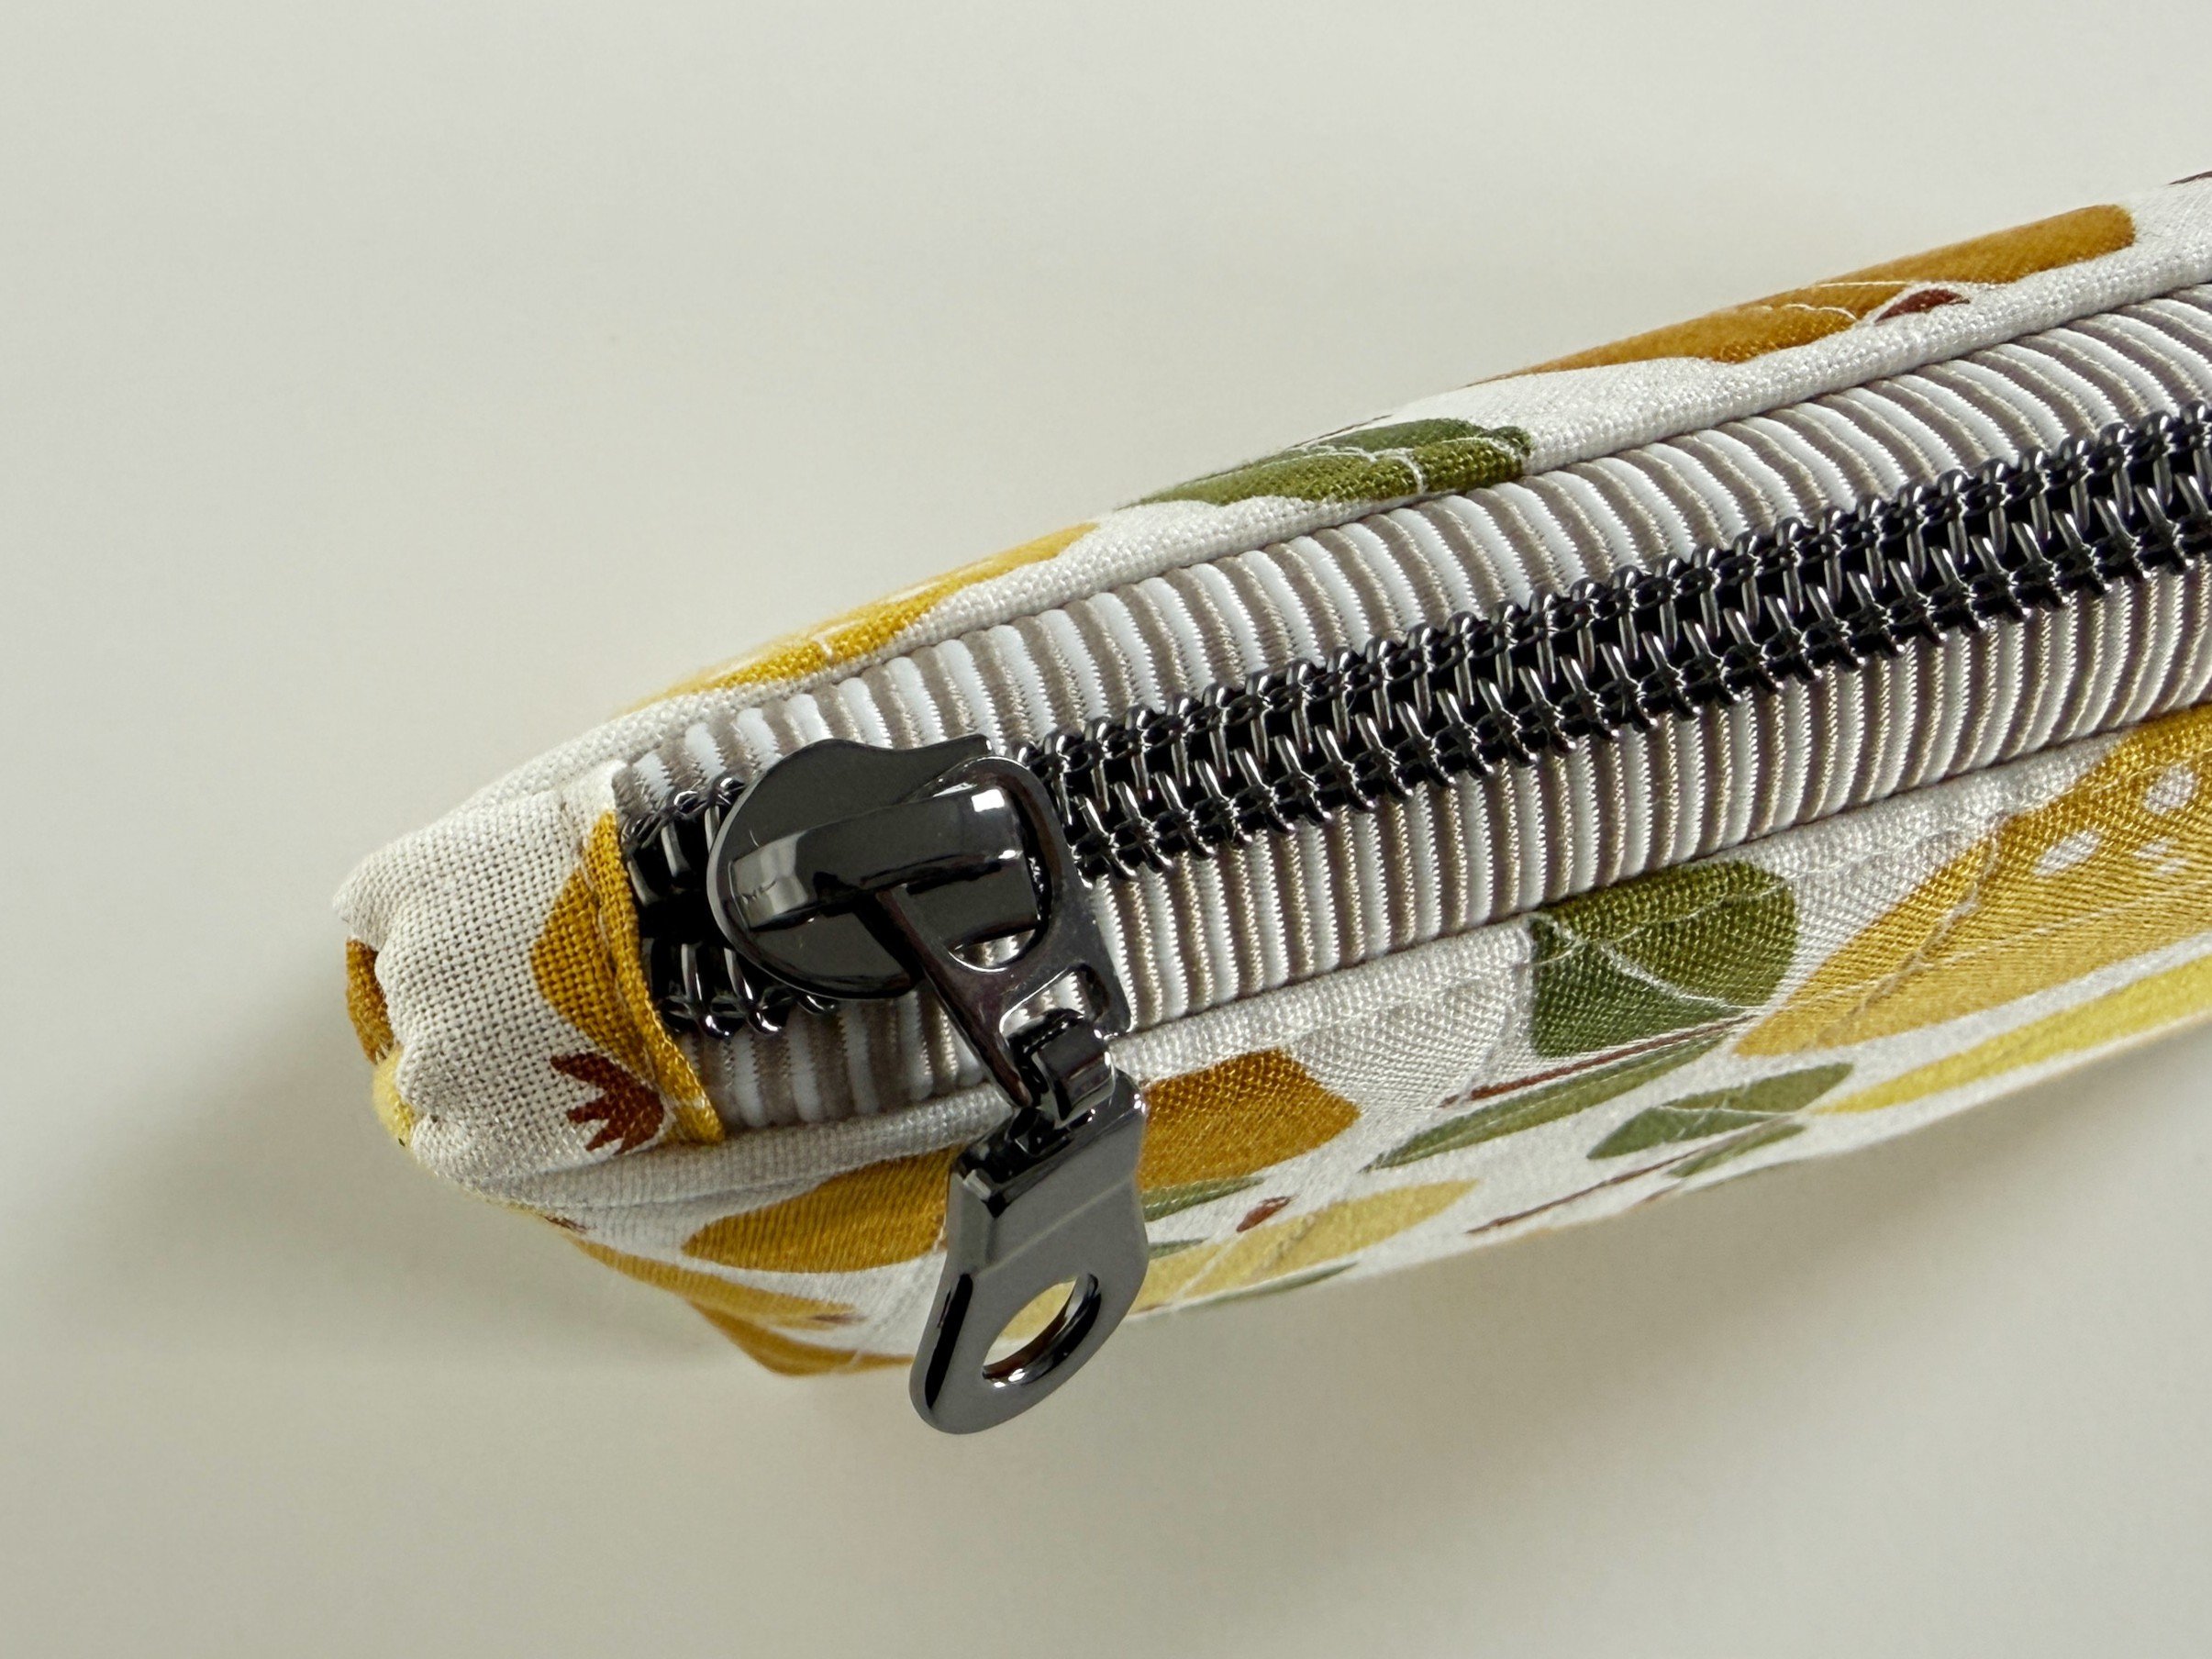
And that’s it! Easy peasy, isn’t it? Follow these simple steps, and I’m sure you’ll create beautiful pouches with neat, professional-looking edges that you’ll be proud to show off and share with family and friends.
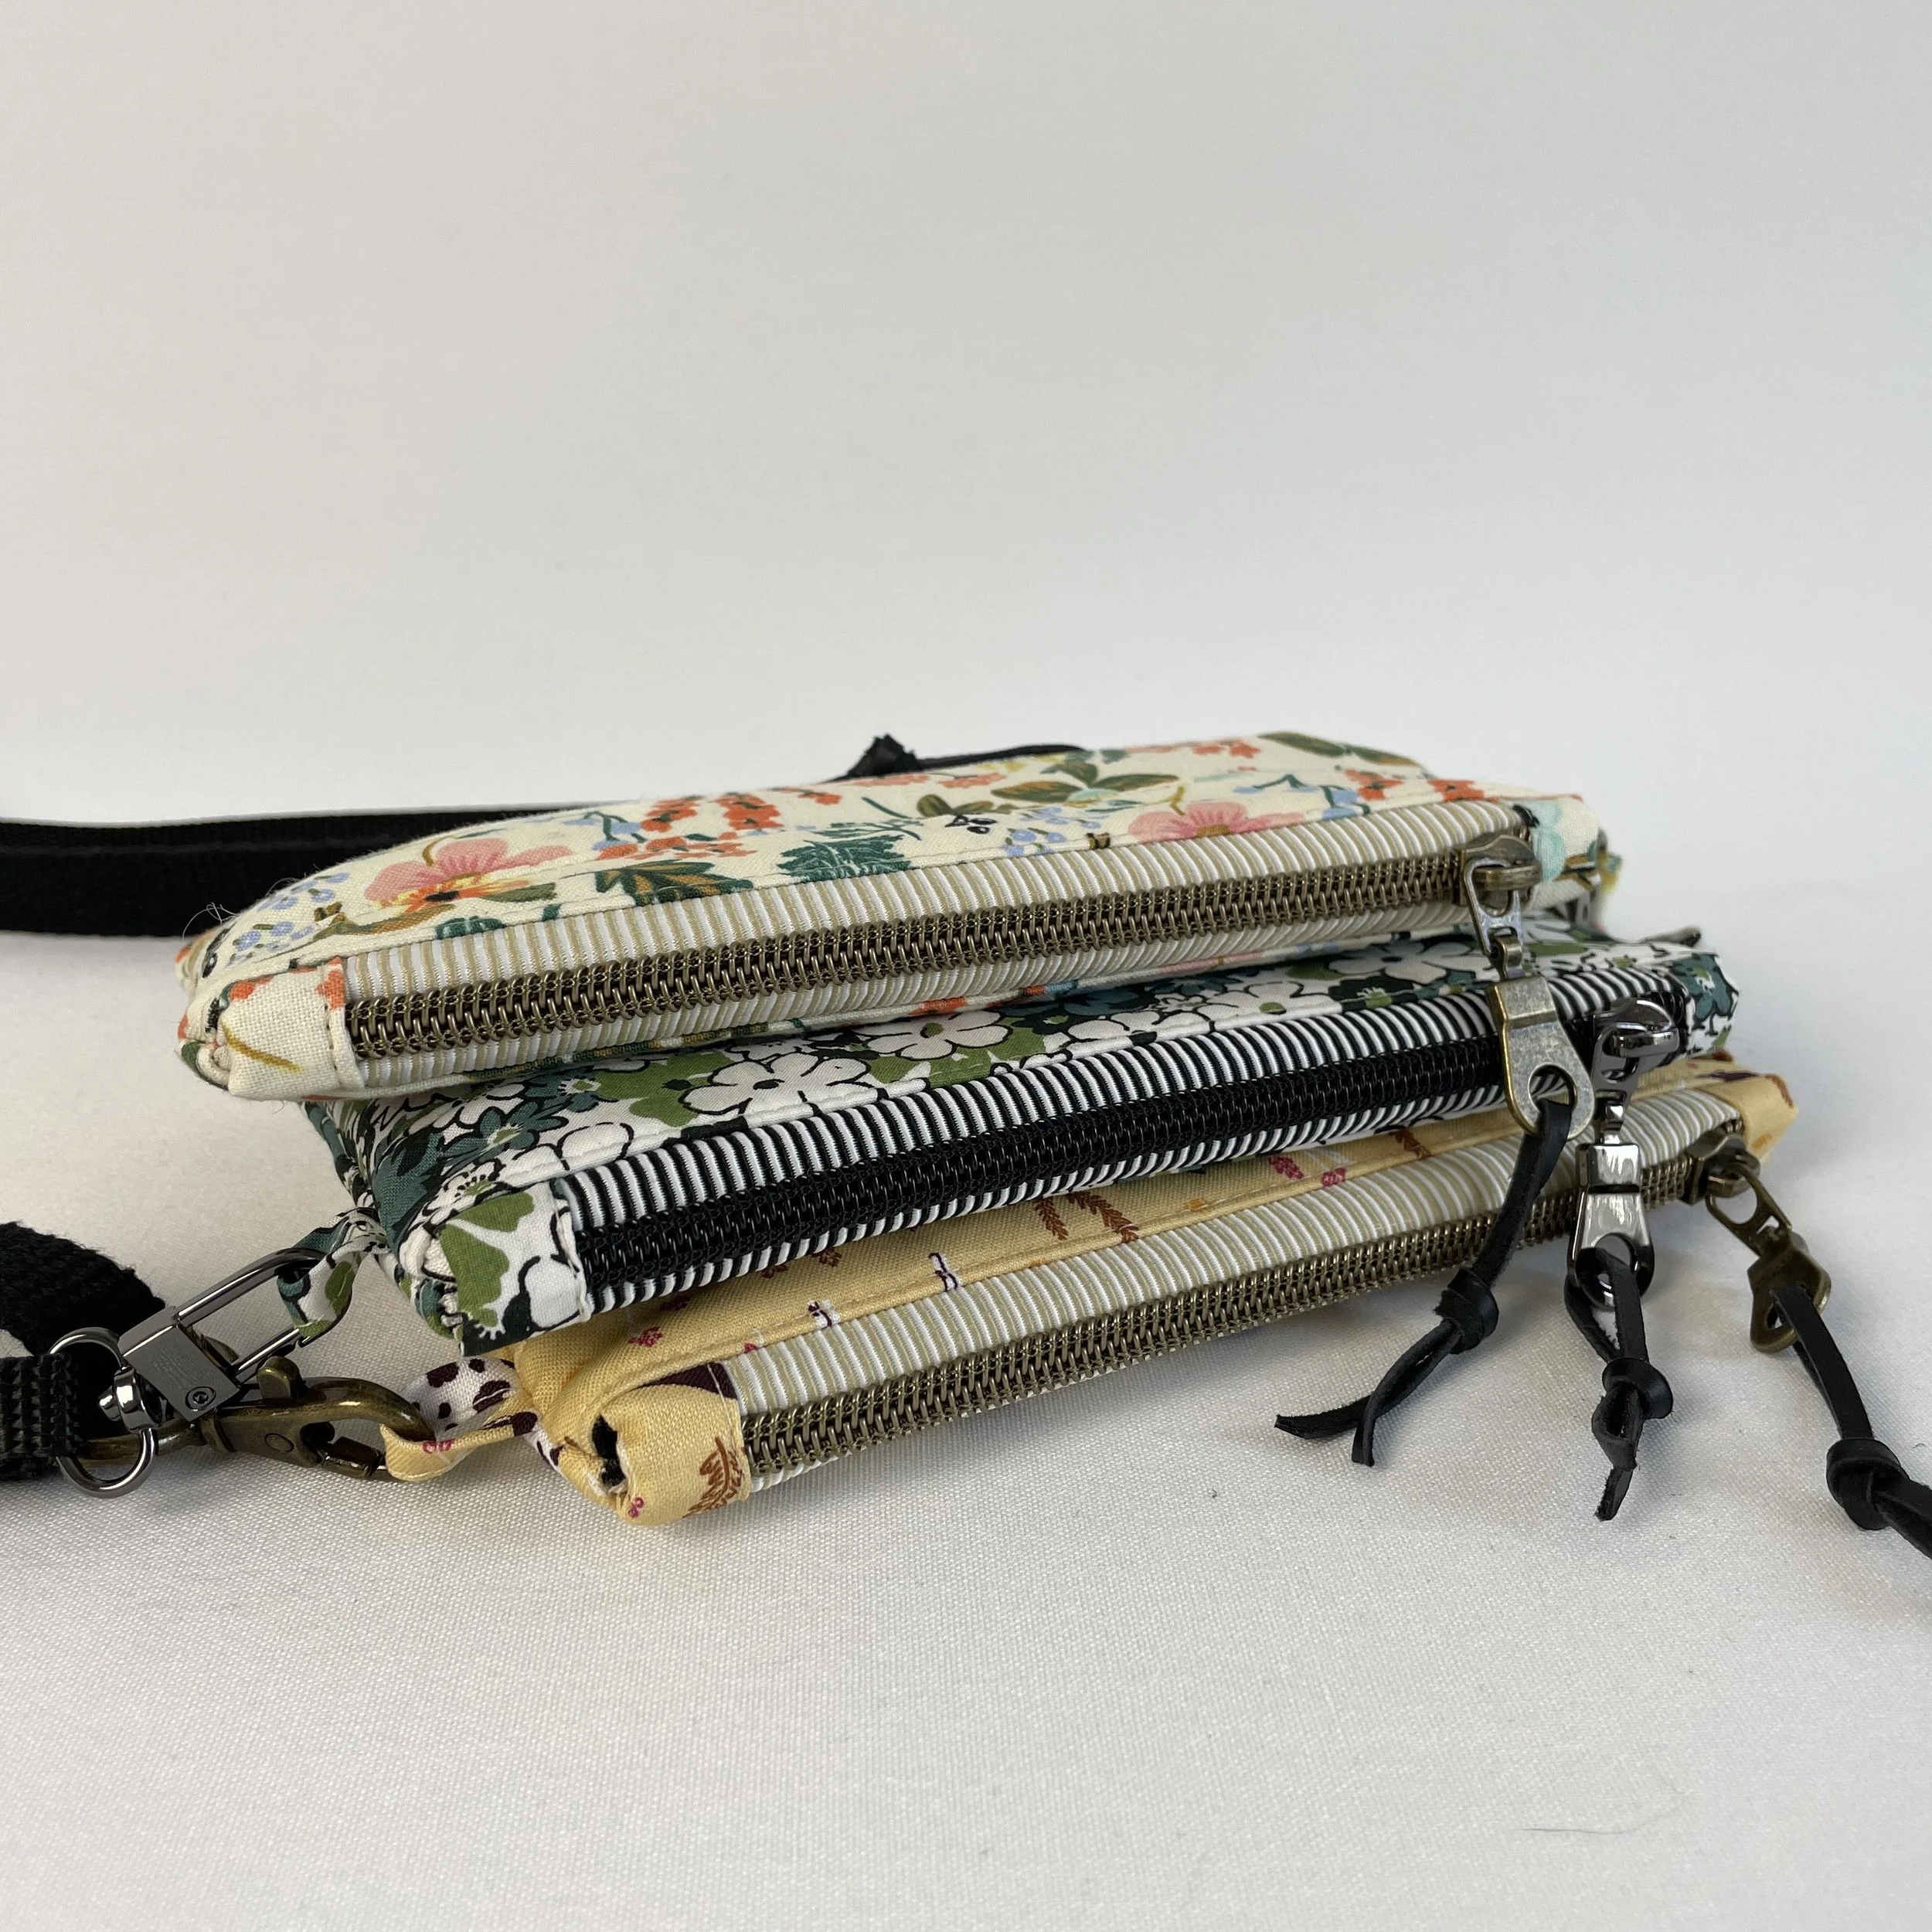
Need a little extra help? Be sure to check out my detailed YouTube video tutorial on how to shorten a nylon zipper and add fabric tabs. Just click the link below to watch!
Happy sewing, friends! I’m looking forward to seeing all your wonderful creations.
Any questions or helpful tips? Leave them in the comments section below.
Svetlana